Landscaping Under Live Oaks Without Root Damage
A shaded yard can become an expensive problem when a new garden or patio damages your live oak's roots. For landscaping under live oaks, the safest starting point is minimal ground disturbance , even when the space looks bare or uneven.
You can improve the area with mulch, carefully placed plants, and better maintenance without rebuilding the ground beneath it. Before choosing finishes, identify what the tree needs protected and which parts of your plan require an arborist.
Begin landscaping under live oaks with a site check
Live oak roots need oxygen, moisture, and room to grow. Many absorbing roots occupy upper soil layers, so digging and soil compaction can damage them without leaving obvious marks on the trunk.
Root patterns vary with soil, drainage, previous construction, and the tree itself. A neat circle around the trunk doesn't define the full area needing protection.
Look for existing stress before adding anything
Walk the area and note exposed roots, standing water, deep tire tracks, broken branches, and soil piled against the trunk. Look for the root flare, where the trunk widens into major roots.
Photograph these conditions before work starts. However, don't excavate a buried flare yourself or assume that covering damaged soil with mulch will solve the problem.
Also check the yard after rain. Water collecting beneath the canopy may require professional drainage assessment before you add plants or surfaces.
Have an arborist define construction limits
Consult an ISA Certified Arborist before major changes near a mature oak, including excavation, grading, drainage trenches, or patio construction. Ask for a site-specific protection area and clear limits on equipment access.
The arborist should consider tree condition, root distribution, and the proposed work rather than prescribe a universal setback.
Share those limits with every contractor. Outdoor Life Pros' guidance on protecting trees during construction covers coordinating landscape work around existing trees.
The canopy edge is a visual reference, not a reliable boundary for every root needing protection.
Separate surface-level improvements from disruptive work
A project can look small above ground while requiring substantial disturbance below it. Bed borders, irrigation adjustments, and turf replacement all deserve a closer look before installation.
Keep routine work on the surface
Lower-impact tasks include collecting litter by hand, clipping unwanted growth at soil level, spreading a restrained mulch layer, and placing lightweight furnishings without footings. Even these jobs need care around exposed roots.
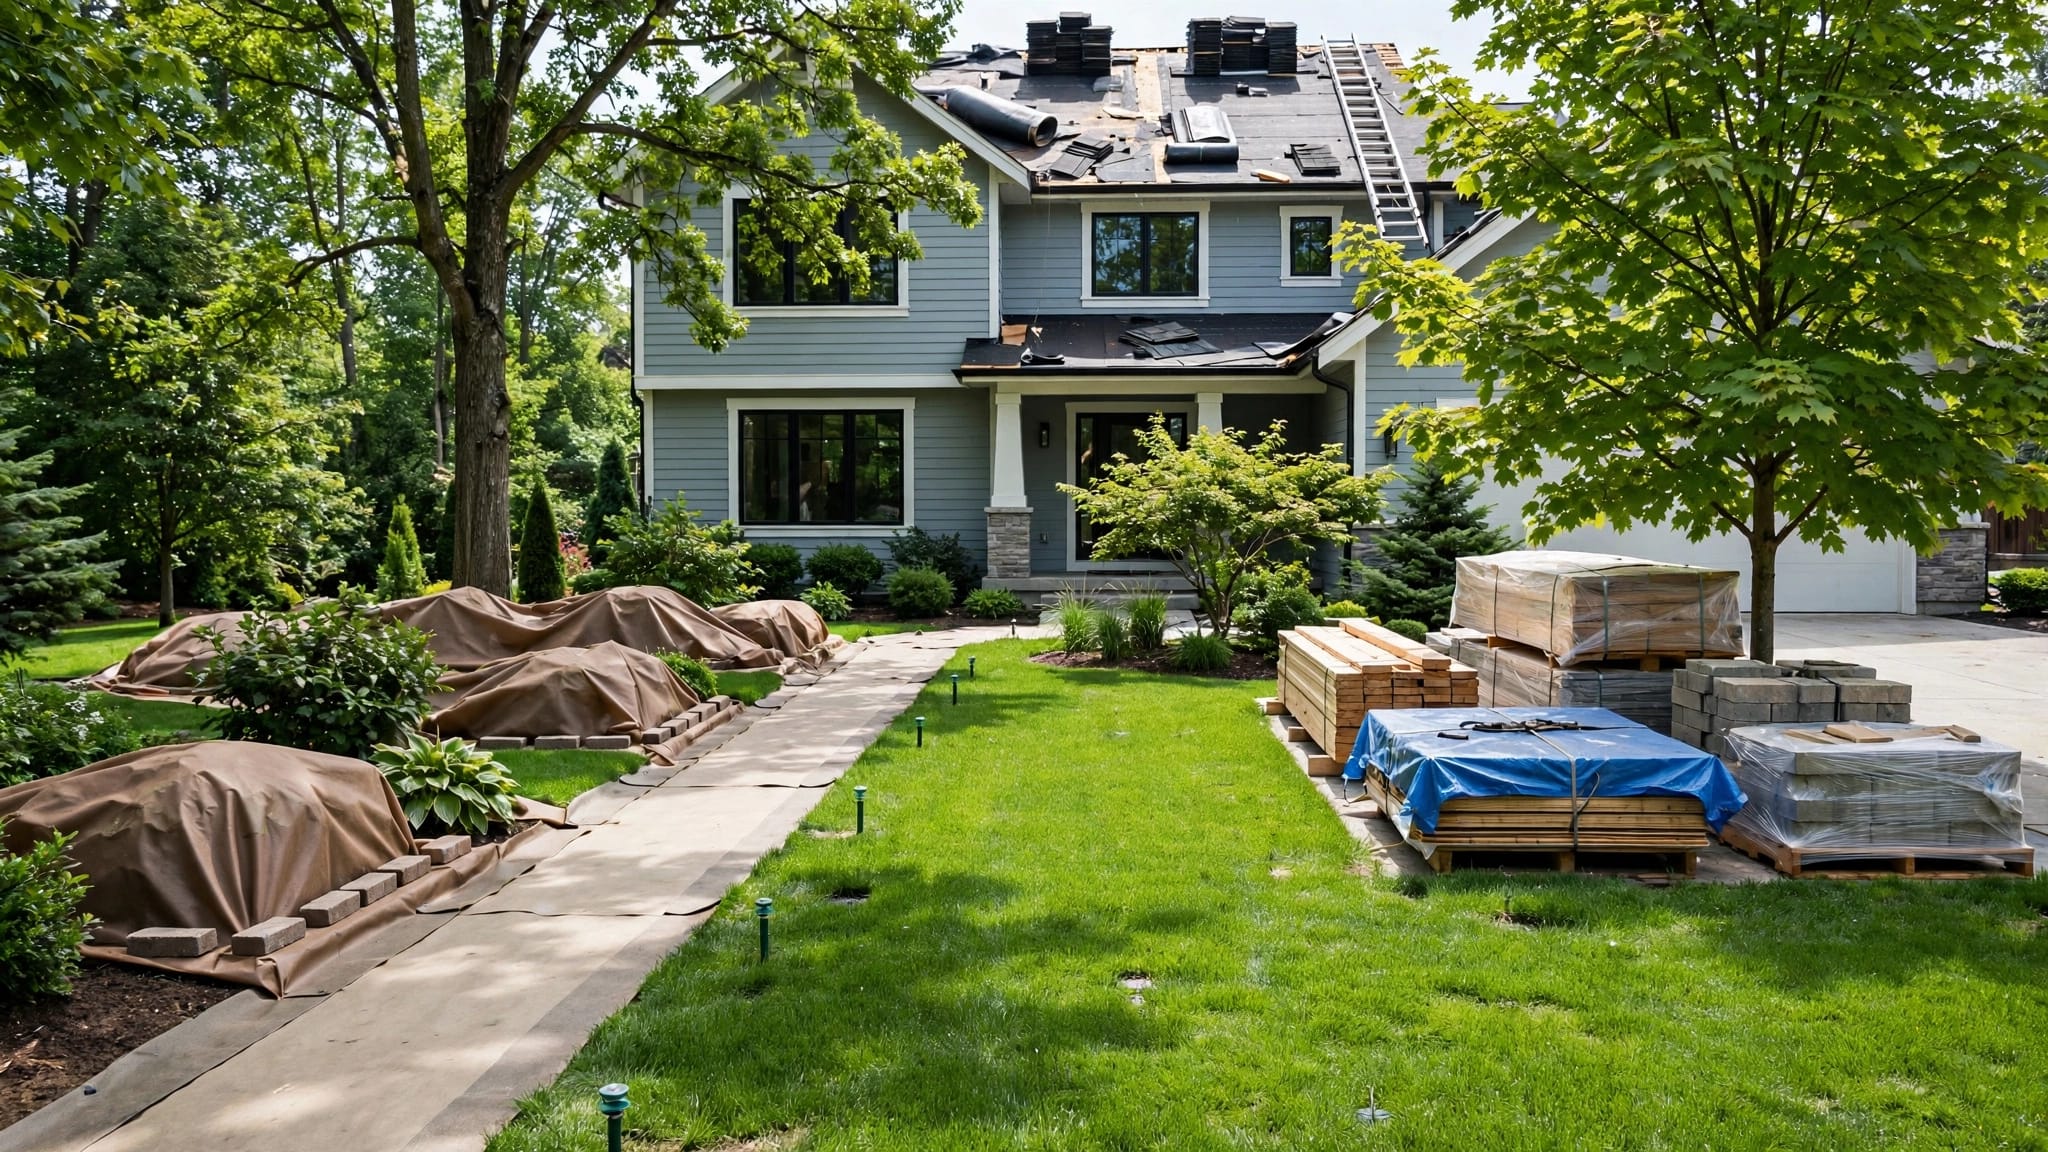
Carry materials into the area in manageable loads. Don't leave soil bags, pallets, or heavy equipment beneath the oak simply because the shade is convenient.
For a new bed outline, lay out a hose on the surface first. Let existing roots influence the shape instead of forcing a symmetrical border across them. A simple mulch edge may avoid the trenching required by permanent edging.
Pause before digging, cutting, or compacting
Rototilling, sod stripping, trenching, removing roots, and building compacted bases are higher-risk activities. Adding soil to level uneven ground can also change conditions around existing roots.
Don't shave down a surface root to make edging fit. Similarly, avoid driving anchors or digging post holes without checking the location.
If workers encounter a root, stop and revise the plan with the arborist. A different alignment may preserve both the tree and the intended use.
Protect the work area from repeated foot and wheel traffic, especially when soil is wet and more susceptible to compaction.
Use mulch without burying the tree
Organic mulch is a practical starting point beneath a live oak. It moderates soil temperature, slows moisture loss, and reduces the need to mow close to exposed roots.
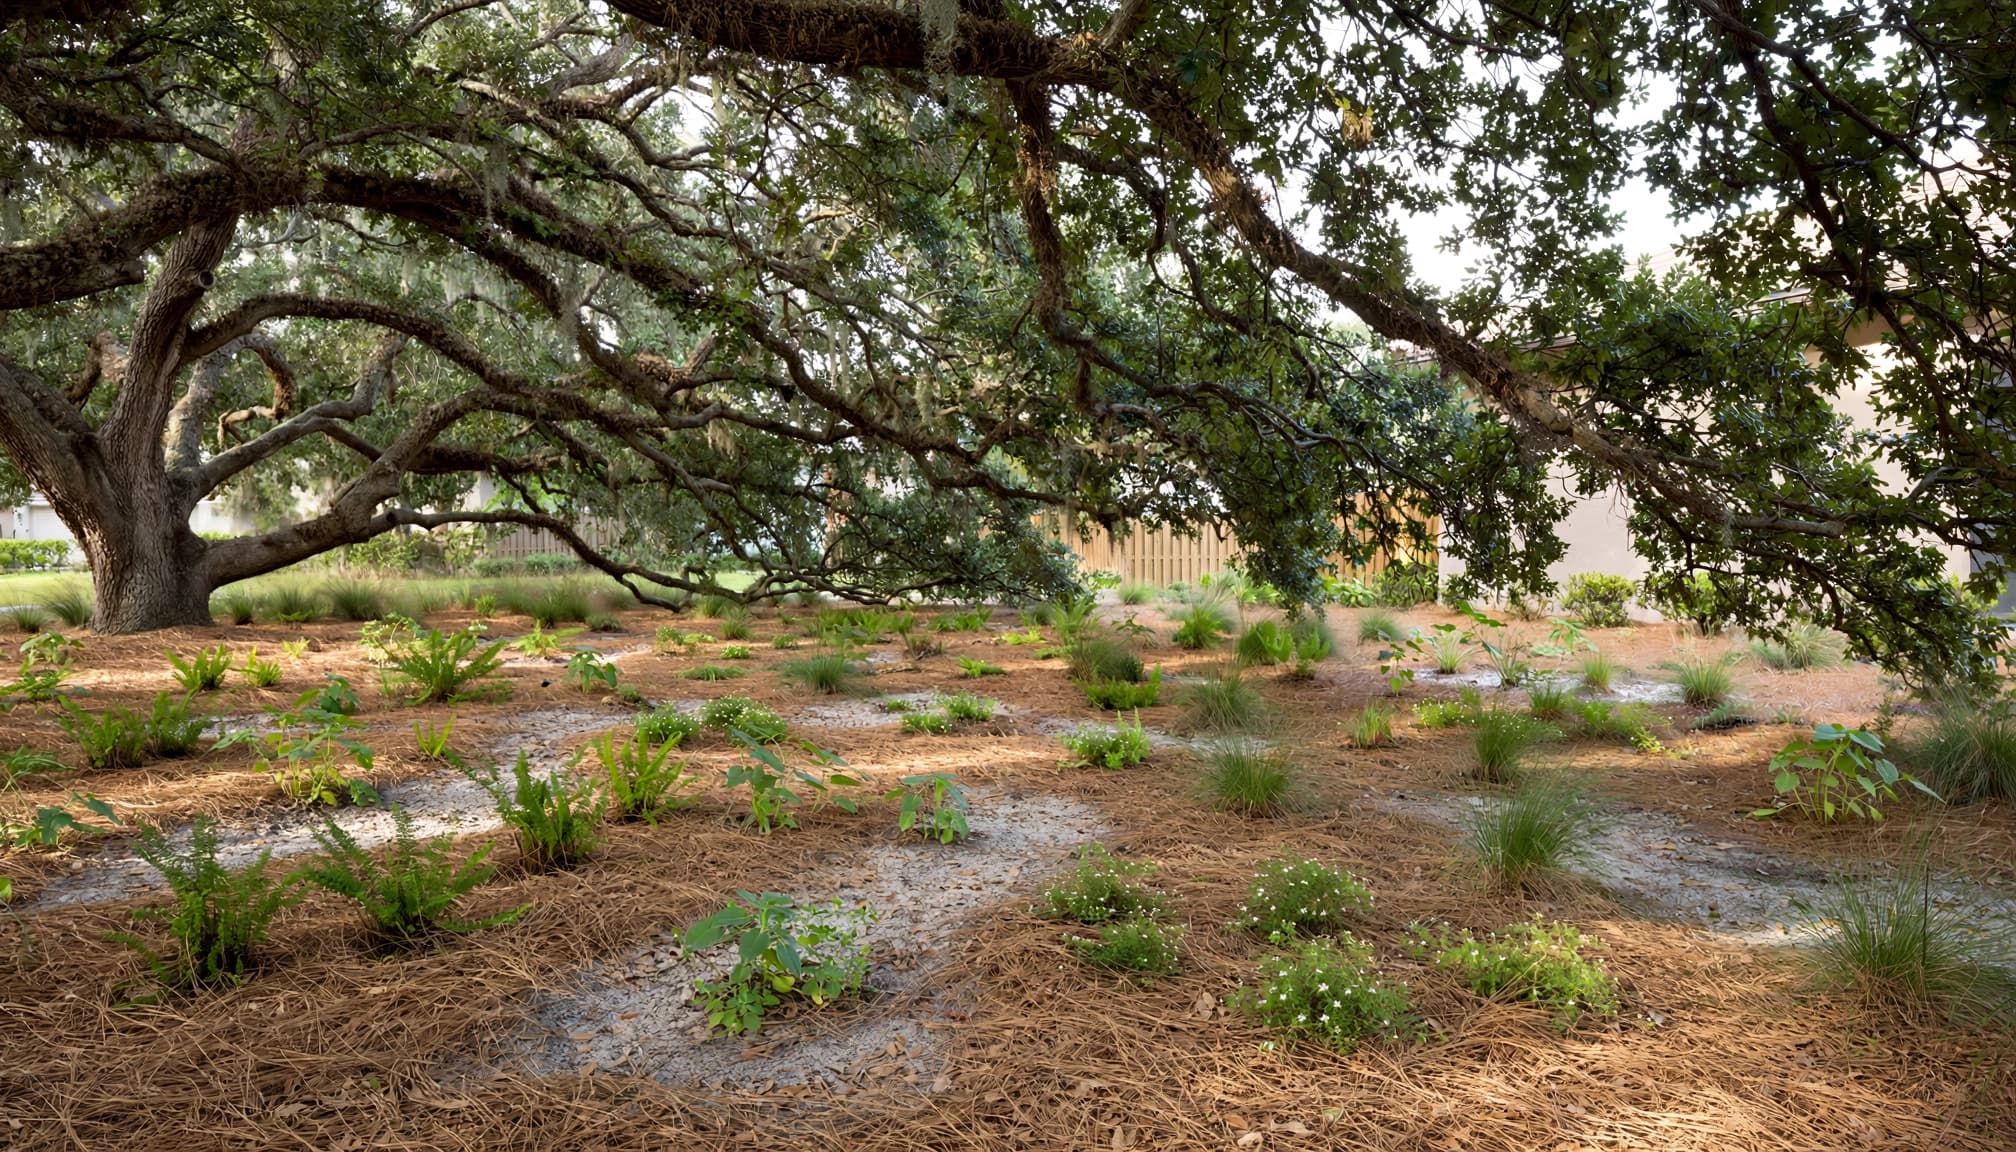
For most Cape Coral beds, a 2 to 3-inch layer is appropriate. Measure the existing layer first, because annual additions can create an excessive buildup. The guide to mulch depth and refresh timing discusses pine bark, cypress, and melaleuca options.
Keep mulch several inches away from the trunk and leave the root flare visible. Never build a mound against the bark or use mulch to hide a grade change.
Spread material gently around prominent surface roots. Avoid scraping the soil to create a perfectly flat bed, and don't add topsoil beneath the mulch as a cosmetic fix.
A mulched area can remain mostly open. You don't need dense planting to make it look intentional.
However, mulch won't reverse construction compaction or fix standing water. Those conditions need assessment rather than another layer of material. Leave existing ground levels intact unless the arborist approves a correction.
Plant selectively rather than filling every gap
Successful landscaping under live oaks accepts that some spaces should remain unplanted. The tree's established roots take priority over a continuous carpet of flowers or ground cover.
Match plants to actual site conditions
Observe how much light reaches the ground throughout the day. A bed beside the canopy edge may receive afternoon sun, while the space near the trunk stays shaded.
Next, consider moisture and root competition. Choose locally suitable, shade-tolerant plants with water needs that won't require keeping the entire area constantly wet.
Buy smaller plants where practical. Their smaller root balls require less excavation than large nursery containers.
Plan spacing around each plant's mature size. Sparse groups can look deliberate while leaving room for maintenance and avoiding unnecessary competition. Resist adding plants simply to conceal every exposed root.
Fit planting holes between roots
Before planting, use a hand tool to check a proposed spot gently. Dig only the hole needed for the selected plant, and stop when you encounter an oak root.
Move the plant rather than cutting through the obstruction. If suitable pockets aren't available, retain mulch in that part of the bed.
Keep each plant at its correct planting level without raising the surrounding ground. Don't create a raised bed over the oak's roots to avoid difficult digging.
Water new plants individually during establishment. That allows you to support them without automatically increasing irrigation throughout the mature tree's root area.
Adjust irrigation without trenching through roots
New plants, existing lawn, and a mature oak don't necessarily need the same watering schedule. Review irrigation coverage before assuming that a new bed needs more sprinkler time.
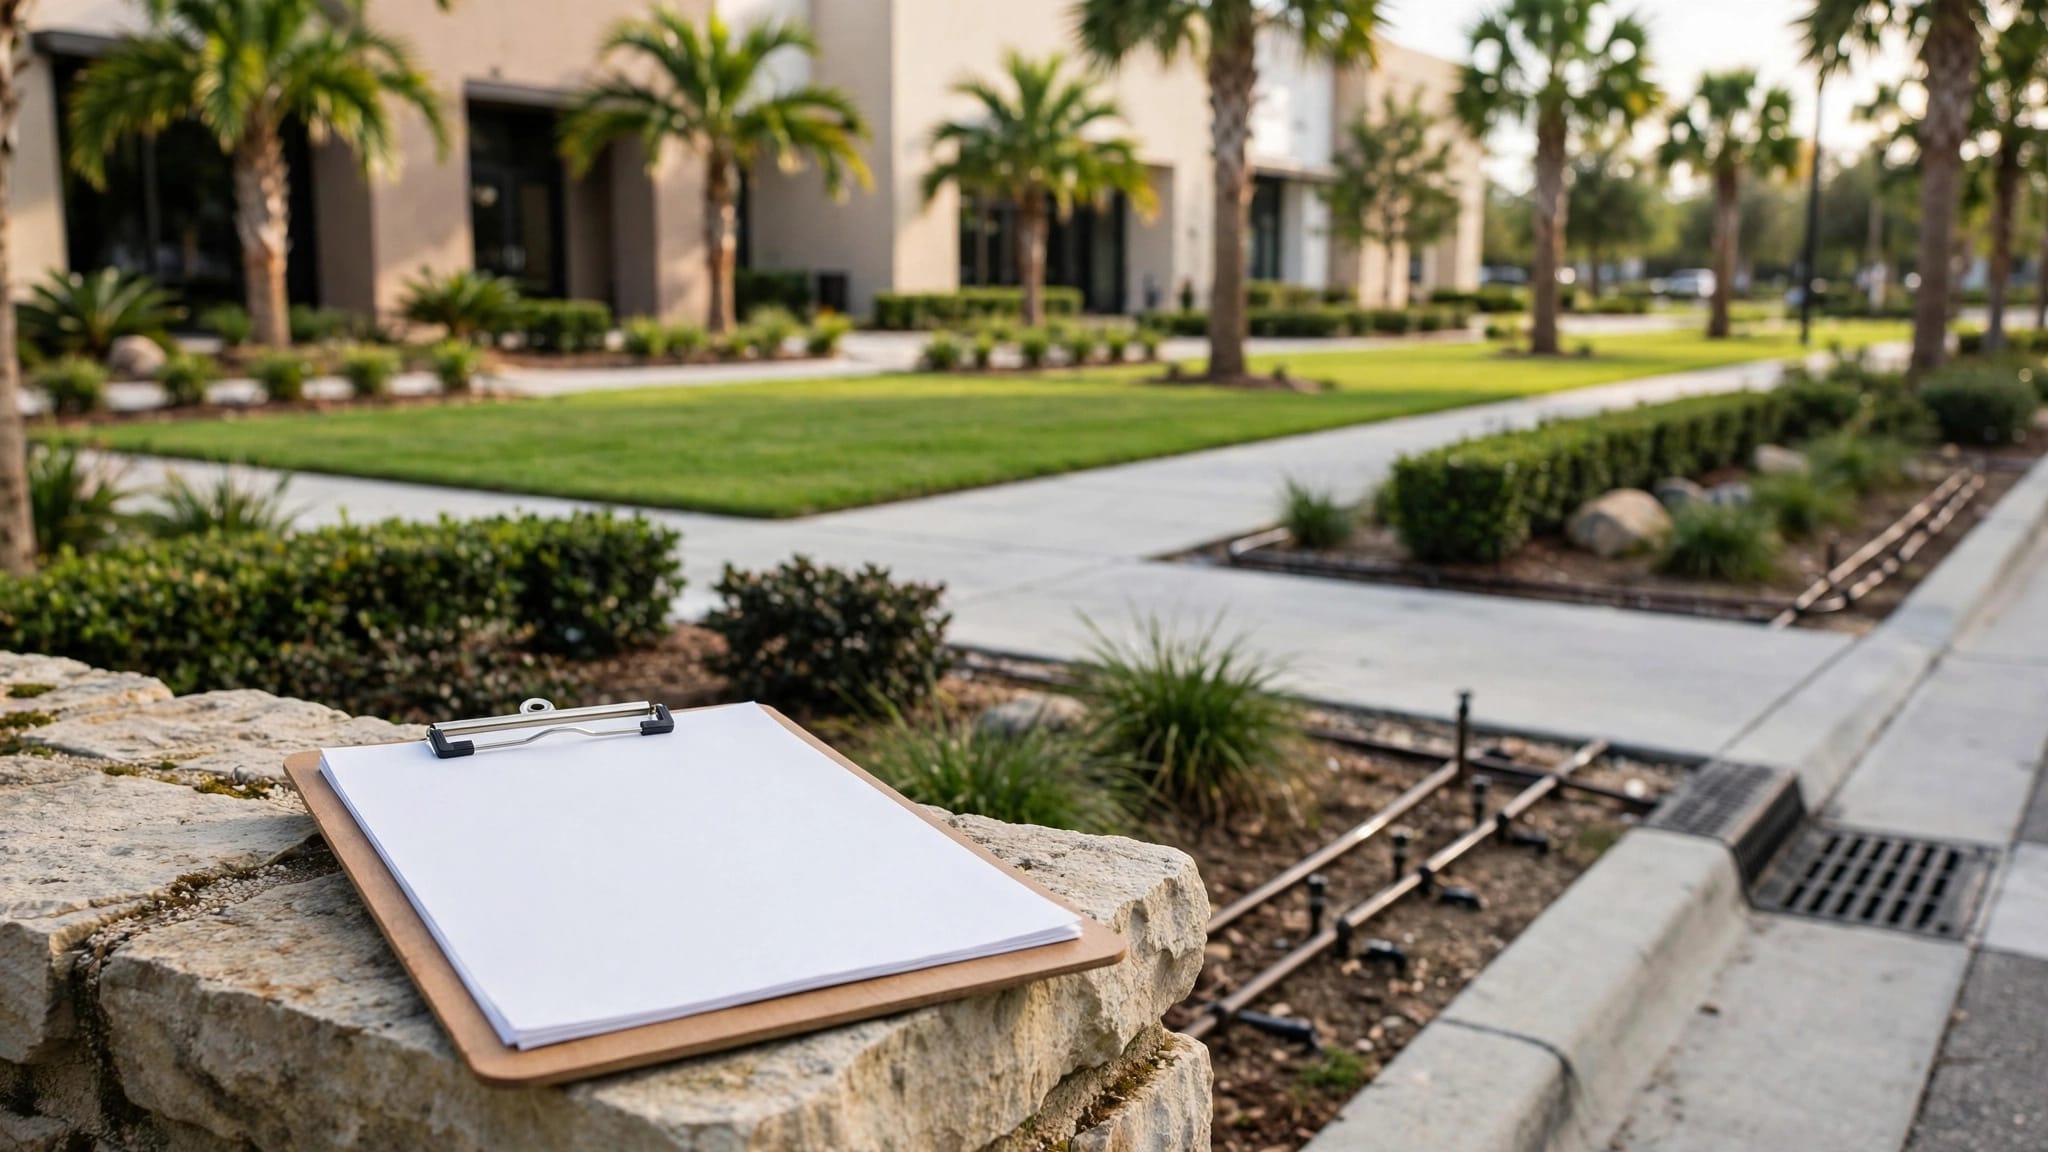
First, mark sprinkler heads, valves, buried lines, and accessible shutoffs. Have the contractor document them on the plan. Utility locating is also necessary before excavation, but it doesn't identify tree roots.
Where suitable, surface-routed drip tubing can avoid some trenching. Keep tubing clear of the trunk, secure it without damaging roots, and direct water toward the new plants rather than continuously wetting the bark.
Check soil moisture and drainage before watering again. Daily shallow watering can encourage surface rooting, while persistent saturation deprives roots of oxygen. Adjust the controller after heavy rain instead of following an unchanged timer.
Any new drain line or relocated irrigation pipe needs a root-aware route. A trench across the yard can sever roots even when its purpose is to improve drainage.
Also preserve access to valve boxes and backflow equipment. Finished landscaping shouldn't bury components that may need emergency service.
Treat patios, concrete, and artificial turf as construction
Hardscape installation usually involves excavation, base preparation, or compaction. These steps make it very different from laying mulch or adding a few small plants.
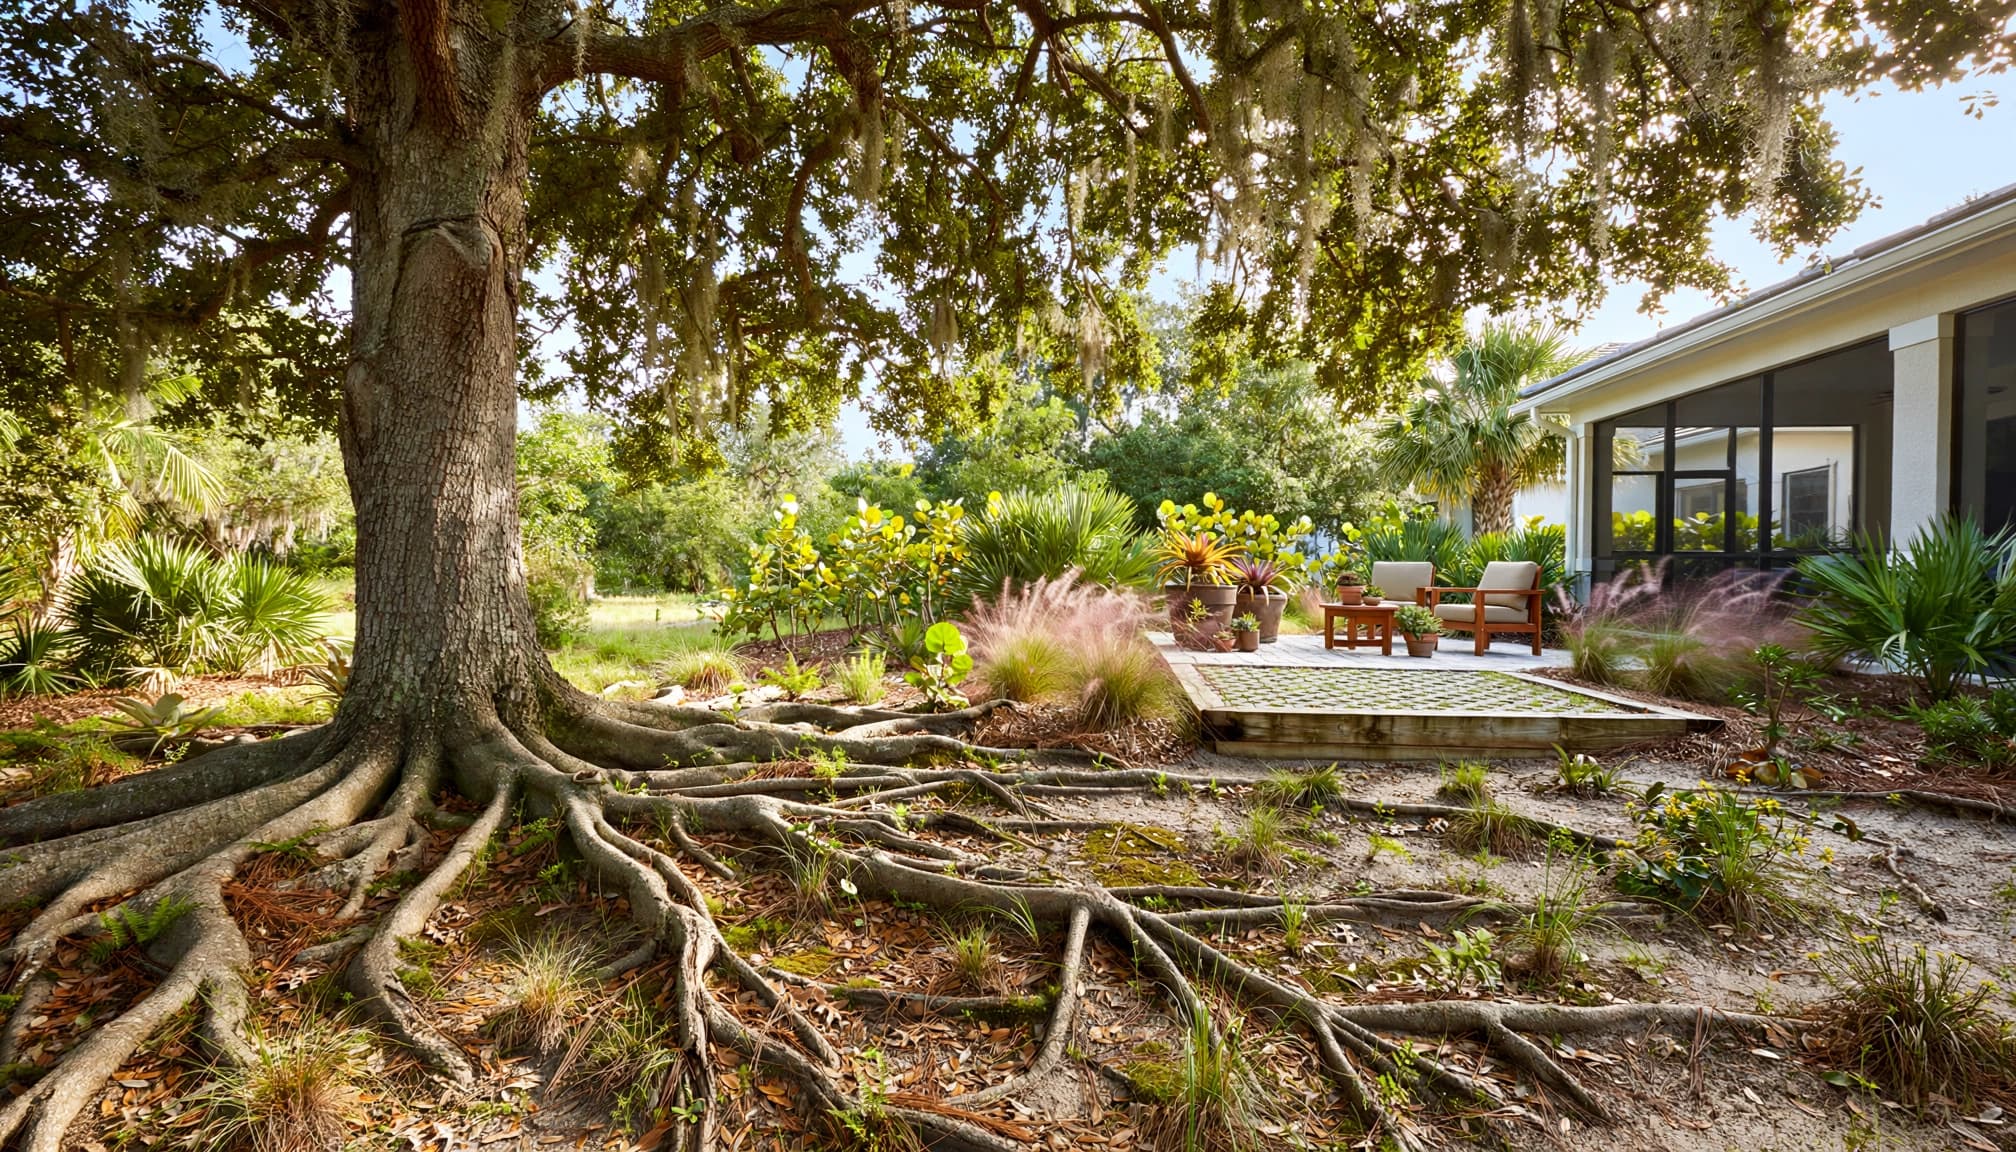
Before a concrete company designs a slab or walkway, share the arborist's protection plan and the irrigation layout. Confirm equipment routes, material storage, finished elevations, and where runoff will go.
Early coordination of trees and patio design helps identify conflicts before construction. Around an established oak, relocation or a smaller footprint may be safer than trying to fit the original design.
Permeable pavers allow water through a properly designed system, but their base can still require excavation and compaction. They aren't automatically safe over oak roots.
Artificial turf also commonly requires removing existing material and installing a compacted aggregate base. An opening around the trunk doesn't protect roots extending beyond that opening.
Where a path must cross a sensitive area, ask the arborist and designer whether a bridging solution is feasible. Supports and installation access still require assessment.
For existing lifted pavers, address the trip hazard without automatically cutting roots. An arborist should evaluate any proposed root pruning or barrier installation. These interventions can injure roots and affect stability, so they aren't routine homeowner fixes.
Maintain the space without creating new damage
After installation, watch how the area performs through wet and dry periods. Compare the trunk base, drainage, and exposed roots with your original photographs.
A seasonal check should include these tasks:
- Clear leaves from nearby drains and hardscape joints without scraping soil from roots.
- Check for loose pavers, new trip hazards, and runoff washing soil or mulch away.
- Inspect irrigation leaks and mulch buildup before refreshing the bed.
Schedule irrigation repairs before paver cleaning or sealing when possible. Keep high-pressure spray, cleaning chemicals, and dirty runoff away from exposed roots, bark, and fragile irrigation fittings.
After storms, check for leaning, broken limbs, newly exposed roots, and persistent standing water. Outdoor Life Pros' advice on Southwest Florida storm preparation includes live oak care and mulch management.
If the canopy thins, branches die back, or the tree changes position, contact an arborist. Root damage may take time to show above ground.
Let the oak guide the finished landscape
Landscaping under live oaks works best when root protection shapes the design . Mulch, selective planting, and careful watering can improve a shaded yard while leaving its soil largely undisturbed.
Treat excavation, grade changes, and compacted surfaces as separate construction decisions requiring arborist input. An attractive outdoor space shouldn't come at the cost of the tree that makes it comfortable.
Start with a site assessment, then build the smallest, least disruptive plan that meets your needs.