Prevent Irrigation Overspray on Stucco and Fences
A sprinkler that misses its target can leave a wall wet long after the lawn has dried. Irrigation overspray may seem minor at first, yet repeated contact can create stains, encourage algae or mildew, wear down fence finishes, and waste water.
Southwest Florida's heat, humidity, and frequent rain make routine sprinkler checks especially useful. A few careful adjustments can keep water on plants and turf instead of on your home's exterior.
Start by watching the system operate, then correct the cause rather than treating the symptoms.
Find overspray before stains become stubborn
Most irrigation overspray comes from a head with the wrong arc, a tilted riser, excessive pressure, or a nozzle that no longer fits the area. A head that once covered a lawn edge can also become a problem after new beds, fencing, or hardscape changes.
Run each zone manually during daylight so you can see its full pattern. Let it operate for several minutes, because a rotor may aim correctly at the start and sweep too far later in its cycle.
Watch every sprinkler zone in action
Walk the property while one zone runs. Look closely where turf meets stucco, fences, windows, pavers, sidewalks, pool decks, and outdoor equipment.
Fine mist can drift farther than a visible stream, especially on breezy days. Also check for water striking a wall and bouncing onto nearby surfaces. That splash can leave stains around doors, corners, and lower wall sections.
Take a few photos before making changes. They make it easier to see whether a new nozzle or arc adjustment improved coverage.
Separate poor aim from a leak
A single head spraying in the wrong direction is usually an adjustment issue. However, water bubbling from the ground, a crooked head, a sudden geyser, or soggy soil around a riser can point to a broken fitting or underground leak.
Turn the system off if you see those signs. Re-aiming a damaged head won't solve the source of the water. Review these irrigation leak warning signs before restoring sod, mulch, or nearby surfaces.
How to prevent irrigation overspray on stucco and fences
Stucco and fences can handle ordinary rain. The concern is repeated, directional watering from the same sprinkler head, often several days each week.
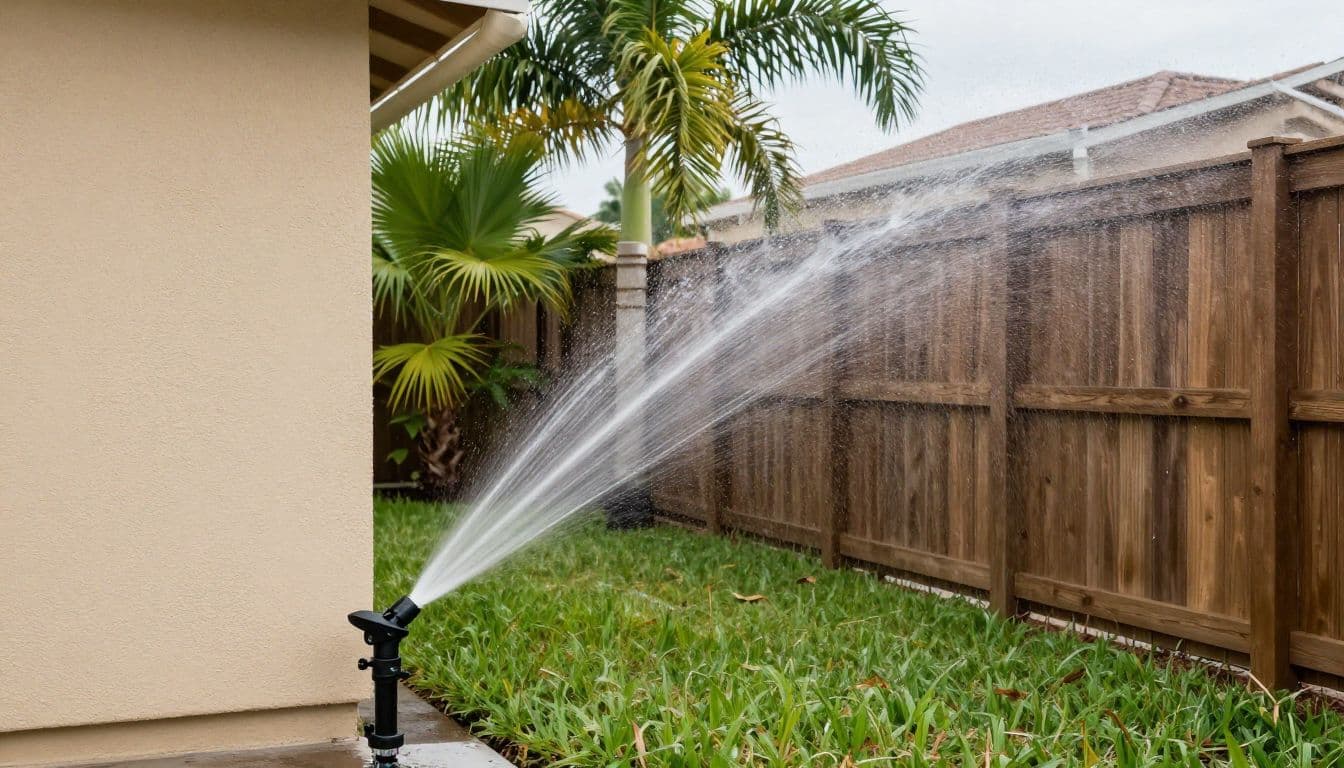
Why stucco shows the damage first
When spray repeatedly wets stucco, evaporation can leave mineral deposits, dust streaks, and dark patches. Shaded wall areas may stay damp longer, which gives algae or mildew a place to grow.
Irrigation overspray doesn't automatically cause serious moisture damage. Still, water can work behind cracked stucco, failed caulk, or damaged paint. Those existing weak points deserve repair, but moving the spray away prevents more unwanted wetting.
A wall can look dry after a short test, yet receive a longer soaking when several sprinkler heads overlap during the scheduled cycle.
Fences need a dry buffer too
Wood fences absorb water, especially at cut ends, post bottoms, and worn sections of stain or paint. Constant spray can raise the grain, fade the finish, and speed deterioration where boards stay wet.
Vinyl fencing doesn't rot, but it can collect green algae, mildew, and soil marks when sprinklers hit it often. Metal fence hardware may also corrode faster if its protective coating is damaged. Keep the spray pattern inside the planted area whenever possible.
Shut off irrigation before making adjustments
Shut off irrigation before adjusting a nozzle, rotor, riser, or spray head. Water pressure can force parts loose, and working around a pressurized head makes a small repair harder than it needs to be.
Work safely around sprinkler heads
Use this order for simple DIY adjustments:
- Turn off the affected zone at the controller and wait for pop-up heads to retract.
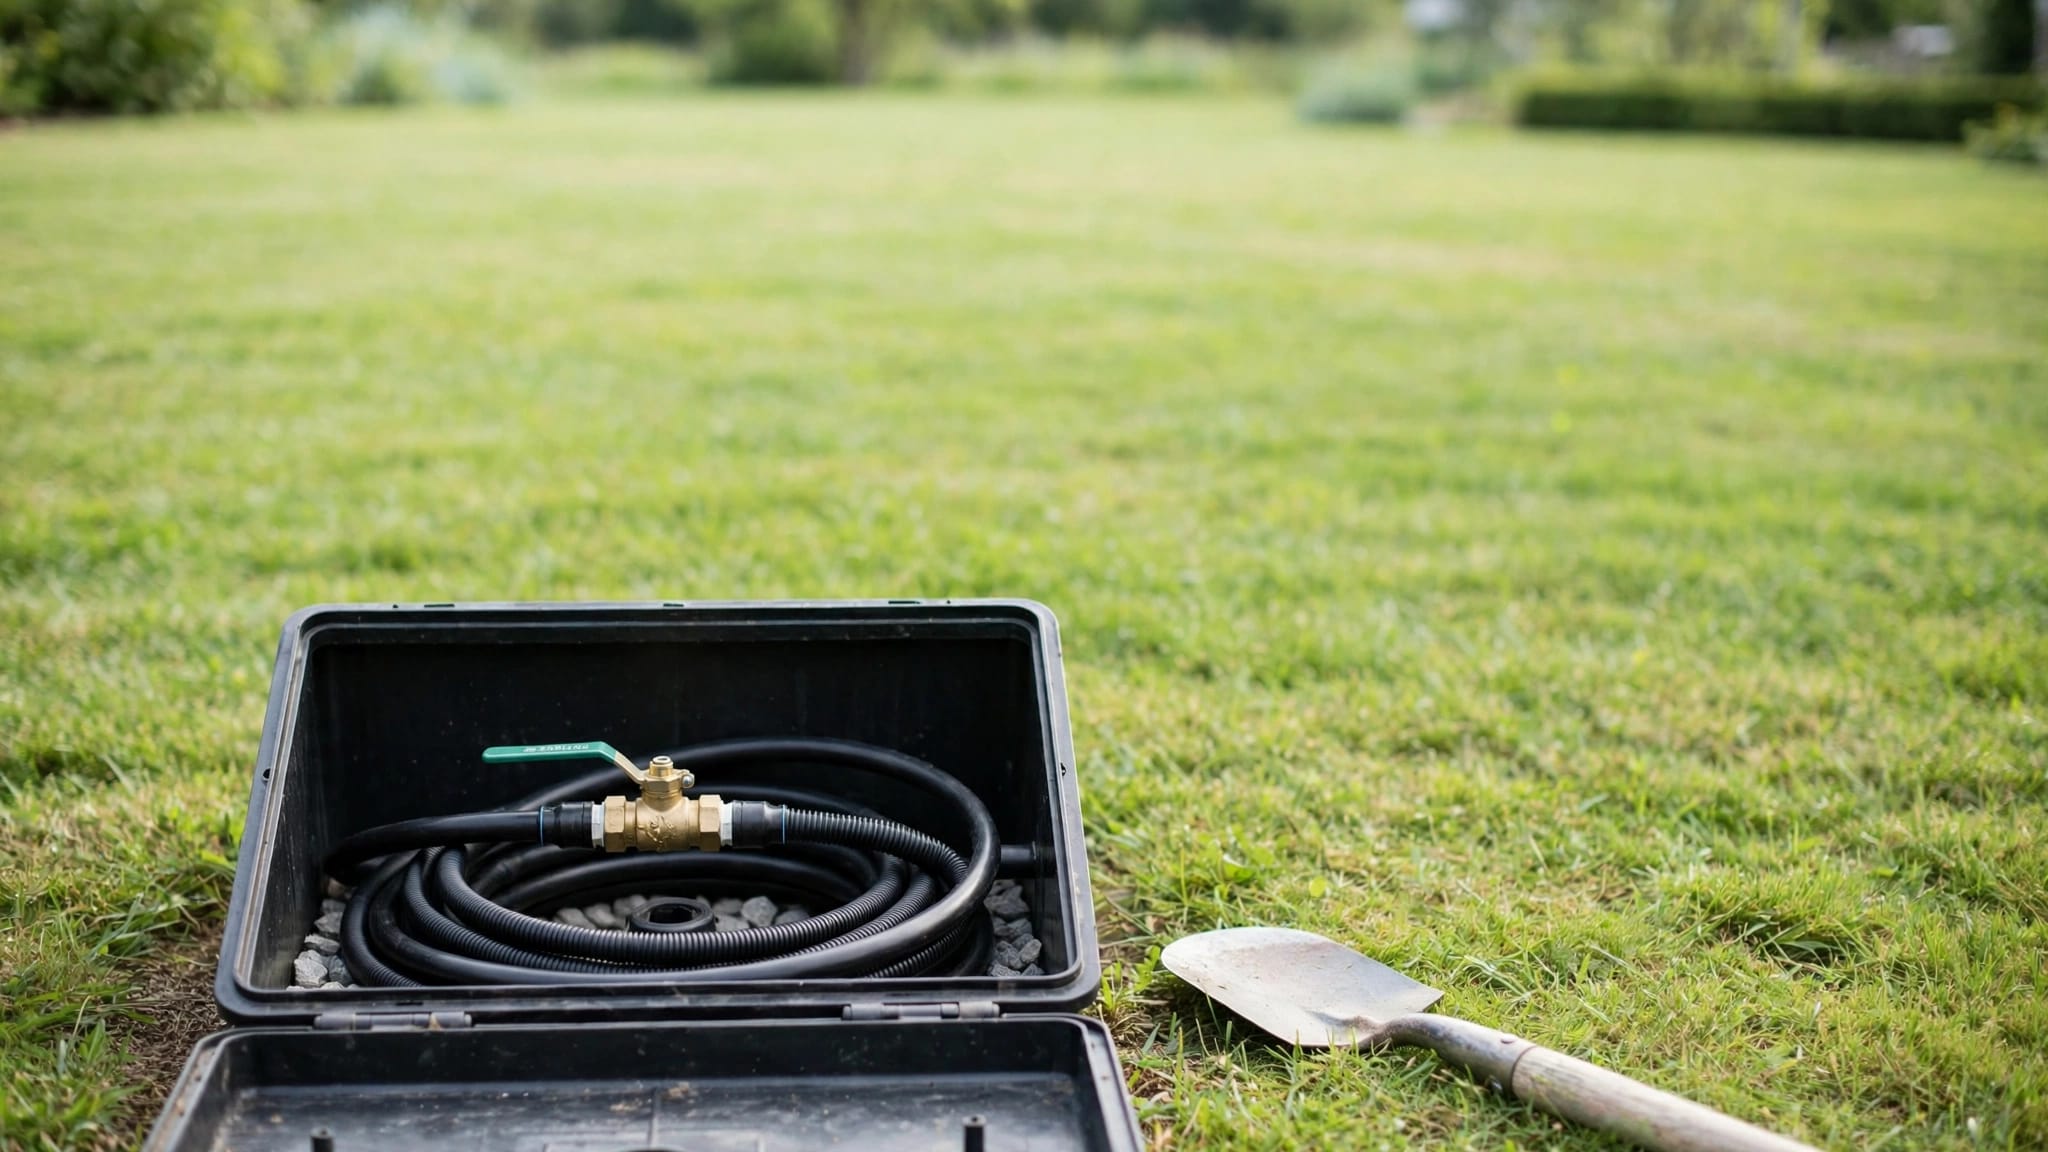
- Close the irrigation shutoff valve if you need to remove a nozzle or replace a head.
- Brush away mulch or soil around the riser without digging into nearby pipe.
- Check that the head sits upright and at the proper grade, rather than buried below soil or lifted above it.
- Restore water, stand clear, and test one zone at a time.
Wear gloves when working near sharp paver edges or old irrigation fittings. Stop if the riser twists in the ground, the pipe moves, or water continues flowing after the zone shuts down.
Set the arc, nozzle, and height correctly
A rotor usually has an arc adjustment point under its top cap, although the exact setup differs by brand and model. Use the correct adjustment key or a small screwdriver only where the head indicates. Never force an adjuster past its stop.
Fixed-spray heads often need a nozzle with a smaller preset or adjustable arc. A quarter-circle nozzle belongs at a corner, while a half-circle pattern often suits a straight edge. Full-circle nozzles near walls and fences commonly create irrigation overspray.
Check the head height as well. A tilted or sunken head can throw water into a fence instead of across the lawn. Raise or lower it carefully so the nozzle clears surrounding turf and mulch.
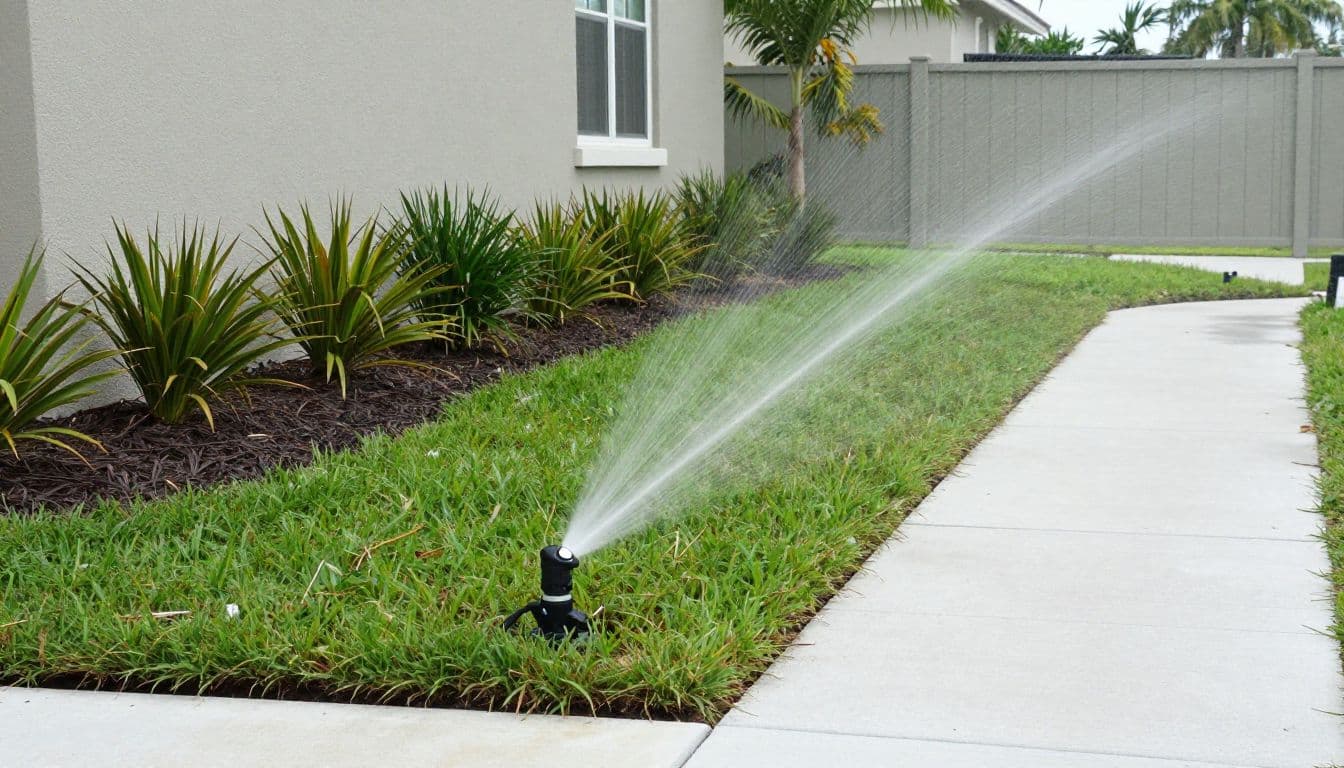
A correctly aimed sprinkler leaves a dry strip beside walls, fences, and hardscape.
Use temporary changes while planning a lasting fix
A shorter runtime or smaller spray arc can stop water from hitting a wall today. Those changes are useful when you need to limit staining while waiting for a repair.
Temporary adjustments have limits
Reducing the arc may leave a dry wedge in the lawn. Lowering the runtime can also leave grass and plants under-watered during hot weather. Pausing a damaged zone protects the home exterior, but it doesn't correct the broken riser, worn nozzle, or poor layout.
Avoid blocking spray with random objects, boards, or decorative edging. Water will often deflect into another trouble spot, and the turf may receive uneven coverage.
Permanent corrections address the layout
A lasting repair may include moving a sprinkler head farther from the wall, installing a proper edge nozzle, replacing a damaged riser, or separating planting beds from turf zones. Pressure regulation can also help when misting carries water beyond the intended arc.
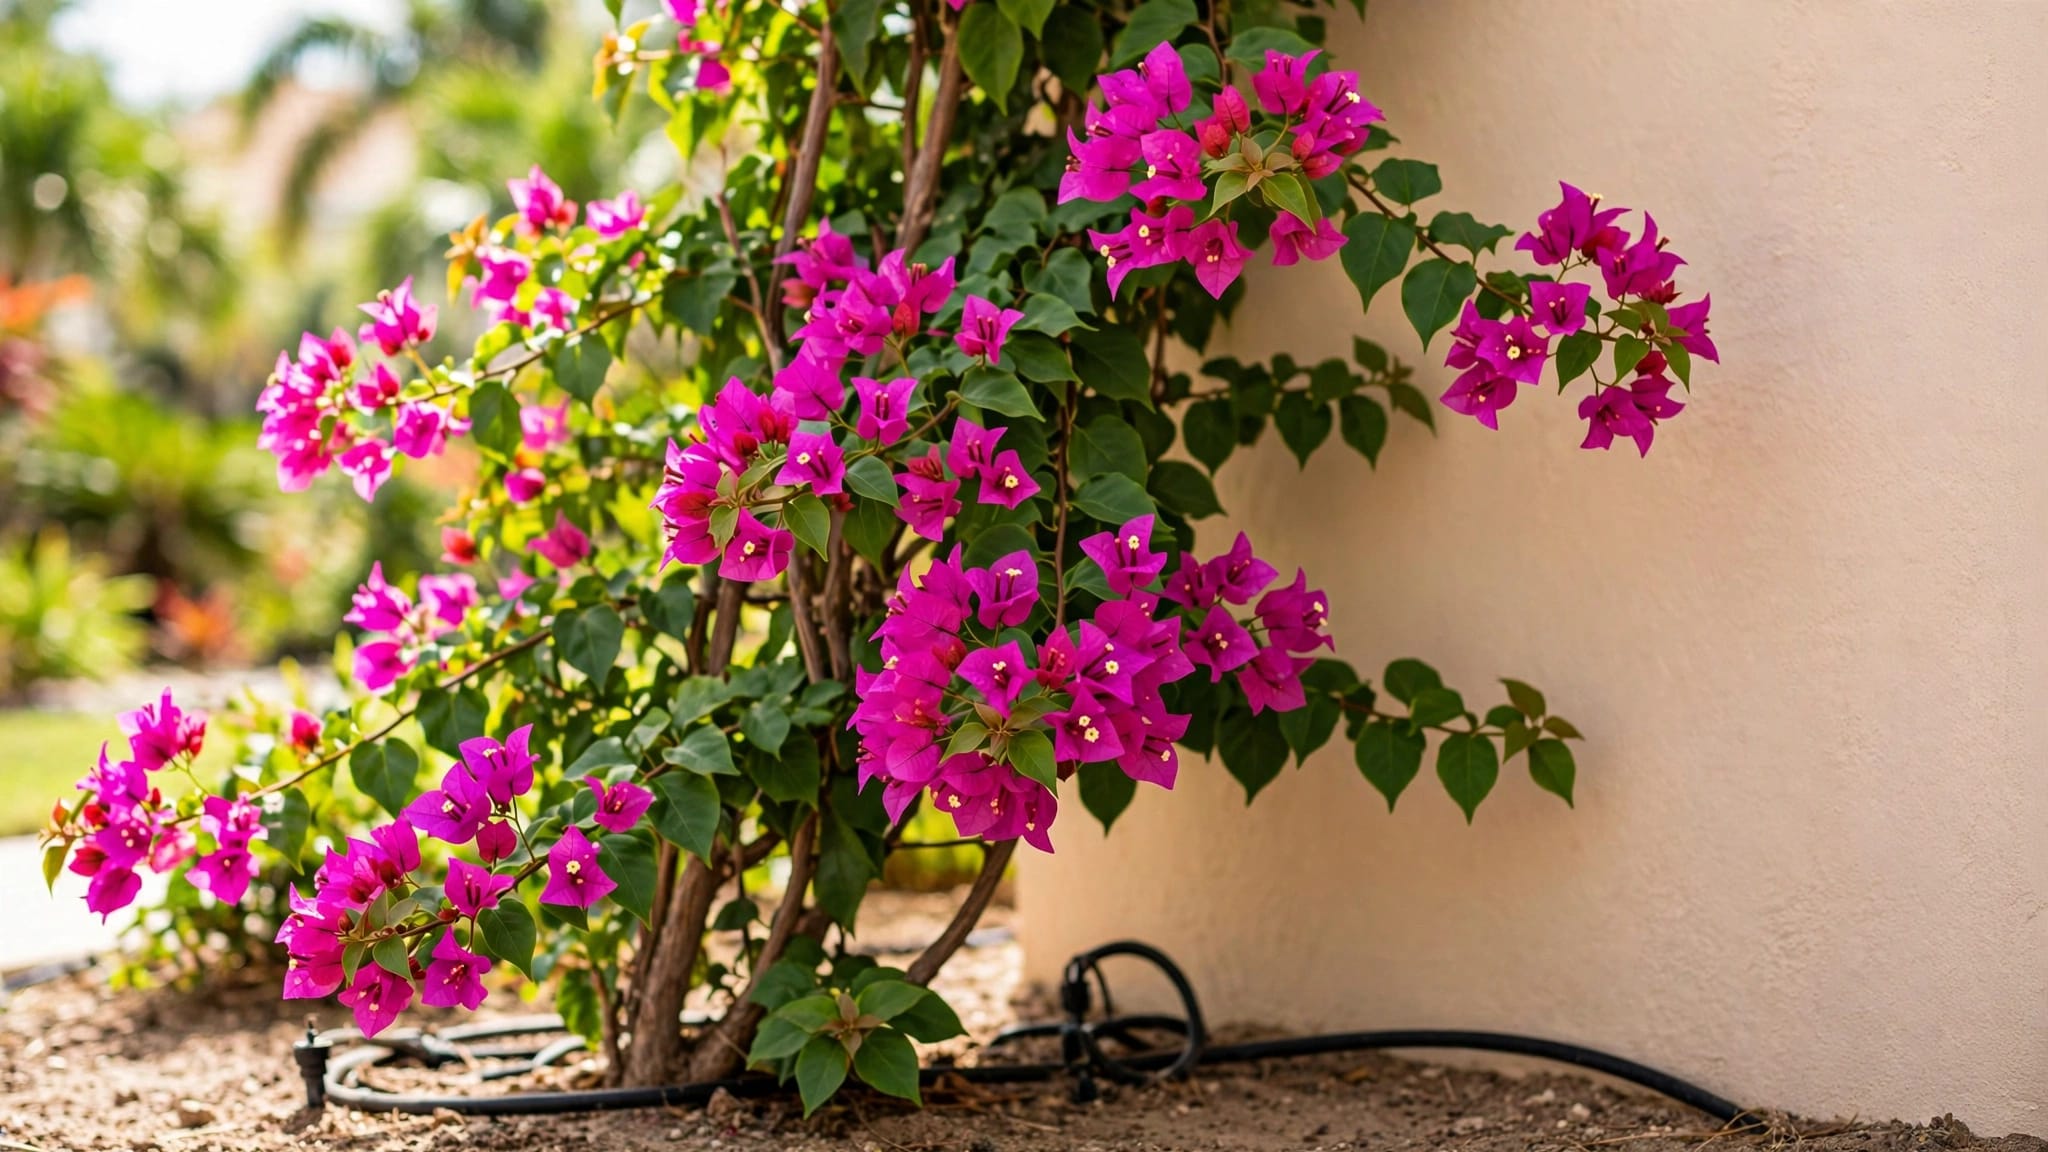
For narrow foundation beds, drip irrigation often makes more sense than spray. It applies water at the soil level and keeps wall surfaces drier. The right fix depends on the bed width, plant type, water pressure, and existing pipe layout.
Match irrigation to turf, beds, and hardscape
Good coverage starts with recognizing that lawns, shrubs, pavers, and fence lines don't need the same amount of water. A fresh landscaping layout can turn former lawn into a planting bed, yet old sprinkler heads may remain aimed at the original area.
Use spray heads only where they fit
Spray heads work well across open turf. However, a narrow strip between a house and fence often needs a different approach. Drip tubing, low-volume emitters, or carefully positioned shrub nozzles can water plants without soaking surfaces.
Artificial turf doesn't need regular irrigation, although nearby palms, shrubs, and flower beds still do. Cap, remove, or redirect former turf heads when converting a side yard, rather than letting them spray a surface that no longer needs water.
Plan irrigation before surface upgrades
Check sprinkler placement before installing a patio, walkway, fence, or new planting beds. Follow a sensible Cape Coral backyard renovation project order so pipes, sleeves, and heads are accessible before hardscape work begins.
If a concrete company will pour a new walkway or driveway, mark irrigation lines first and place sleeves where pipes must cross underneath. Also delay paver cleaning or sealing until the sprinkler system has passed a full test. Otherwise, mineral spotting and wet-edge stains may return soon after the surface is cleaned.
Adjust runtimes to reduce wasted water
Even well-aimed heads can create trouble when they run too long. Excess water can pool near fence posts, wash soil from bed edges, and splash back onto stucco.
Change schedules with the weather
Reduce runtimes during rainy periods and increase them only when plants show a real need. Watering early in the morning gives foliage time to dry, while late-night cycles can leave shaded areas damp for longer.
A working rain sensor helps prevent unnecessary cycles after storms. Smart controllers such as Hunter Hydrawise and Rachio can also pause scheduled watering when properly set up, but they can't correct a badly aimed sprinkler head.
Check local watering restrictions
Watering rules can change by municipality, county, season, or water-management district. Check current local restrictions before changing your controller schedule, especially after drought notices or unusually dry weather.
A monthly walkthrough helps catch small issues before they stain stucco or damage a fence finish. Inspect again after mowing, storm cleanup, fence work, or new plant installation, because those projects can shift heads and risers.
Call for help when the problem is below ground
Some irrigation overspray problems begin at the head. Others start with pressure issues, broken pipe, failing valves, or a damaged riser below the soil line.
Call for irrigation repair if a zone has weak pressure, heads won't retract, water runs when the controller is off, or soil stays wet between cycles. A Cape Coral sprinkler riser repair may be needed when a head leans, cracks, or floods its surrounding area.
If water has washed soil out from beneath a walkway, fix the irrigation source before repairing concrete or pavers. Surface repairs last longer when the unwanted water has stopped.
Keep water on the plants, not the property
Most stucco stains and damp fence boards begin with water traveling beyond its intended area. A dry boundary beside the house, fence, and hardscape is a practical sign that your irrigation system is working properly.
Small adjustments can solve a simple aiming issue. For recurring wet spots, broken parts, or poor coverage, a lasting irrigation repair protects your exterior surfaces and avoids wasting water.