Irrigation Riser Replacement in Cape Coral
A cracked sprinkler riser can waste water, weaken nearby soil, and leave one part of your lawn dry. In Cape Coral, a careful irrigation riser replacement can often fix the problem without disturbing a large section of grass.
The repair is straightforward when you match the existing parts and work with the water turned off. You'll need to identify the riser, protect the underground pipe, flush out debris, and check for leaks before putting the sprinkler head back. Start by understanding the small parts beneath the lawn.
How Irrigation Riser Replacement Works
Cape Coral residential irrigation systems commonly place sprinkler heads near grass, planting beds, walkways, driveways, and pavers. The visible head may look simple, but several fittings can connect it to the buried supply line.
Know the parts under the sprinkler head
A riser is the short threaded pipe that connects the underground irrigation line or fitting to the sprinkler body. It raises the head to the correct height above the soil. Risers may be fixed-length, adjustable, or part of a flexible connection.
The sprinkler head is the device that distributes water across the lawn or planting area. Spray heads, rotary heads, and specialty heads use different thread sizes and connection styles, so don't assume every replacement part fits.
A swing joint is a flexible connection made with elbows, nipples, or flexible irrigation tubing. It lets the head move slightly when soil shifts or a mower bumps it. A swing joint can reduce stress on the buried pipe and make future repairs easier.
A PVC fitting connects sections of plastic irrigation pipe. Some fittings have threaded ends, while others are smooth slip fittings that require compatible PVC primer and cement. Match the new riser to the fitting already in the ground.
Gather Tools and Shut Off the Water
Before touching the sprinkler head, shut off the entire irrigation system. Turn the controller to the off position, then close the irrigation supply shutoff if your property has a dedicated valve. A controller setting alone may not stop pressurized water from reaching the zone.
Open the damaged zone briefly only if needed to release pressure, then turn it off again. Water should stop completely before you loosen any fitting.
Keep these tools and materials nearby:
- A replacement riser with matching thread size, length, and connection type.
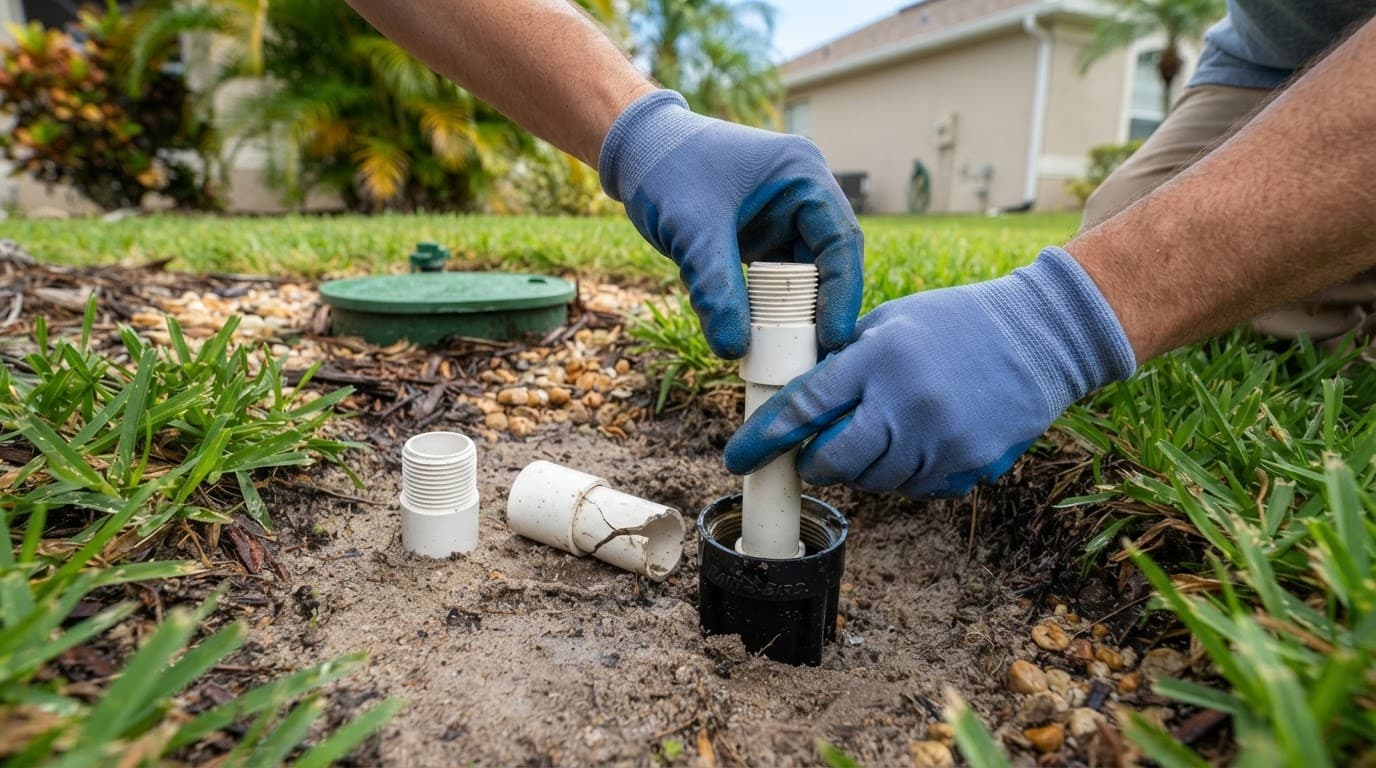
- A sprinkler riser extractor for removing broken plastic below the fitting.
- A hand trowel or small shovel for exposing the sprinkler body.
- Thread seal tape approved for plastic pipe threads.
- Adjustable pliers, a clean rag, gloves, and a small bucket.
- A replacement sprinkler head if the existing head has damaged threads.
Work carefully around buried pipes and electrical wiring. If the repair requires deeper digging than the head connection, contact Sunshine 811 before excavation. Wear gloves, keep dirt out of open fittings, and never force a plastic connection with a large wrench.
Remove the Cracked Riser and Install the Match
Expose several inches around the sprinkler head. Remove the soil by hand near the fitting so you don't strike the lateral irrigation line with a shovel. Cut away damaged grass carefully if necessary, and keep the sod nearby for replacement.
Follow these repair steps
- Unscrew the sprinkler head by turning it counterclockwise. If the head has wrench flats, use them instead of gripping the spray stem.
- Inspect the riser. If it remains intact, remove it by hand or with adjustable pliers. If it broke flush inside the sprinkler body, insert a riser extractor and turn it slowly counterclockwise.
- Check the exposed fitting for cracks, cross-threading, or movement. If the underground fitting turns with the riser, stop and inspect the connection before applying more force.
- Compare the new riser with the old one. Match the thread type, diameter, length, and style. An adjustable riser may work in one installation but fail to position another sprinkler head correctly.
- Wrap thread seal tape around the male threads in the same direction that you will tighten the fitting, usually clockwise when viewing the threaded end. Use a few neat wraps and leave the first thread mostly clear.
- Thread the replacement riser into the fitting by hand. Tighten it until snug, then stop. Plastic threads can crack when overtightened, and tape won't repair a damaged fitting.
- Reattach the sprinkler head by hand. Keep the head upright and aligned with its previous spray direction. If the connection needs a wrench, use minimal pressure on the fitting's flat sides.
If the buried pipe has a broken slip fitting, use the correct PVC repair method instead of forcing a threaded riser into it. Cutting and rebuilding that connection may require more excavation and proper curing time.
Flush the Line and Check for Hidden Leaks
Leave the sprinkler head off for the first test. Turn on the repaired zone for several seconds so loose sand, PVC shavings, and debris can exit through the open riser. Shut the zone off, rinse the fitting if needed, and then reinstall the clean sprinkler head.
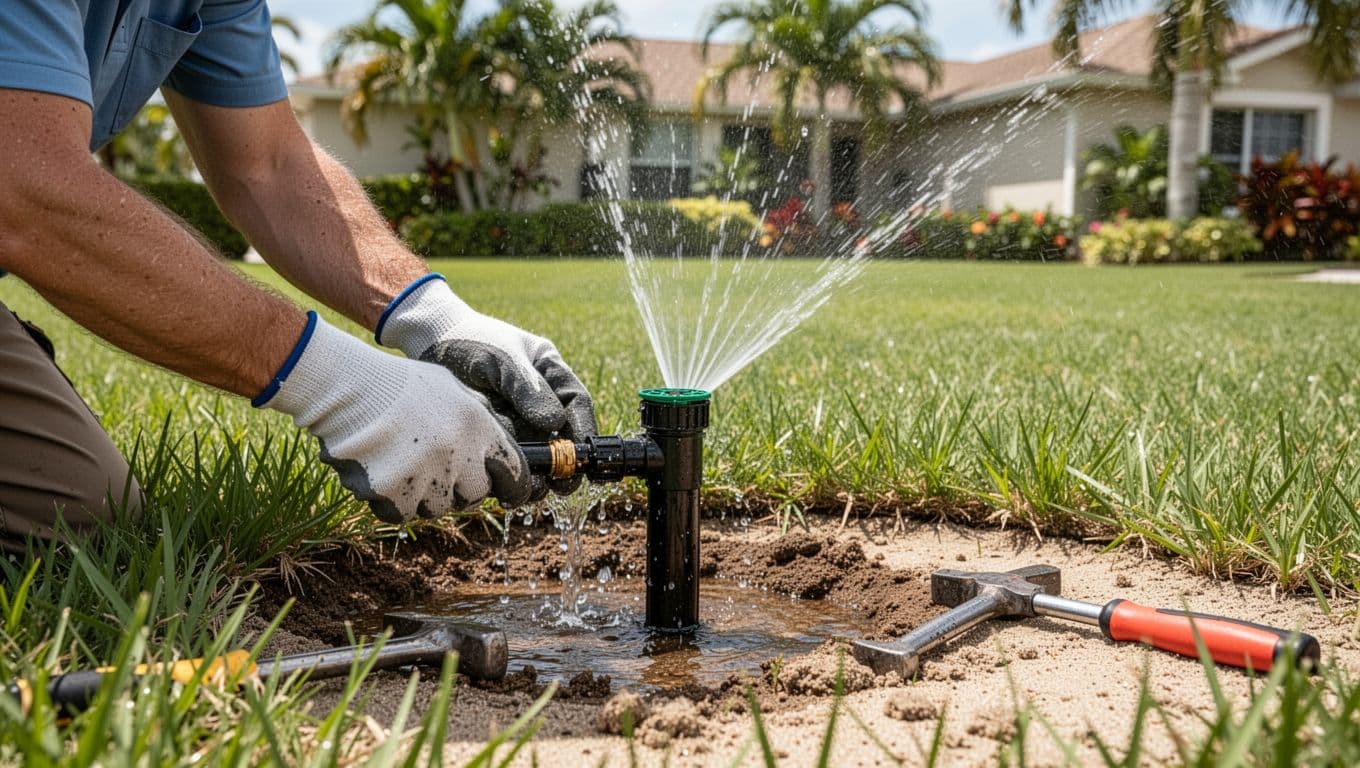
Run the zone again and inspect the repair while it is pressurized. Look for bubbling soil, a steady trickle around the base, misting at the threads, or water pooling beside the sprinkler. Sandy Cape Coral soil may drain quickly, so a small leak can be easy to miss.
After the zone shuts off, check the area again. Continued dampness, a soft spot, or a slow drop in pressure can indicate a hidden leak below the riser. Review these Cape Coral irrigation leak warning signs if the soil stays wet or nearby hardscape begins to settle.
Finally, confirm that the sprinkler head sits level with the finished grade. A head that sits too high can be damaged by lawn equipment. One that sits too low may become buried by soil, mulch, or grass.
Troubleshooting and When to Call a Professional
A few problems point to a poor connection or a separate irrigation fault:
- Water leaks from the threads after tightening, which may indicate cross-threading, a cracked fitting, or the wrong riser.
- The head sprays weakly because debris reached the nozzle, the filter is blocked, or another part of the zone has a leak.
- The sprinkler remains low because the replacement riser is too short or the swing joint has shifted.
- The riser breaks again because the sprinkler body lacks flexible support or receives repeated impact from a mower.
- Several heads lose pressure at once, which suggests a valve, supply-line, or underground leak rather than one damaged riser.
Call a professional if the broken riser sits below a paver walkway, concrete slab, or driveway. Stop the repair if water keeps flowing after the shutoff is closed, the underground pipe moves, or the fitting cannot be removed without force.
Correct the irrigation problem before arranging hardscape or yard restoration. A concrete company should repair settled concrete only after the water source is fixed. Likewise, schedule paver cleaning after the soil dries and the leak stops. If you're planning artificial turf, sometimes misspelled online as "artifical turf," repair any buried irrigation issue before installing the base.
For a broader inspection or complicated repair, Outdoor Life Pros offers irrigation repair and landscape design for Cape Coral properties.
A Sound Repair Protects the Rest of the Yard
Replacing a cracked riser starts with the shutoff, not the wrench. Match every component to the existing fitting, use light pressure on plastic threads, flush the line, and test the area after the sprinkler head is installed.
A small leak can affect grass, planting beds, pavers, and soil around a home. When the repair involves buried pipe or nearby hardscape, professional irrigation work can protect both your water use and your larger landscaping investment.