Outdoor Kitchen Utilities for Florida Homes
A beautiful grill island can become an expensive do-over when gas, power, water, and drainage get treated as afterthoughts. In Southwest Florida, outdoor kitchen utilities need as much planning as the cabinets and countertop.
Heavy rain, salt air, sandy soil, high water tables, and storm exposure all affect where utility lines belong. A clear plan before demolition or new patio work protects your budget and keeps the finished kitchen easy to use.
Plan Outdoor Kitchen Utilities Before Construction
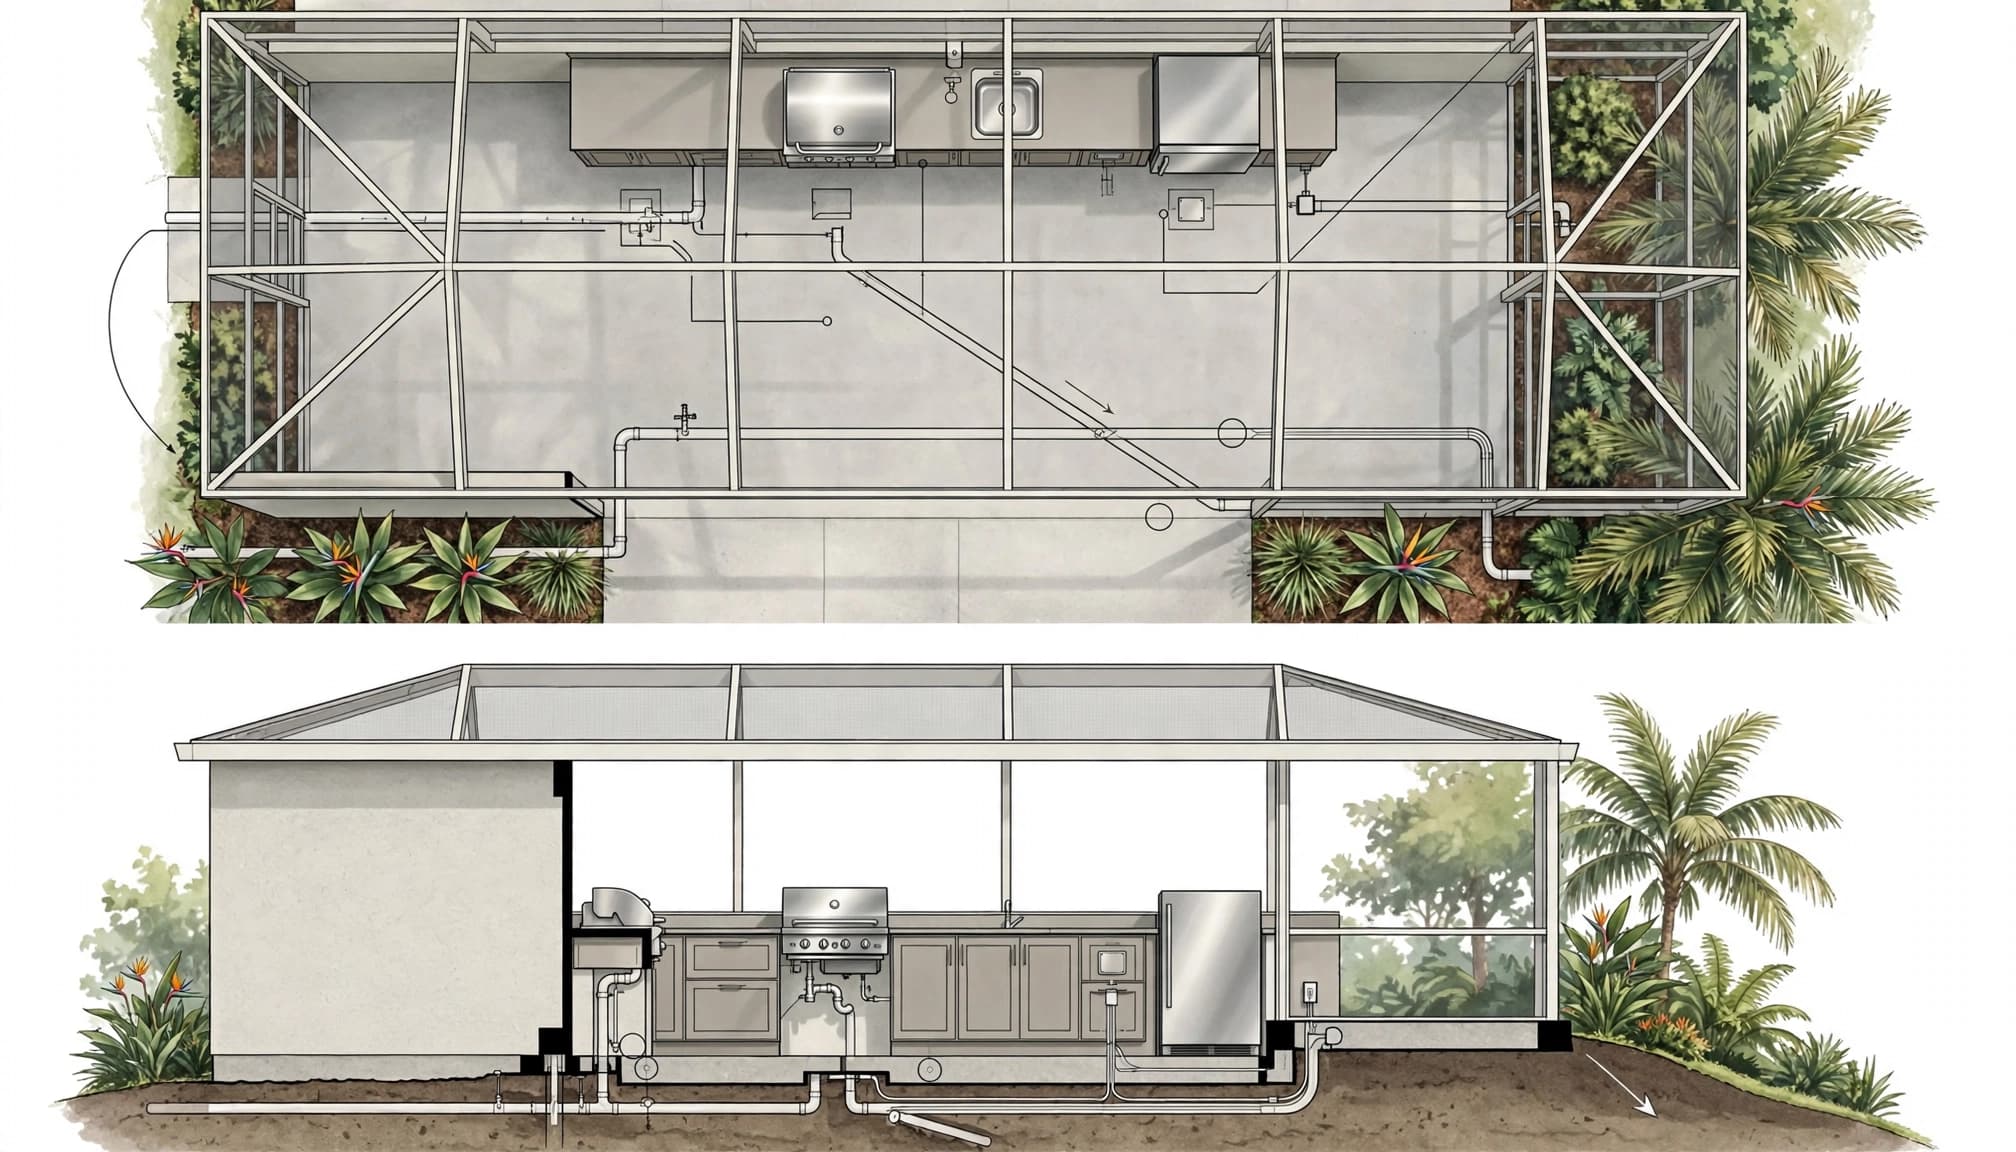
Start with a scaled layout that shows the kitchen footprint, appliances, pool cage, house wall, patio edges, downspouts, irrigation, and existing utility locations. Your contractor shouldn't have to guess where a gas line or drain will cross a slab.
Decide where each appliance will sit before anyone pours concrete, installs pavers, or sets cabinets. A grill, refrigerator, sink, ice maker, side burner, and lighting each have different utility needs.
Mark utilities that already exist
Locate water lines, irrigation pipes, septic components, pool lines, electrical feeds, and sewer connections before excavation. Also mark the main electrical panel, gas meter, propane storage location, and any cleanouts.
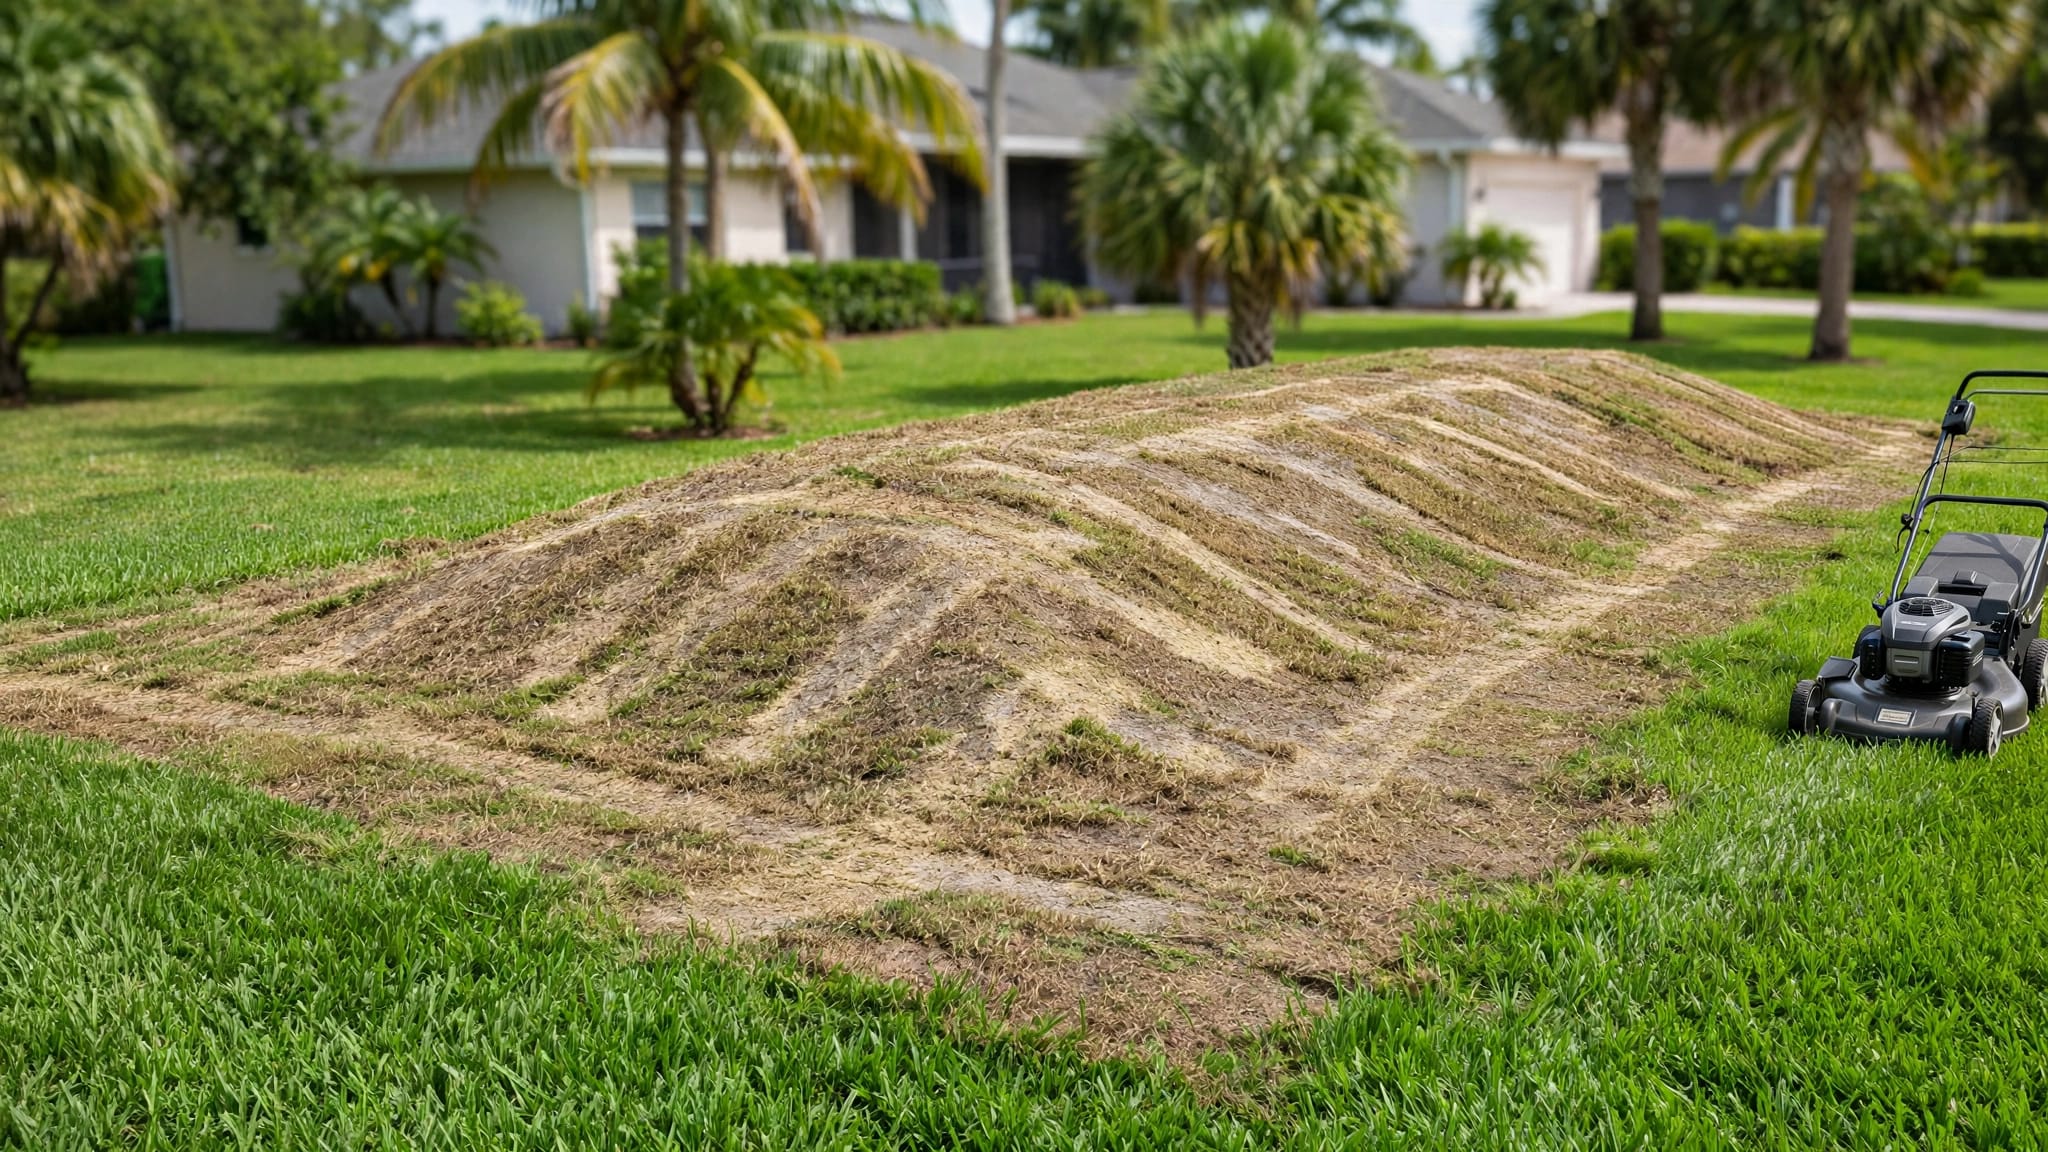
In Cape Coral and nearby communities, long utility routes often add more to the job than homeowners expect. Trenching through an existing slab or a finished paver patio can require saw cutting, removal, repair, and surface restoration.
Review outdoor kitchen utility and drainage costs early if you are comparing kitchen designs with different locations.
Leave room for future service
Every valve, receptacle, connection, trap, and appliance needs service access. A cabinet face that looks clean on installation day can be frustrating if a technician must remove a countertop to reach one concealed fitting.
Plan access panels on the back, side, or interior of the island. Keep shutoffs reachable without moving a refrigerator or dismantling stone veneer.
Confirm Permits and Local Reviews First
Outdoor kitchens often combine several regulated trades in one small footprint. Gas piping, electrical circuits, plumbing, mechanical ventilation, a new slab, and a roof or pergola can each affect the permit path.
Florida Building Code requirements and local amendments change over time. Check current requirements with the authority that has jurisdiction over your address before construction begins.
Identify the correct permitting office
Fort Myers addresses may fall under City of Fort Myers or Lee County review, depending on the property location. Cape Coral handles its own local permitting. The Village of Estero reviews building, gas, and electrical permits for Estero addresses.
Bonita Springs homeowners should confirm whether their property is within city jurisdiction or unincorporated Lee County. HOA approval may also apply, especially for visible structures, roof additions, or changes near a pool enclosure.
For patio, pergola, and hardscape questions, start with this Cape Coral patio permit guide.
Bring complete information to plan review
A useful permit package usually identifies appliance models, fuel type, electric loads, pipe routes, drain connections, venting, and the proposed kitchen location. It should also show site drainage and the relationship to the home, pool, enclosure, and property lines.
If the kitchen will sit in a flood hazard area, ask about floodplain review at the beginning. Florida guidance treats outdoor kitchens and bars in special flood hazard areas as development that requires local approval.
A sink drain that works during normal weather may still create a serious problem if floodwater can enter the wastewater system.
Choose Between Propane and Natural Gas
Both fuels can power a grill, side burner, griddle, or fire feature. The better choice depends on how you cook, where the kitchen sits, and how difficult it is to run a line from the home's meter.
Propane offers flexibility. Natural gas offers convenience. Neither choice should be made after cabinets are installed.
Propane fits kitchens without a nearby gas meter
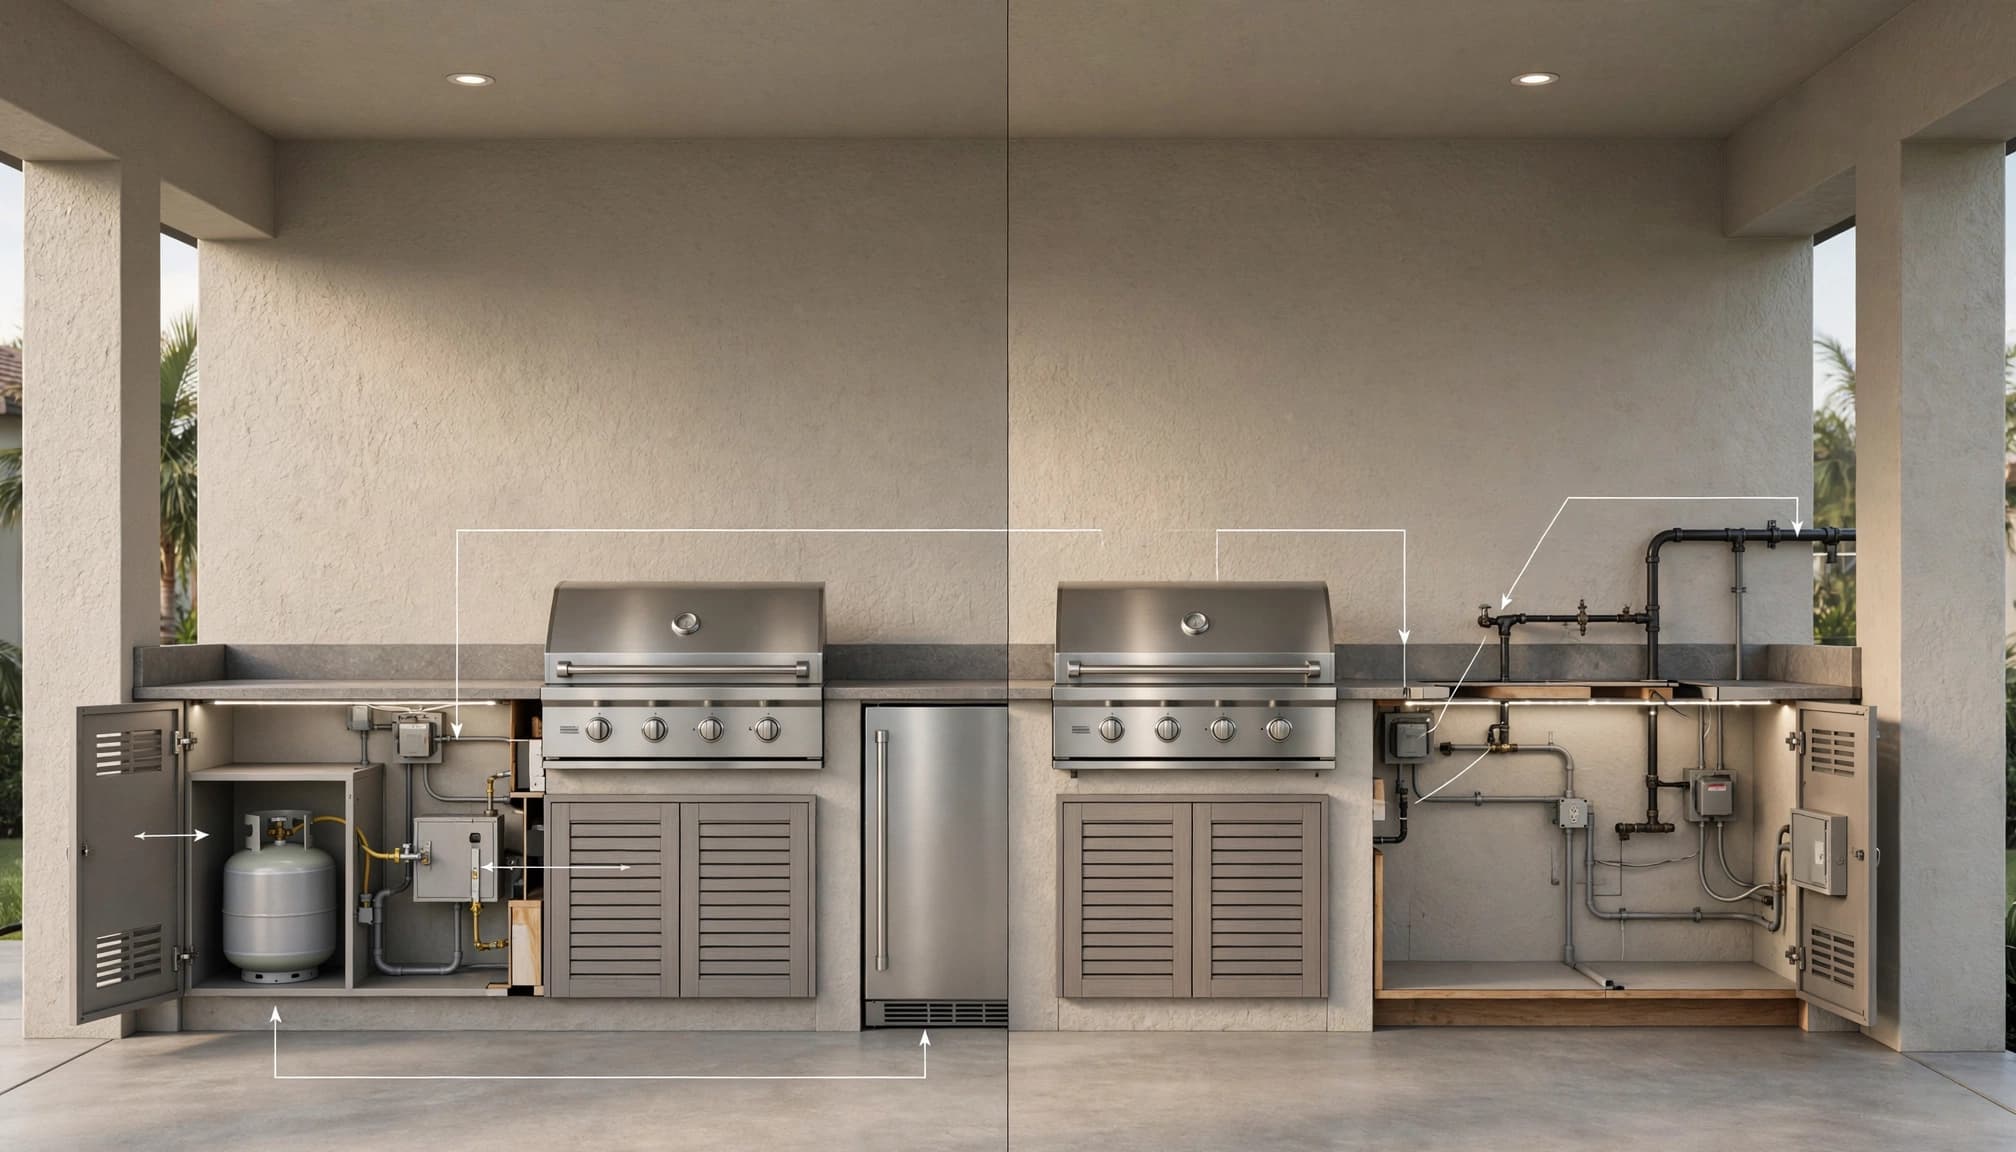
A propane grill can cost less to begin with because you avoid a long buried gas line. However, a built-in setup still needs a properly planned cylinder compartment, ventilation, safe hose routing, and an accessible shutoff.
Avoid treating the tank cabinet as ordinary storage. Don't crowd it with paper goods, pool chemicals, or spare patio items. Your gas professional should confirm appliance compatibility, regulator needs, cylinder access, and local requirements.
Natural gas removes refill trips
A plumbed natural-gas grill provides continuous fuel, which is helpful for frequent cooks and larger gatherings. Yet distance matters. A kitchen on the far side of a pool cage may require a lengthy route, trenching, sleeves through concrete, and patch work.
Gas line sizing must match the combined demand of every connected appliance. A grill may work alone but struggle when a side burner and fire feature run at the same time if the system was undersized.
Install a reachable manual shutoff and keep it visible on the final utility plan. If a gas appliance sits under a roof or in a partially enclosed cooking area, verify ventilation and hood requirements with the local reviewer and qualified gas professional.
Size Electrical Circuits for Real Appliance Loads
Outdoor kitchens need more electricity than many homeowners expect. A refrigerator, ice maker, beverage cooler, disposal, ignition system, outlets, task lighting, and landscape lighting can quickly fill available capacity.
Start with appliance nameplates, not rough guesses. Your electrician can use each model's listed voltage and load to plan the circuits and check panel capacity.
Plan GFCI protection and weather-rated equipment
Outdoor receptacles need protection from moisture, rain, and accidental contact. In flood hazard areas, Florida guidance calls for outdoor kitchen electric service on a separate GFCI circuit.
Your electrician should confirm the current GFCI, receptacle cover, box, conductor, burial-depth, and disconnect requirements for the exact installation. Use equipment rated for wet locations where exposure calls for it.
Keep outlets where they are useful but protected. A receptacle behind a refrigerator may be necessary, but it should not become the only convenient place to plug in a blender or phone charger.
Separate high-demand appliances when needed
A small beverage refrigerator and a few LED fixtures draw little power. An ice maker, electric grill, warming drawer, induction cooktop, or large refrigerator may need more planning.
Ask the electrician to identify:
- Which appliances need dedicated circuits based on their listed ratings.
- Where task lighting, overhead fixtures, and low-voltage yard lighting will connect.
- How the kitchen circuit relates to pool equipment, spa loads, and the home's existing panel capacity.
- Where service disconnects and junction boxes will remain accessible.
Good lighting makes the space safer after sunset. Place task light over the grill and prep counter, then use softer light around seating and walkways. A thoughtful landscape plan review checklist can help you spot conflicts between lighting cables, irrigation, planting beds, and hardscape.
Run Water and Wastewater Lines the Right Way
A sink makes an outdoor kitchen more practical, but it also adds plumbing decisions. You need a water supply, an approved wastewater path, a trap arrangement, and access for maintenance.
Don't assume a drain can simply empty into the yard, a paver base, or a nearby planting bed. Local plumbing review should confirm how the sink connects to sewer, septic, or another approved system.
Protect the water supply
Plan both hot and cold water before cabinets go in. Some homeowners choose cold water only. Others run hot water from the house, install a small point-of-use heater, or skip hot water to limit complexity.
Provide a reachable shutoff for the outdoor sink. This helps with repairs, seasonal absences, and storm preparation. Keep the valve behind a removable panel rather than sealing it behind finished stone.
Backflow protection and cross-connection rules depend on the configuration. A plumber should review the final design, particularly when irrigation, pool equipment, filtration, or specialty appliances sit nearby.
Design the drain for wet Florida conditions
The sink drain needs proper slope, a trap, cleanout access where required, and a connection that keeps wastewater contained. Florida flood guidance also calls for outdoor kitchen and bar sink drainage that prevents floodwater from infiltrating municipal wastewater systems.
Keep the drain route separate from stormwater piping. Rain runoff belongs in a legal site-drainage solution, while sink water belongs in the approved sanitary system.
Keep Stormwater Away From the Kitchen Base
A finished patio can look level while still holding water near the cabinets. Southwest Florida storms can drop intense rain in a short period, and flat lots often have few easy paths for runoff.
Before construction, watch how your yard behaves during a hard storm. Photograph puddles, overflowing downspouts, algae marks, washed-out joints, and wet strips near the lanai.
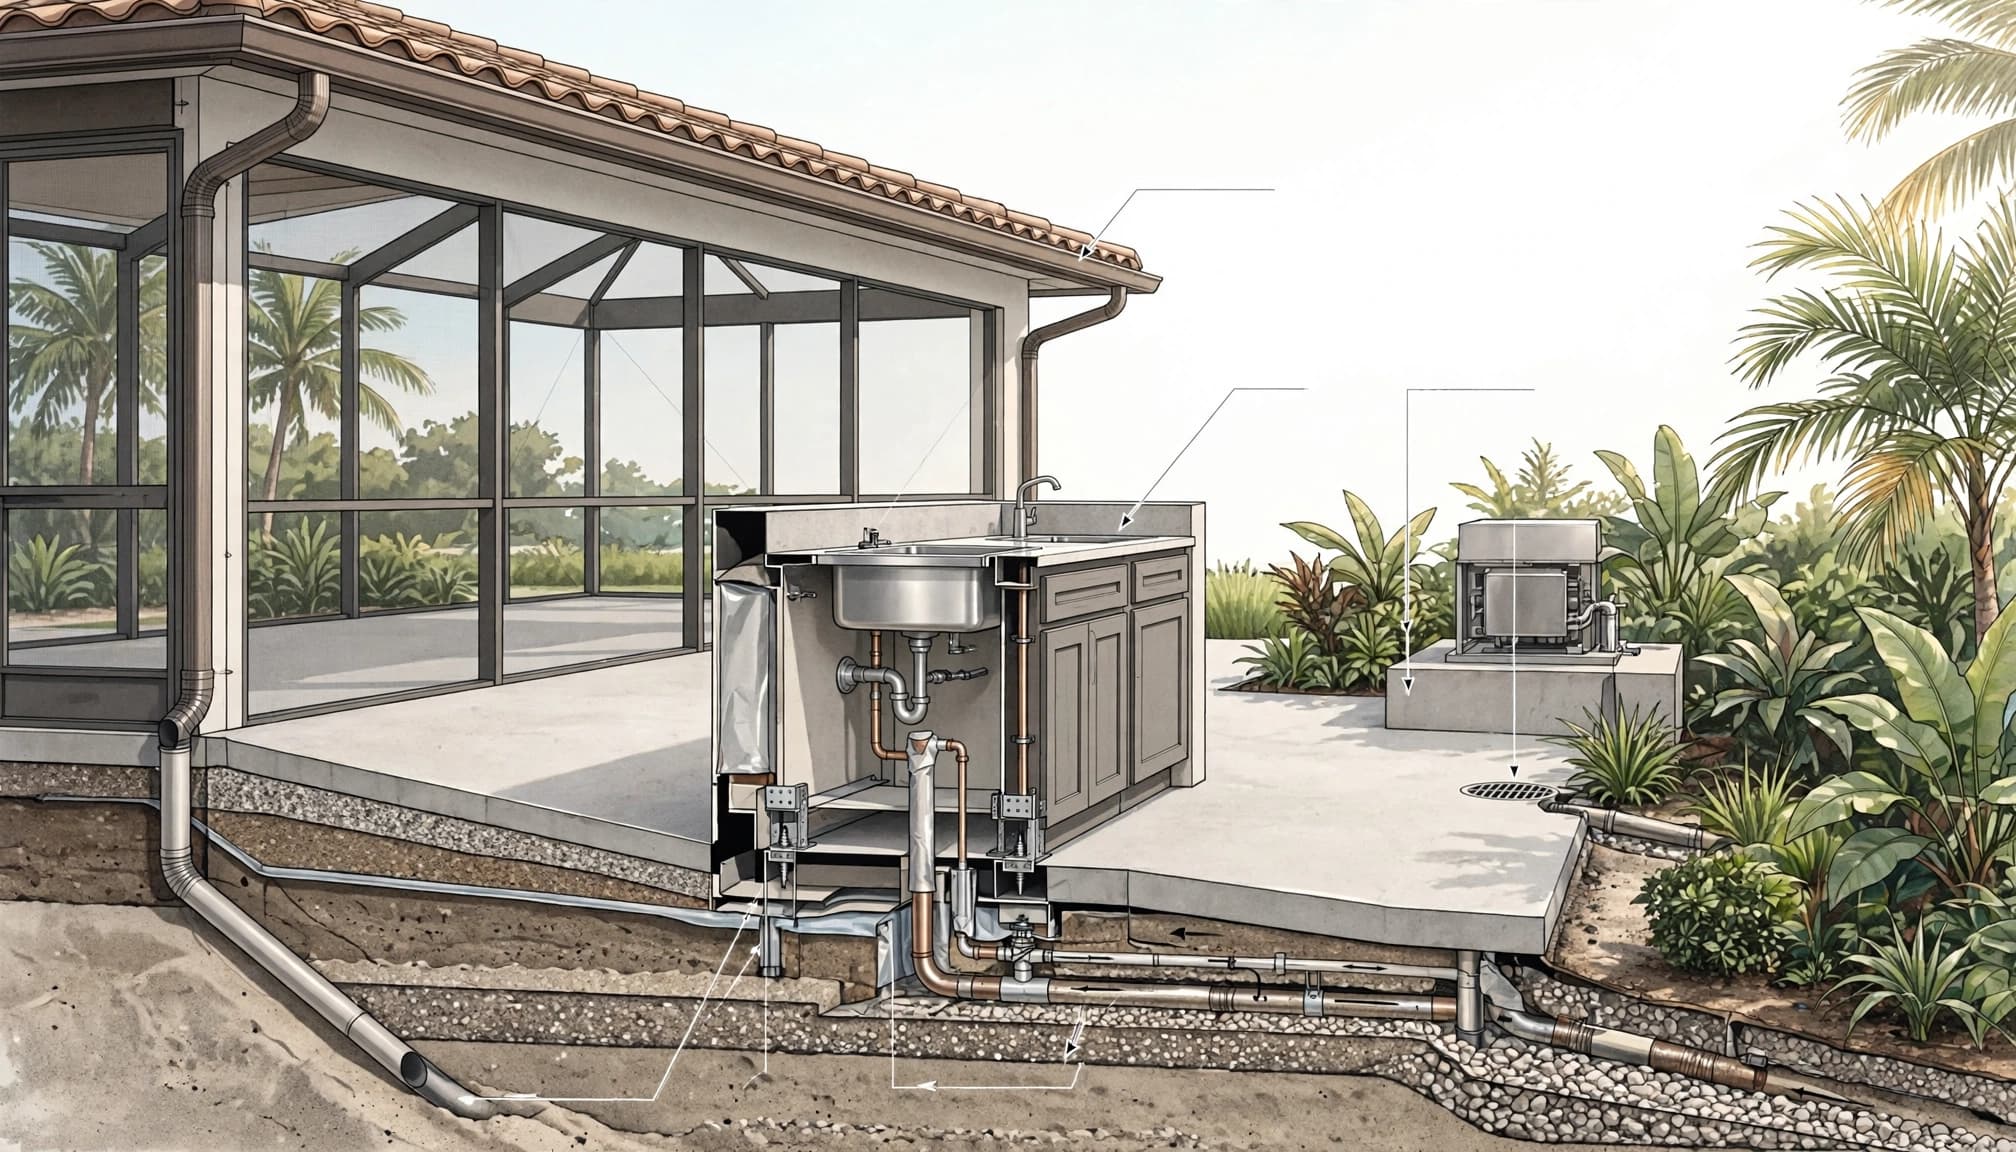
Grade patios before setting cabinets
The patio should direct surface water away from the house and kitchen base toward an approved discharge area. A common planning target is a 1 to 2 percent slope away from walls, but the final grade must fit the site and local requirements.
Downspouts deserve special attention. A roof can send a large volume of water onto one small patio edge. Extend, redirect, or capture that runoff before it reaches cabinet feet, slab joints, or the kitchen's electrical equipment.
A backyard drainage and grading plan helps set the right project sequence. Drainage and underground work should come before new pavers, planting, or turf.
Select the drainage method for the problem
Surface pooling near a slab may call for a channel drain or catch basin. Saturated soil beside a patio may need a French drain, grading adjustments, or another subsurface option. Each solution needs a lawful outlet.
A French drain is not a cure for every puddle. High groundwater, poor outlet elevation, roof runoff, and soil movement can change what works. Confirm the discharge route before a crew digs a trench.
Detail Slab Penetrations and Cabinet Openings
Every pipe or conduit that crosses concrete needs a planned opening. Last-minute drilling can weaken finishes, damage reinforcement, strike buried lines, or leave gaps that invite water and pests.
Coordinate the sleeve locations with appliance cut sheets and cabinet shop drawings. A grill gas stub, sink drain, water lines, electrical conduit, and low-voltage cables should not compete for the same tight section of slab.
Use sleeves and seal exposed openings
Install sleeves before concrete placement whenever possible. If you are remodeling an existing patio, the crew should map utilities and confirm the safest route before saw cutting.
Seal penetrations at the correct stage with materials suited to the pipe, conduit, and exposure. The goal is to limit water entry while allowing the system to function and remain serviceable.
Do not bury junction boxes, fittings, valves, or cleanouts inside a solid cabinet base. An access panel costs little compared with opening finished stone later.
Build a stable base under heavy kitchens
Stone counters, masonry islands, grills, and refrigerators place significant weight on a patio. Sandy soil can shift, particularly where water repeatedly washes through a low spot.
A reputable Cape Coral concrete contractor can assess whether the existing slab needs repair, reinforcement, extension, or replacement. The same review should include joints, grade, nearby paver edges, and the drainage route.
Prepare for Salt, Rain, Wind, and Flooding
Outdoor equipment in Fort Myers, Cape Coral, Estero, and Bonita Springs faces heat, humid air, sudden rain, and coastal salt exposure. Materials that look great indoors may not last beside a canal, pool, or open patio.
Choose outdoor-rated appliances and cabinets. Ask about stainless steel grade, powder-coated aluminum, marine-grade hardware, weather-resistant receptacle covers, and corrosion-resistant fasteners.
Stop water from lingering around metal
Salt residue and standing water speed up corrosion. Rinse exposed metal after coastal storms or pool splash-out, then inspect hinges, drawer slides, gas fittings, fasteners, and electrical covers.
Keep sprinklers aimed away from cabinets and appliances. Good landscaping supports the kitchen when plants, irrigation zones, and downspouts are planned around it instead of soaking its base.
If the design includes artificial turf, install hardscape and underground utilities first. The spelling "artifical turf" appears often in searches, but the product still needs a stable, well-drained base and careful edge details.
Address flood risk before buying cabinets
Properties in special flood hazard areas need early floodplain review. Florida guidance says outdoor kitchen equipment should be anchored to prevent flotation and protected from floodwater intrusion.
Countertops and roofed bar areas may not always need elevation when properly anchored, but local flood requirements control the final design. Conditions are stricter in some locations, including coastal high-hazard areas.
Don't rely on generic online drawings for a flood-prone site. Confirm the flood zone, Base Flood Elevation, anchoring approach, and permitted construction details with the local authority.
Flood planning affects more than cabinet height. It also affects equipment anchoring, electrical protection, drain design, and how water moves across the entire patio.
Coordinate the Trades Before Work Starts
A well-built outdoor kitchen requires a shared plan. The designer lays out the space, the hardscape crew prepares the base, the plumber maps water and drainage, the electrician sizes power, and the gas professional handles fuel piping.
When these decisions happen in isolation, utility conflicts show up after surfaces are finished.
Hold one pre-construction walkthrough
Meet on site with the key trades before excavation. Walk the proposed kitchen location and discuss cabinet dimensions, appliance clearances, sleeves, shutoffs, drains, venting, access panels, and rain runoff.
Use this short checklist during that meeting:
- Confirm the final appliance list, model numbers, and fuel type.
- Mark every proposed utility route and finished-floor height.
- Identify where technicians will access valves, plugs, traps, regulators, and cleanouts.
- Review downspouts, irrigation heads, pool equipment, and drainage outlets.
- Decide who restores pavers, concrete, planting beds, or turf after utility work.
Put restoration in the written scope
Utility work may disturb a patio, planting bed, irrigation zone, or lawn. The proposal should say who handles saw-cut patches, paver resets, sod, mulch, and cleanup.
If pavers border the island, fix base settlement and drainage before the final install. Routine paver cleaning and resealing can keep the surrounding patio looking sharp, but they won't correct a sinking base or recurring runoff.
Build the Kitchen Around the Site, Not Just the Countertop
The best outdoor kitchen begins with a utility plan that fits the property. Fuel choice, electrical capacity, drainage, slab details, and weather exposure all shape what will work long after the first cookout.
Plan every line before the patio is finished, keep shutoffs and service points accessible, and verify permits for your exact address. Outdoor kitchen utilities may stay out of sight, but they determine whether the space remains safe, durable, and easy to enjoy.