How to Read a Landscape Design Plan Before Building
A landscape design plan can look like a page of lines, symbols, and abbreviations until you know what each part controls. Reading it carefully before construction starts helps you catch missing details while changes are still affordable.
Your plan should show more than attractive plants and a patio shape. It should explain elevations, drainage, materials, utilities, lighting, irrigation, and how each area connects. Review the drawings in order, then bring every unclear item to your designer or contractor.
Read a Landscape Design Plan as a Set of Drawings
A complete plan usually includes several sheets. The colored overhead view may be easiest to understand, but the technical pages often contain the details that determine how the project gets built.
Start with the title block and legend
Find the title block, usually located along the bottom or side of the drawing. It should identify the property, project name, drawing date, revision number, and scale.
The scale tells you how drawing measurements relate to real distances. For example, one inch on paper may equal 10 feet on the property. The north arrow helps you understand sun exposure, shade, and the direction of water movement.
Next, read the legend. It defines symbols for trees, shrubs, lights, drains, valves, pavers, walls, fences, and other features. Similar-looking lines may have different meanings, so don't guess when a symbol isn't clear.
Review every sheet, not only the rendering
Your set may include a site plan, demolition plan, layout plan, grading plan, planting plan, irrigation plan, lighting plan, and construction details. Some projects combine several subjects on one sheet.
Check that the revision date matches across all pages. A patio may appear in one location on the planting plan and another on an older layout sheet. Ask the contractor which drawing controls if two sheets conflict.
Also confirm that the plan includes written notes and material schedules. The drawing shows where an item goes, while the notes often explain its size, finish, installation method, or product standard.

Match the Plan to Your Property
Before studying the proposed improvements, compare the drawing with your actual yard. A plan can be accurate on paper and still need clarification if an existing feature has moved, changed, or been measured incorrectly.
Verify boundaries and fixed features
Look for property lines, fences, walls, driveways, pools, buildings, air-conditioning units, utility boxes, cleanouts, wells, trees, and existing drainage structures. These items should appear in the correct locations.
Check the dimensions between proposed work and permanent features. Measure a few key distances yourself, such as the width of a walkway, the space beside a pool, or the distance from a new patio to the house.
Property lines and easements require care. If the plan shows work near a boundary, utility corridor, drainage area, or recorded access area, ask who verified the restriction. Don't move a fence, wall, drain, or utility feature based on an assumption.
Trace how people will use each area
Follow the paths from the driveway or front walk to the entry, patio, pool, outdoor kitchen, side yard, and service areas. A good landscape design plan should show comfortable movement without forcing people through planting beds or narrow gaps.
Look for gates, steps, changes in paving, and transitions between surfaces. Confirm that doors can open fully and that furniture will fit where you plan to use it.
For Southwest Florida homes, also review areas that receive strong sun, heavy rain, or regular pool traffic. A beautiful arrangement won't work well if a seating area sits where water collects or a plant blocks a service panel.
Check Grading and Drainage Before Approval
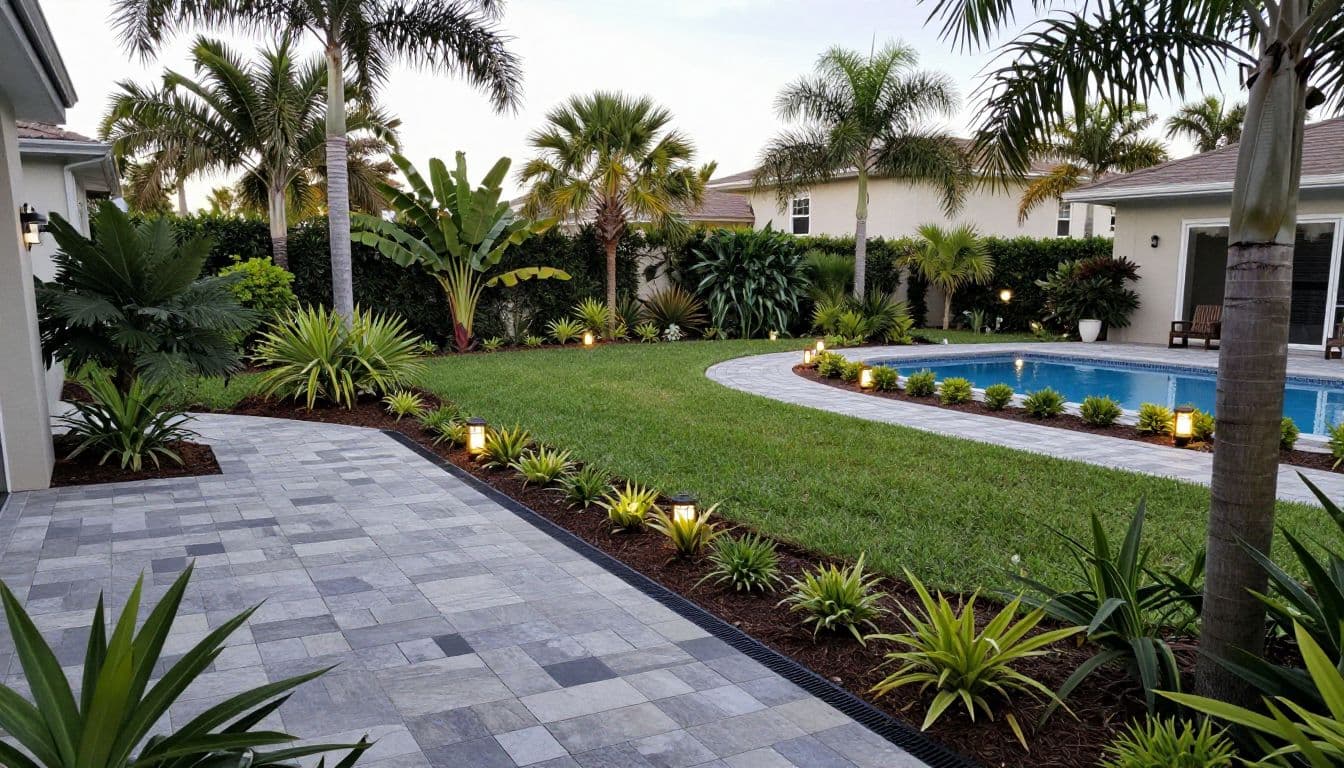
The grading plan shows how the finished ground levels will change. Grading means shaping the soil so water moves to an intended location. This part deserves careful review because it affects the house, paving, planting beds, and neighboring properties.
Follow arrows, contours, and spot elevations
Drainage arrows usually point in the direction water should flow. Contour lines connect points with the same elevation, while spot elevations give the height at individual locations.
You don't need to calculate slopes yourself. However, you should understand where water starts, where it travels, and where it leaves the property. Ask whether the finished grades protect the home's foundation and direct runoff toward an approved drainage solution.
Pay attention to low points near doorways, pool decks, retaining walls, planting beds, and the edge of a new driveway. Confirm whether the plan uses swales, catch basins, channel drains, grading, or another method to handle runoff.
Ask for professional clarification
Grading, drainage, retaining walls, and structural concrete can involve building codes, engineering requirements, and site conditions that a homeowner shouldn't alter without qualified guidance.
Ask these questions before approving the plan:
- What are the finished elevations at doors, patio edges, and property lines?
- Where will water go during a heavy rain?
- Does the plan connect to an existing drain or require a new system?
- Who will verify grades during installation?
- Are permits, engineering drawings, or inspections required?
A drainage arrow is only useful when the surrounding elevations support the proposed flow. Ask how the crew will check those elevations in the field.
Never instruct a crew to raise or lower soil, cut into a slope, cover a drain, or change a structural element without professional direction. A small grade change can affect water movement across the entire yard.
Confirm Hardscape Dimensions and Materials
Hardscape includes the non-plant parts of a project, such as patios, walkways, steps, walls, pool decks, driveways, and outdoor kitchens. These features often account for a large share of the project cost, so review their dimensions and specifications closely.
Measure patios, walkways, and steps
Check the length and width of every paved area. Mark those dimensions on the ground with temporary stakes or chalk so you can judge the actual scale.
Look at the proposed slope, step locations, edge restraints, joints, and transitions to existing surfaces. Ask how the plan handles door thresholds, pool coping, driveway connections, and areas where different materials meet.
For concrete work, confirm the finish, color, thickness, reinforcement, control joints, and base preparation listed in the specifications. If a concrete company will complete part of the work, ask whether its proposal matches the plan or excludes preparation, demolition, drainage, or finishing.
Read the material schedule
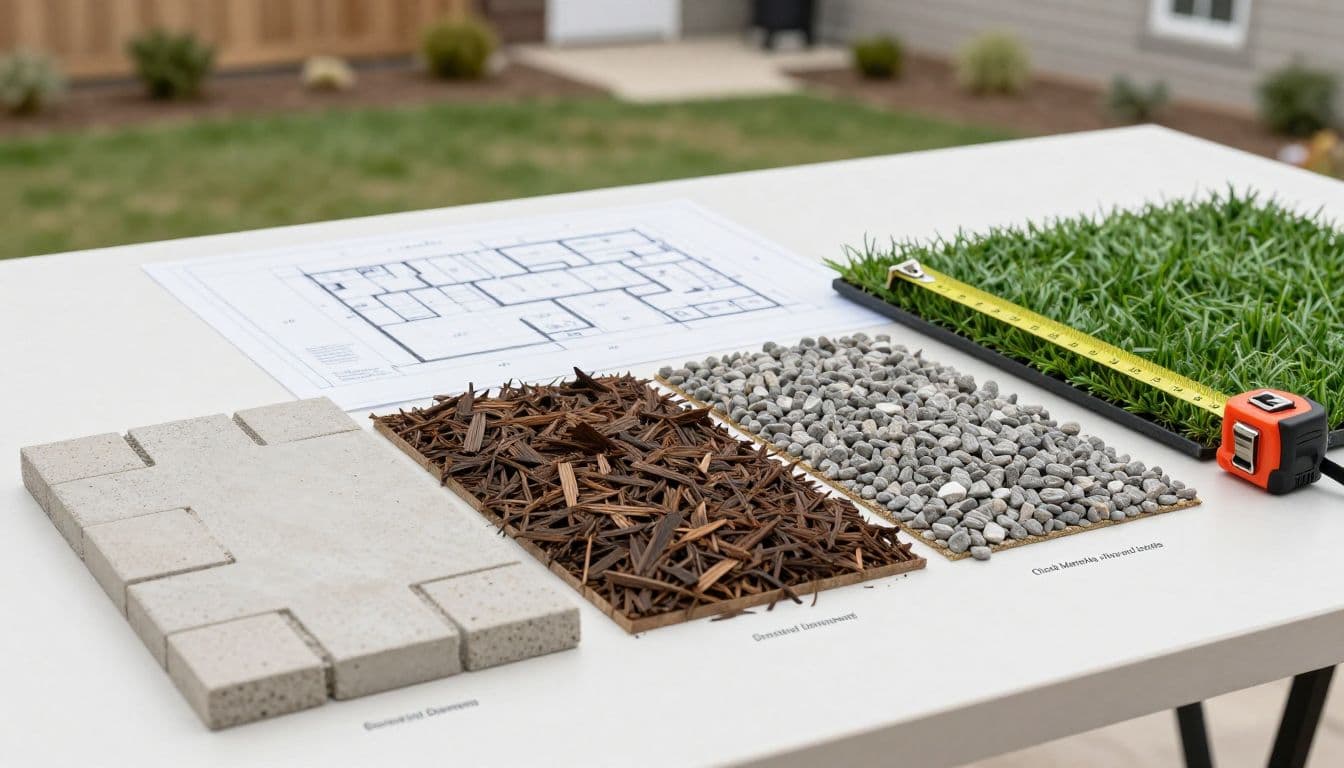
The schedule should identify the selected paver, concrete finish, stone, mulch, edging, wall block, or artificial grass product. Names such as "light paver" or "gray stone" may not provide enough detail for ordering.
Ask for samples when color and texture matter. Outdoor materials can look different in direct sun, shade, and wet conditions. Also ask how the surface will be maintained. For example, sealing requirements and future paver cleaning may differ between concrete pavers, natural stone, and exposed aggregate.
If a note says "artifical turf," ask the contractor to correct the specification to "artificial turf" and confirm the exact product, pile height, backing, infill, and base system. The spelling matters less than knowing which material and installation method the estimate includes.
Review Planting, Irrigation, and Lighting
Planting plans show the living parts of the project, while irrigation and lighting drawings show how those areas will be supported. Together, they help you judge appearance, maintenance, and long-term performance.
Use the planting schedule
Find the plant symbols on the drawing and match them to the plant schedule. Each entry should identify the common name, botanical name when needed, quantity, container size, spacing, and location.
Check the expected mature size rather than judging only the plant's installation size. A shrub placed too close to a wall, window, pool screen, or walkway may create maintenance problems later.
Review sun and shade conditions as well. A plant that needs full sun may struggle beside a tall wall or under a mature tree. If the plan includes palms, tropical plants, turf, or privacy screening, ask how much trimming, watering, and cleanup each area will require.
Good landscaping is easier to maintain when plant groups have similar water and sunlight needs. Ask whether the plan separates high-water planting from areas that need less irrigation.
Look for irrigation and lighting coverage
An irrigation plan should show zones, valves, controller location, backflow equipment, and sprinkler or drip-line coverage. Confirm that new planting beds, turf, containers, and existing plants receive the right type of watering.
Ask how the system avoids spraying walls, windows, walkways, and paved areas. Also confirm who will adjust the controller after installation and what happens if an existing line is damaged.
Lighting plans should show fixture locations, beam direction, transformer placement, cable paths, and controls. Review whether lights serve practical needs, such as steps and walkways, as well as visual areas, such as trees or an entry feature.
Clarify Utilities, Permits, and Construction Sequence
Construction can change quickly when crews uncover an unrecorded pipe, cable, drain, or old slab. Ask the contractor how the team will locate existing utilities before digging and who will coordinate required utility markings.
The plan should also identify demolition and protection work. Confirm which plants, trees, pavers, walls, irrigation lines, and structures will remain. Ask how the crew will protect the house, pool equipment, air-conditioning units, and surfaces used for access.
Review the construction sequence with your contractor. A common order may include demolition, layout, utility checks, grading, base preparation, hardscape installation, irrigation and lighting, planting, and final cleanup. The exact order may vary by project, but each trade should know when it enters the site.
Ask which items are included in the price and which are allowances or possible change orders. Clarify disposal fees, soil or base material, permits, inspections, plant replacement terms, cleanup, and final system adjustments before work begins.
Use a Before-Construction Checklist
Walk through the final landscape design plan with the designer and contractor. Keep a marked copy of the approved drawings and written selections.
- Confirm the property address, plan date, revision number, scale, and north arrow.
- Match the plan with existing fences, utilities, drains, pools, trees, doors, and equipment.
- Verify patio, walkway, driveway, step, and planting-bed dimensions on site.
- Review grading arrows, finished elevations, drainage structures, and discharge points.
- Ask qualified professionals about walls, stairs, structural concrete, utilities, and permits.
- Confirm every material, color, finish, plant size, turf product, and installation method.
- Check irrigation zones, lighting locations, controls, and protection for existing systems.
- Write down exclusions, allowances, warranties, cleanup responsibilities, and change-order rules.
- Get written approval for any plan revision before construction follows the change.
Take photos of existing conditions before demolition. They can help settle questions about what was present, where utilities were located, or which features the crew was expected to preserve.
Conclusion
A landscape design plan is ready for construction when it answers practical questions about location, measurements, water, materials, plants, lighting, utilities, and responsibility. Review the plan against your property, mark unclear details, and ask for written answers before the crew begins.
The best time to solve a grading conflict or material mismatch is before installation. A careful review protects your budget and helps turn the drawing into an outdoor space that works well every day.