


Orange Irrigation Stains on Concrete and Stucco
Orange irrigation stains often appear when water containing iron repeatedly lands on concrete or stucco. The water dries, but colored deposits can remain. Removing the marks helps, but correcting the spray pattern is what keeps them from returning.
For Southwest Florida homeowners, the first step is to find out how water reaches the stained surface. Then you can choose a cleaning approach that suits the material and its finish.
What Causes Orange Irrigation Stains?
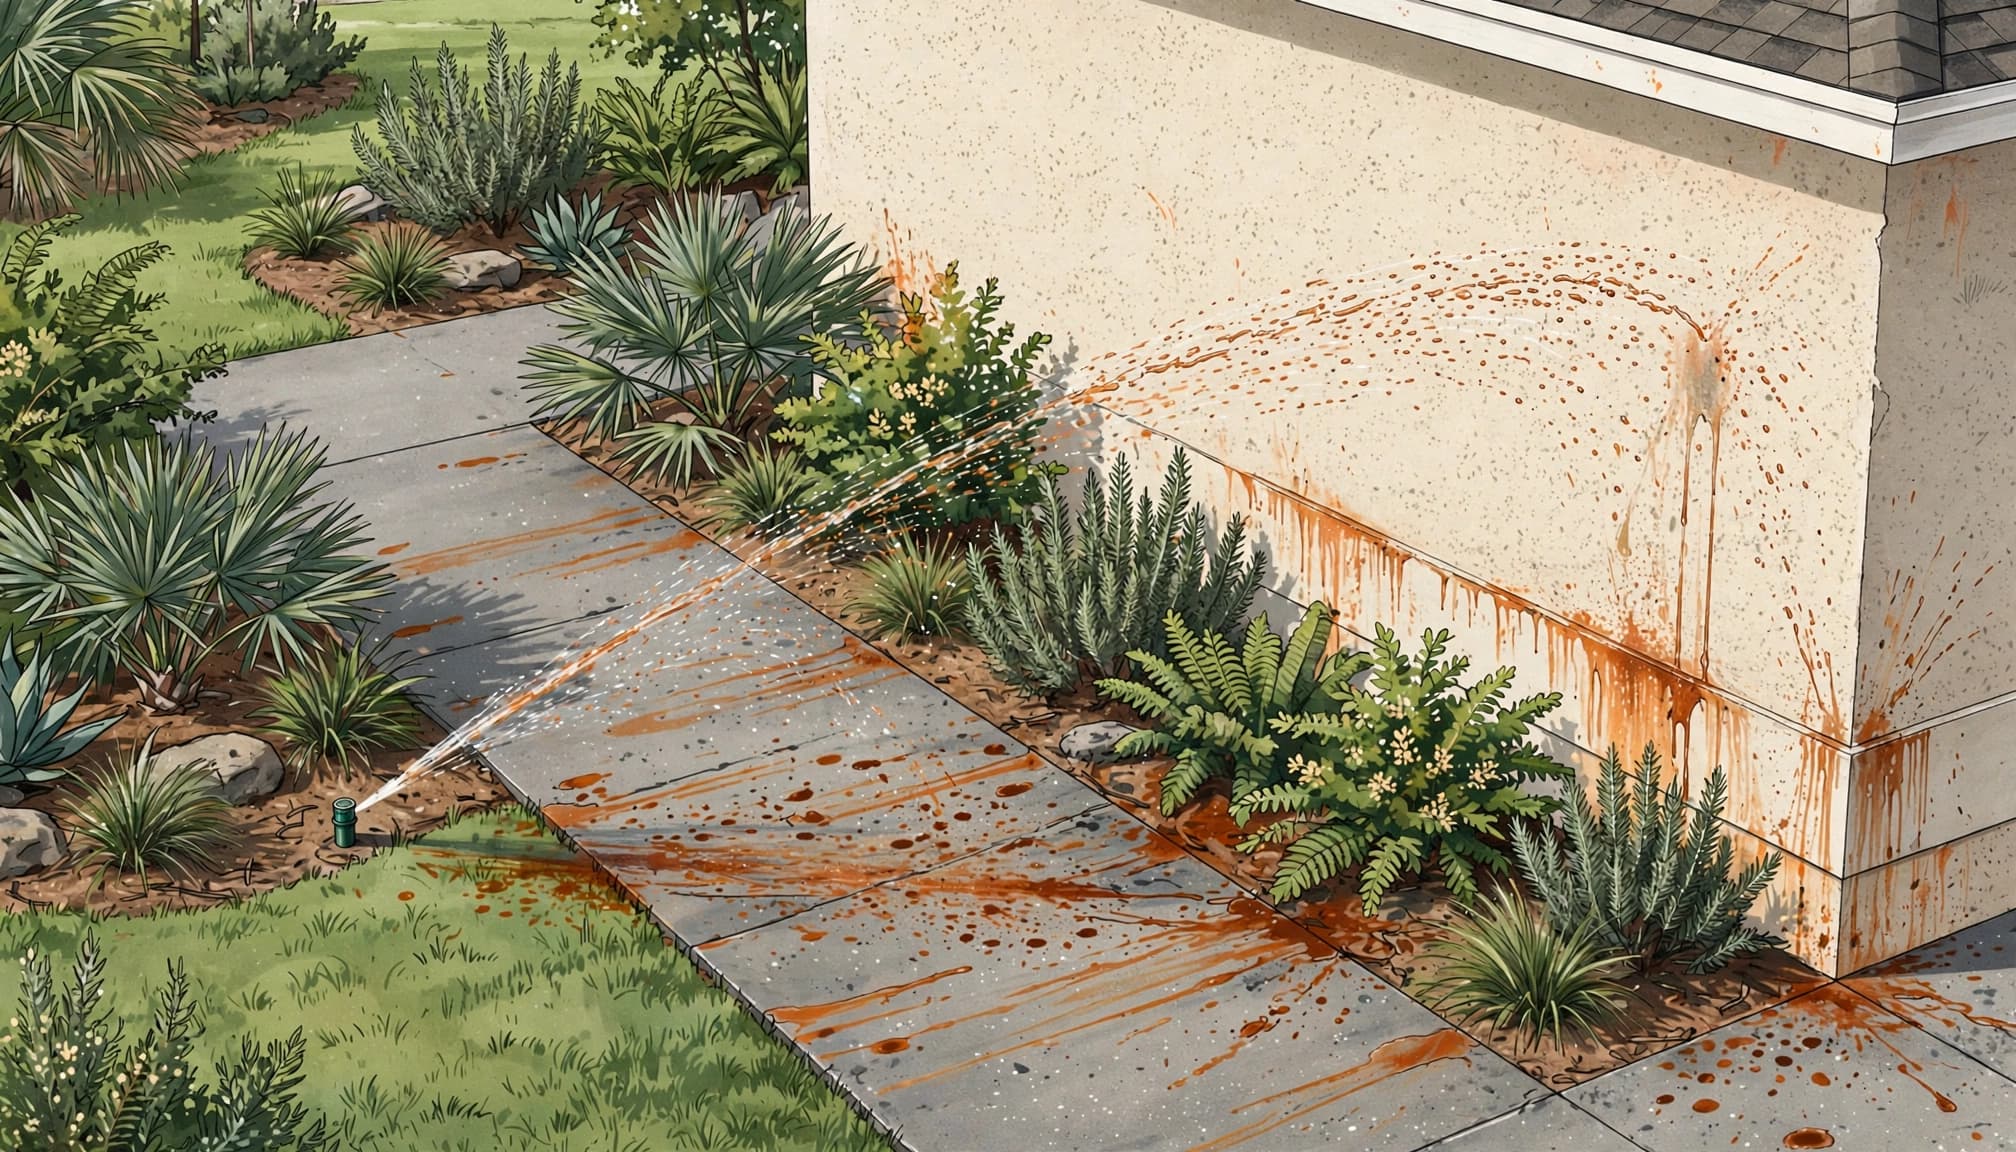
Orange staining is often associated with iron in irrigation water. A sprinkler doesn't have to leave a puddle to cause visible marks. Repeated droplets can reach the same wall or walkway several times a week.
Iron in Irrigation Water
Water that contains iron can leave reddish-orange deposits on porous outdoor surfaces. The color may appear gradually, especially along a walkway edge or at the base of a wall.
The water source alone doesn't confirm the cause. Our guide to well water versus city water for irrigation covers other differences that matter when planning a Florida sprinkler system.
Overspray and Splashback
A tilted head, a damaged nozzle, or a spray arc set too wide can send water onto a house or paved area. Fine mist can also drift beyond the intended target on a breezy day.
Sometimes the sprinkler hits soil or another hard surface first. The resulting splash can carry moisture onto nearby stucco, even when the main stream appears to miss the wall.
How to Identify the Source of the Stain
Before buying a cleaning product, look at the stain's shape and the surrounding area. A little investigation can keep you from treating the wrong problem.
Watch Each Sprinkler Zone Run
Run one zone at a time during daylight. Watch long enough to see the entire pattern, especially with rotating heads that sweep back and forth. A rotor may miss the wall at one point in its cycle and strike it later.
Look for matching orange marks on curbs, walls, pavers, or other surfaces reached by the same zone. A stain that follows the spray pattern is a useful clue, though it doesn't prove what's in the water.
Take a photo before making changes. You can compare it with the surface after cleaning and again after the system has run for several weeks.
Look for Other Sources of Discoloration
Rusty furniture legs, metal edging, planters, drain grates, and downspouts can leave localized marks. If the stain sits directly beneath a metal object, move or repair the object before cleaning.
Color also offers clues. Green or black patches may indicate algae or mildew, while a white haze on pavers may be efflorescence. These common paver problems need different treatment, so don't assume every mark along an irrigated edge is rust.
Clean Concrete Without Damaging the Finish
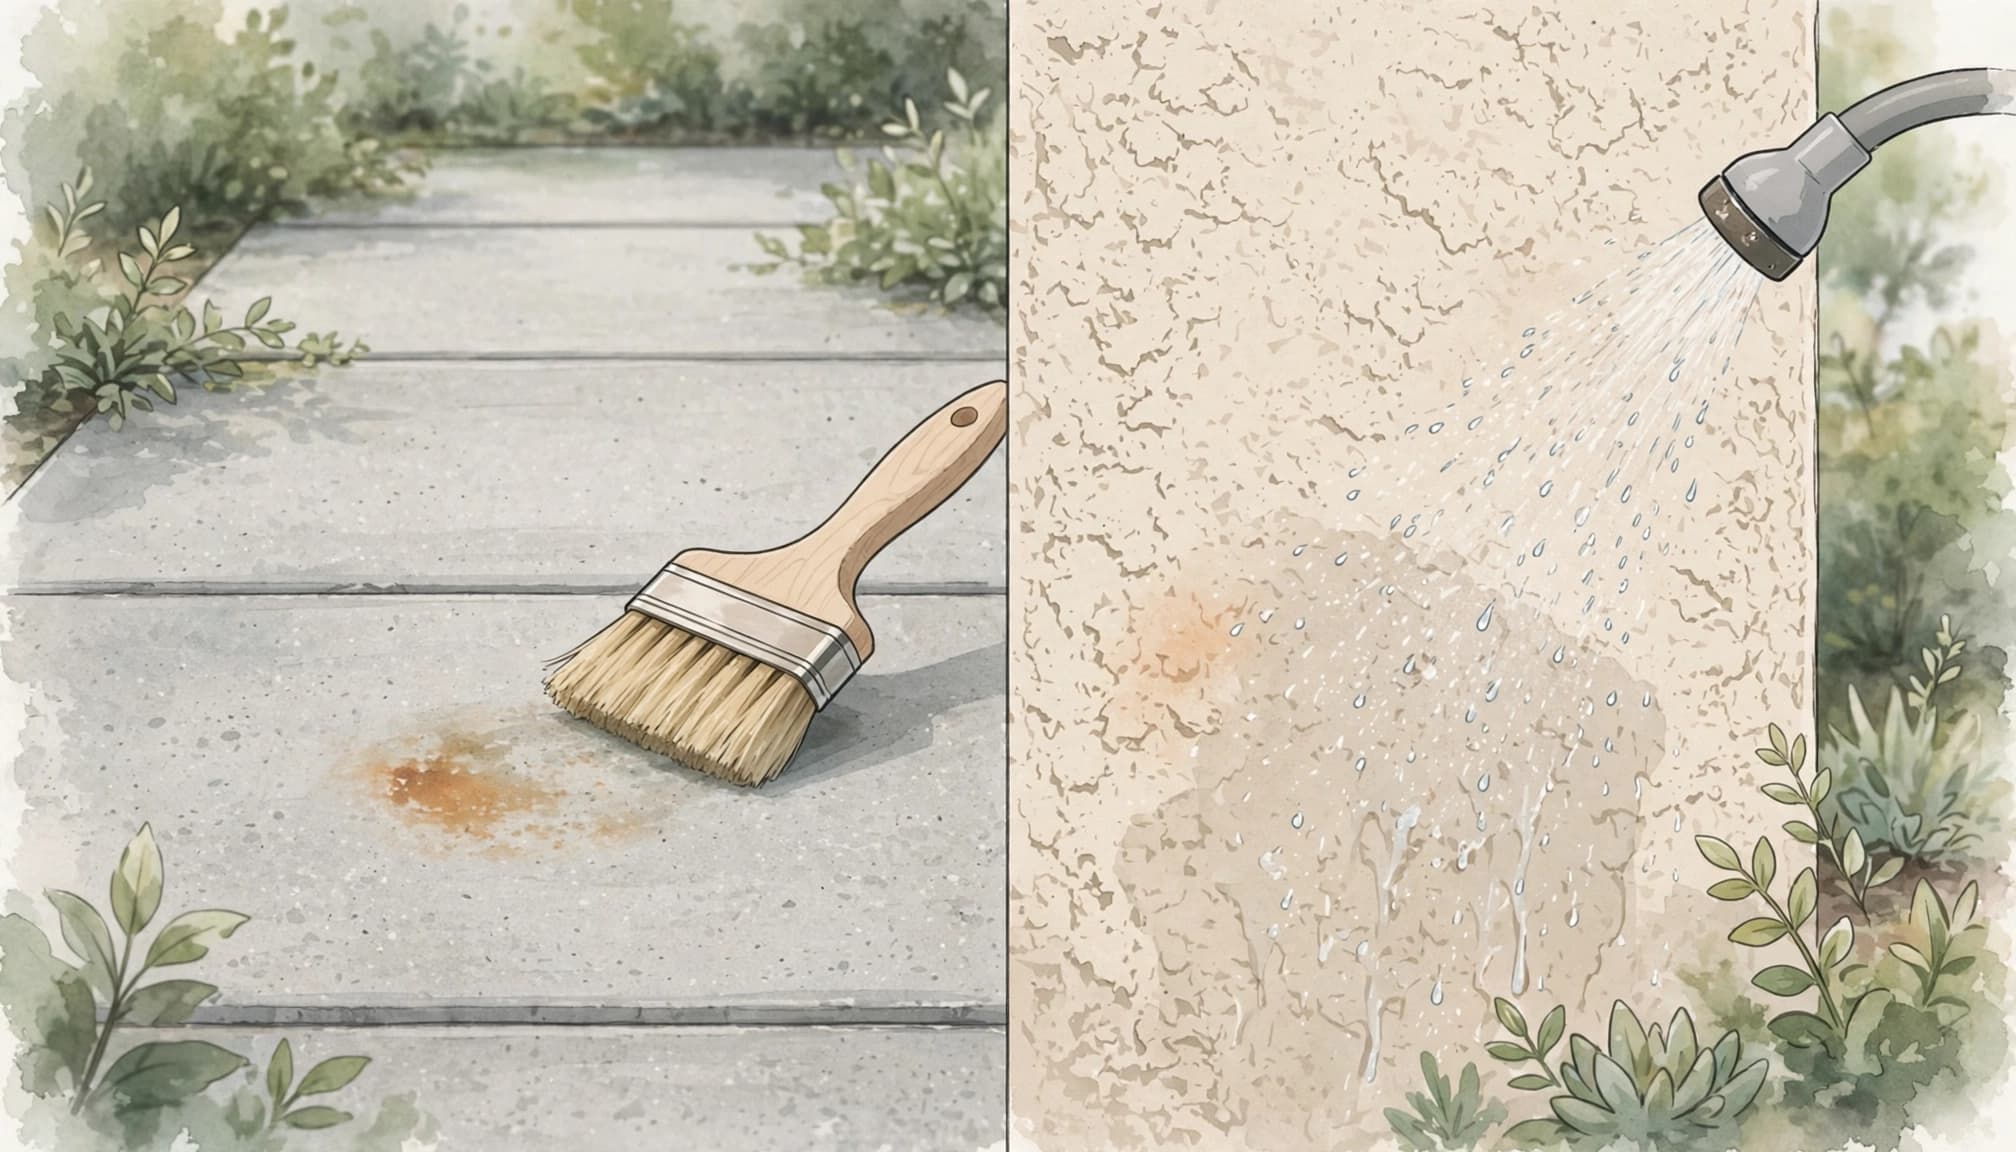
Concrete can absorb staining into its surface, and decorative finishes need more care than plain concrete. Start with the least aggressive method suited to the material.
Prepare and Test a Small Area
Sweep away sand, leaves, and loose soil. Rinse the surface with clean water, then inspect it in good light. Note whether the area is plain, painted, coated, colored, or sealed.
If you use a stain remover, choose one labeled for both the surface and the type of stain. Test it in an inconspicuous spot first, using the label's directions. Let the test area dry so you can see whether the treatment changes the color or finish.
A product suitable for bare concrete may not be suitable for a decorative coating. Don't use a household bathroom cleaner simply because it mentions rust removal.
Treat the Mark and Rinse Carefully
Wear the protective equipment specified on the label. Apply the product only to the stained area, follow its directions, and use a soft nylon brush if scrubbing is permitted. Avoid wire brushes, which can scratch the finish and leave metal particles behind.
Rinse as directed. Keep cleaning solution and runoff away from plants and storm drains. If you can't control where the runoff will go, arrange professional cleaning.
Heavy pressure washing can roughen concrete or damage a coating. It can also disturb nearby sprinkler heads and paver joints, so more pressure isn't a dependable solution for a stubborn stain.
Take a Gentler Approach to Stucco
Stucco has a textured surface, and many homes have paint or another finish over it. Aggressive cleaning can change that finish or force water into openings around the wall.
Start With a Low-Pressure Rinse
Remove loose dirt with a gentle rinse and a soft brush. Work on a small area rather than soaking the entire wall. Keep water away from vents, electrical equipment, openings, and damaged sections of stucco.
Avoid directing a concentrated pressure-washer stream at the wall. High pressure can damage the finish, and a clean-looking patch may stand out against the surrounding exterior.
Protect Painted and Damaged Areas
For a remaining orange mark, use only a product labeled for the wall's material and finish. Test an inconspicuous spot first, follow the directions, and protect nearby plants and metal fixtures. Never mix cleaning chemicals.
Stop if the finish softens, the color changes, or the surface begins to flake. Cracked, loose, or deteriorated stucco needs attention before further cleaning. In those cases, a professional can assess the finish and recommend a suitable repair or treatment.
A stain may look lighter while the wall is wet. Allow the surface to dry before judging the result or deciding whether more work is appropriate.
Adjust Sprinklers to Keep Water Off Hard Surfaces
Cleaning gives you a fresh starting point. The next irrigation cycle determines whether that work lasts.
Correct the Spray Pattern
Turn off the affected zone before adjusting a head. Look for a tilted body, a clogged or damaged nozzle, or a head that no longer fits the space. A narrow strip beside a house may need a different nozzle or layout than an open lawn.
Once the adjustment is complete, run the zone again and watch the full pattern. Check the lawn as well as the wall. Reducing the spray arc can leave a dry wedge if the head's position doesn't suit the area.
Our guide to Florida sprinkler head types covers the relationship between nozzle choice and coverage. For wall-specific tips, see how to prevent sprinkler overspray on stucco.
Repair Leaks and Pressure Problems
A leaning head may need more than a quick adjustment. Bubbling water, a sudden geyser, or soggy soil around the riser can point to a broken fitting or pipe. Turn off the affected zone and arrange a repair rather than forcing the head back into place.
Excess pressure can create fine mist that drifts onto nearby surfaces. Pressure regulation or a different head may help, but the right correction depends on the system.
Water that continues to run after the controller shuts off is another reason to investigate. These signs of an irrigation leak can help you recognize a problem before restoring the surrounding lawn or mulch.
Consider the Water as Well as the Spray
Keeping water off walls and pavement is often the most direct way to limit staining. However, some layouts make it difficult to avoid every hard surface, particularly around narrow lawns and closely spaced walkways.
If orange deposits appear across several zones, water testing can help identify whether iron is present. A water-treatment professional can recommend options based on the test results, the irrigation system, and the amount of water it uses.
A filter that catches sand or sediment doesn't automatically solve every water-quality issue. Treatment equipment also needs maintenance, so consider its ongoing care as part of the decision.
Even with water treatment, maintain the sprinkler pattern. Overspray can still leave surfaces damp and waste water.
Plan Irrigation Around Landscape Changes
A yard can outgrow its original sprinkler layout. A head that once watered grass may point toward a new patio, planting bed, or wall after a renovation.
Coordinate Hardscape and Irrigation Work
Before a concrete company pours a walkway or patio, identify the irrigation lines and heads in the work area. Plan for access to pipes that need to cross beneath the new surface.
Complete irrigation repairs before paver cleaning or sealing when possible. Digging afterward can disturb joint sand and leave soil on the cleaned surface. Once the work is complete, run each zone to see whether the new edge blocks or redirects spray.
Revisit Coverage After Planting Changes
New landscaping can change where water is needed. Narrow foundation beds may benefit from drip irrigation, which delivers water near the soil instead of broadcasting it against a wall.
Artificial turf doesn't need regular watering, though nearby plants may still need irrigation. When converting a lawn area, redirect, cap, or remove former turf heads as appropriate for the new layout.
Inspect the system after mowing, storm cleanup, or installation work. Equipment and soil movement can shift a head that was previously aimed correctly.
When to Get Professional Help
Small surface stains and straightforward spray adjustments may be manageable for homeowners. Larger areas deserve more care, particularly when the surface is decorative or the source remains unclear.
Call for help if a stain returns after the spray pattern has been corrected, multiple heads mist heavily, or water continues flowing when a zone should be off. Cracked stucco, damaged coatings, and uncontrolled cleaning runoff are also good reasons to stop and seek assistance.
At Outdoor Life Pros, we offer irrigation repair, concrete services, and landscape work for properties in Fort Myers, Cape Coral, Estero, and Bonita Springs. Addressing the irrigation issue before restoring the surface helps protect the finished work.
Keep the Orange Stains From Returning
The best place to start is the running sprinkler system. Its spray pattern can show you why a particular section of concrete or stucco keeps getting wet.
Clean with a method suited to the surface, then watch for new marks after the correction. Keeping irrigation water on the lawn and planting beds makes that cleaning work last longer.