Landscape Punch List: Inspect Before Final Payment
A finished yard can look great at first glance while still hiding loose pavers, clogged drains, missed plants, or irrigation heads that spray the wrong place. A careful landscape punch list gives you time to spot those details before final payment is released.
Walk the property with your contract, approved plan, and phone in hand. Focus on workmanship, function, cleanup, and the items promised in writing, then document anything that needs attention.
Start Your Landscape Punch List With the Scope of Work
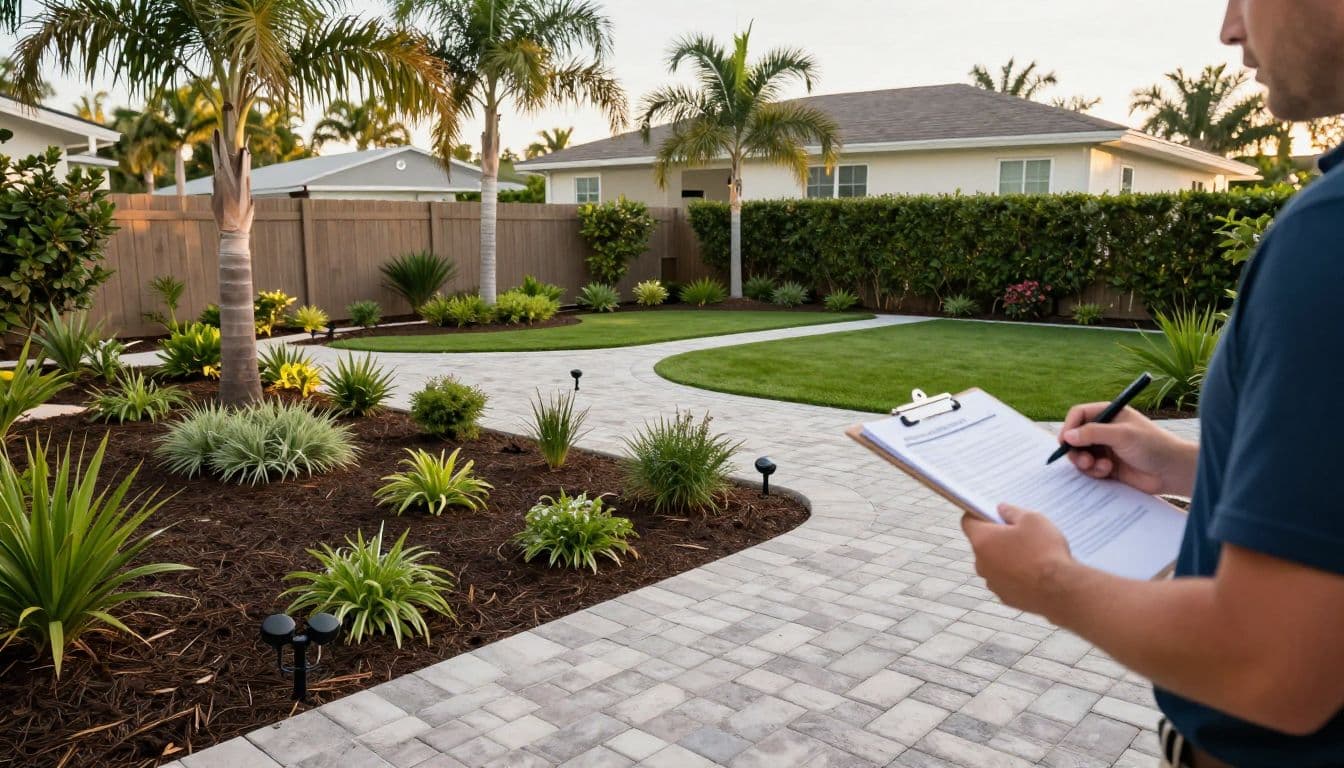
Don't inspect from memory. Pull out the signed proposal, change orders, drawings, material selections, and any text or email approvals. These documents tell you what "complete" means for your project.
Compare visible materials with the written scope. Confirm paver color and pattern, plant quantities, mulch or rock type, lighting fixture count, turf product, irrigation work, and cleanup requirements. If a plan uses broad wording, such as "gray pavers" or "accent stone," check whether you approved a sample before installation.
Bring the right records to the walk-through
Keep documents available on your phone, but print the plan if possible. Mark discrepancies as you find them rather than trying to recall them later.
Use this quick pre-walk checklist:
- The contract and approved change orders are available.
- Material samples, product names, and color selections are easy to compare.
- Any allowance items are identified, including plants, stone, or lighting.
- You know which work belongs to the landscaping crew and which belongs to another trade.
- A contractor representative can attend the final walk-through.
If pavers, concrete, drainage, and irrigation were installed together, review the proper order for landscaping installation. Sequence matters because late trenching or grading can disturb finished surfaces.
Check approved changes, not verbal promises
Small project changes happen often. A moved walkway, larger planting bed, or added drain may be perfectly acceptable, but it should match a written change order or clear approval.
Ask the contractor to explain anything that differs from the plan. A change may solve a site condition, yet you still need to know its cost, maintenance needs, and effect on drainage before approving the final invoice.
Inspect Hardscapes, Concrete, and Drainage
Hard surfaces should look intentional and feel stable underfoot. Walk every paver path, patio, driveway edge, stepping stone, and concrete area at a normal pace. Then inspect again from several angles in bright daylight.
Look for paver and concrete defects
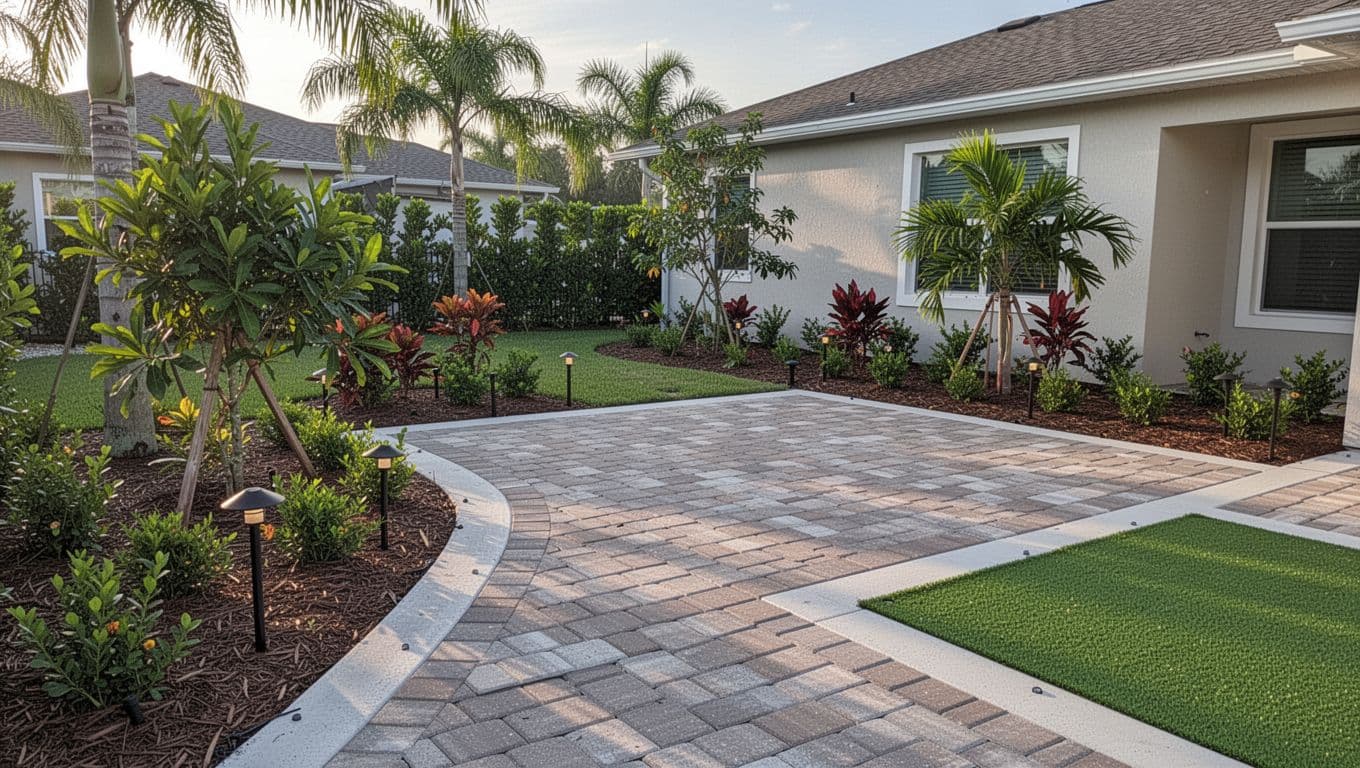
Pavers should sit level with consistent joints and clean edges. A few natural color variations are normal, but rocking units, wide gaps, chipped pieces, or uneven transitions deserve a punch-list item.
Check concrete for obvious surface damage, rough edges, standing water, exposed form marks, and trip points where new work meets existing slabs. If your project required a concrete company , confirm that the agreed finish, thickness, joints, and slope match the contract.
Pay close attention to door thresholds, pool deck transitions, driveway connections, and gate openings. These are the places where a small elevation error creates a daily annoyance.
Test water flow before it becomes a bigger problem
Southwest Florida rain can reveal problems that a sunny walk-through misses. Use a hose to gently test patios, walkways, turf edges, and bed borders if the contractor approves. Watch where water travels and whether it collects beside the home, against a screen enclosure, or along a foundation edge.
A beautiful patio that sends water toward the house isn't ready for sign-off, even if every paver is clean and level.
Drainage systems need visible, usable discharge points. Locate catch basins, pop-up emitters, swales, and downspout connections. Remove loose construction debris from grates, then photograph how water moves if you see ponding.
Test Plants, Irrigation, Lighting, and Turf
New plantings need special attention because their condition can change fast after installation. Inspect early in the day when you can see wilted foliage, broken branches, and irrigation coverage clearly.
Check planting beds and sod
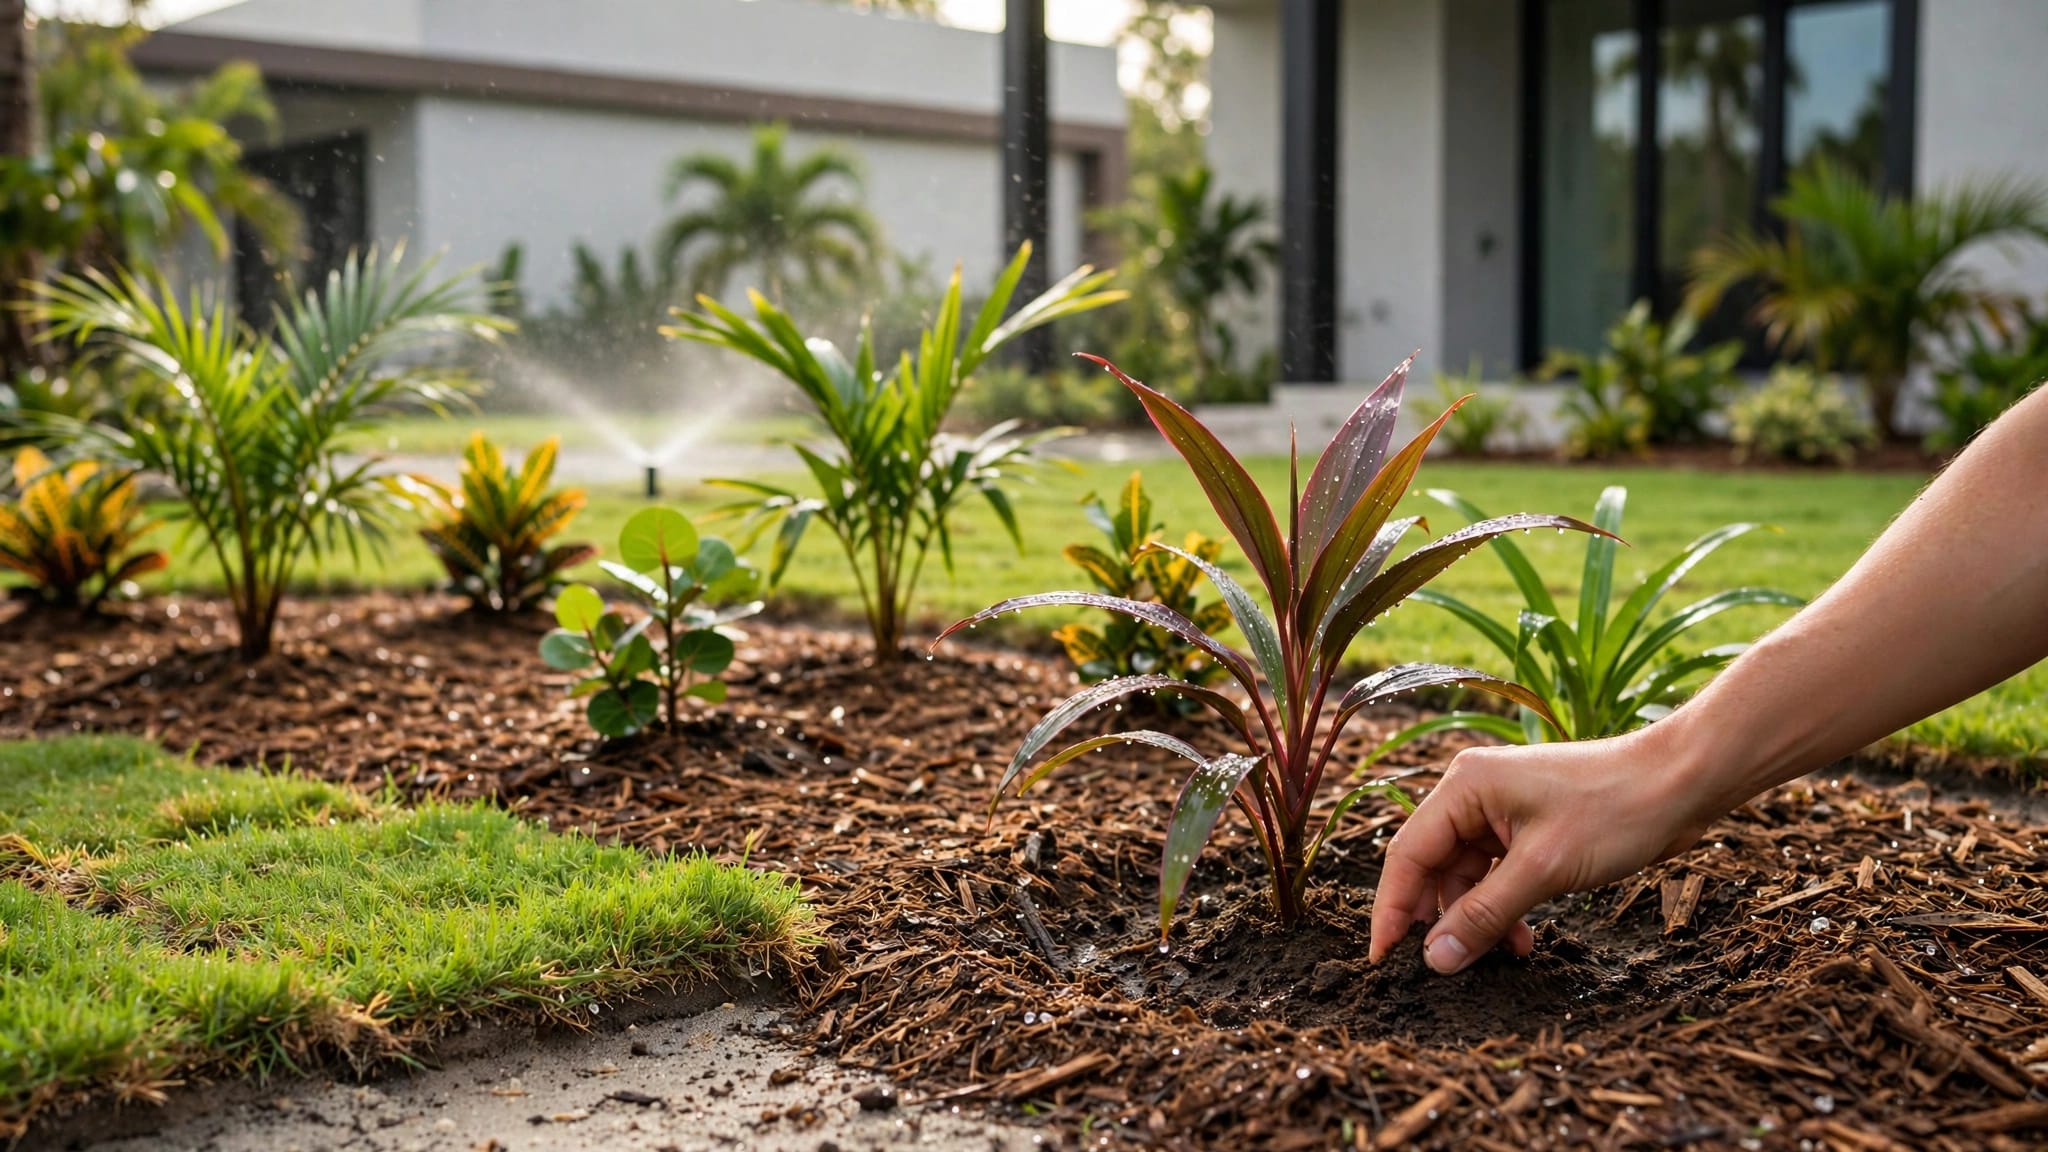
Compare plant counts and placement with the design. Look for cracked trunks, damaged palm fronds, uprooted shrubs, buried root flares, exposed root balls, and plants that lean sharply. Mulch should cover the bed evenly without piling against trunks or house walls.
For sod, inspect seams, gaps, dry corners, and areas that feel soft or uneven. Fresh sod may need time to root, but it should still make contact with the soil and receive even water.
If the proposal says "artifical turf," ask the contractor to identify the actual artificial grass product, pile height, infill, edging, and base system. Check seams, perimeter fastening, drainage, and transitions to pavers or planting beds. The surface should lie flat without ripples or exposed backing.
Run every irrigation zone and lighting circuit
Turn on each irrigation zone while someone watches the system. Sprinklers should cover turf without soaking windows, walls, patios, or streets. Drip lines should wet plant root zones, not leave dry beds or visible leaks.
Confirm that heads retract properly and sit at the correct height. Open the controller and verify the programmed schedule, rain sensor, zone labels, and manual operation. Get instructions before the crew leaves.
After dark, test every lighting circuit. Fixtures should be secure, aimed at intended features, and free of glare into windows or a neighbor's property. Also check that wires are concealed and protected where the plan requires.
Photograph and Document Every Correction
Photos turn a vague concern into a clear work item. Take wide shots that show location, then close-ups that show the condition. Include a fixed reference point, such as a doorway, pool corner, gate, or driveway edge.
For an uneven paver, photograph the whole walkway first. Next, take a close image across the joint to show the height difference. Finally, place a straightedge across the area if you need to show rocking or a dip.
What your inspection photos should capture
Use short videos for operating systems and still photos for visible defects. Name files by date and location, such as "2026-09-18-east-side-drain."
Document these items:
- Water flowing or pooling during a hose test.
- Irrigation overspray, leaks, blocked heads, and dry zones.
- Cracked concrete, loose pavers, uneven edges, and damaged coping.
- Missing plants, wrong materials, thin mulch, or damaged turf seams.
- Lighting that doesn't operate, has exposed wire, or shines in the wrong direction.
- Construction debris, paint marks, soil piles, or damaged existing property.
Keep original files, not only screenshots sent by text. Send the contractor a written recap with attached photos so both sides are looking at the same condition.
Build a Punch-List Log That Gets Work Scheduled
A punch list works best when each item has a location, a clear description, one responsible party, and a realistic due date. Avoid broad notes such as "fix patio." Write what you saw and where you saw it.
A simple spreadsheet, shared document, or numbered email thread can work. The point is to keep corrections from disappearing into phone calls and memory.
| Item | Location and issue | Responsible party | Due date | Status |
|---|---|---|---|---|
| 01 | Two pavers rock near the patio slider | Paver installer | Sept. 24 | Open |
| 02 | Left rear spray head hits screen panel | Irrigation contractor | Sept. 24 | Open |
| 03 | Mulch is missing along the side-bed edge | Landscape crew | Sept. 22 | Open |
The table gives every item an owner and a finish date. Add a photo file name or link in your working copy, then update the status only after you inspect the correction.
Keep requests factual and specific
Send the list promptly after the walk-through. State the observed condition, refer to the relevant plan or contract item when available, and request a correction date. Keep the tone direct and professional.
For example: "At the northeast patio corner, three pavers move when stepped on. Please reset them to provide a stable surface. Photo 01 is attached. Please confirm the repair date by Sept. 20."
Good records also help separate unfinished work from normal maintenance. New plants still need watering, and pavers may need routine care. However, a contractor should explain any planned paver cleaning and sealing needs before you take responsibility for maintenance.
Conduct a Reinspection Before Releasing Payment
Schedule the reinspection during daylight after the contractor reports that punch-list work is complete. Bring the original log, photos, and contract again. Walk the same route, then mark each item complete only when the result meets the agreed scope.
Don't rely on a quick look from the driveway. Step on reset pavers, run the repaired irrigation zone, test light fixtures, and revisit drainage areas. If a repair created new damage, photograph it and add a new entry with the date.
Close out the project with clear records
Request product information, controller instructions, warranties, receipts, and any care guidance included in your agreement. Save the final plan if changes occurred during construction. These records help when you need matching materials or future repairs.
Review the payment terms in your contract before withholding, releasing, or disputing payment. For disagreements about payment, permits, local code requirements, or site conditions, speak with a qualified local professional who can assess your situation.
Final Thoughts
A thorough landscape punch list protects the value of work you've paid for and gives the contractor a fair, organized chance to correct remaining issues. Inspect the details that affect safety, drainage, appearance, and daily use.
Clear photos, written due dates, and a hands-on reinspection make the final walk-through more productive. Once every documented item is resolved, you can enjoy the finished outdoor space with confidence.