Irrigation Zone Mapping Before Repairs: A Homeowner's Guide
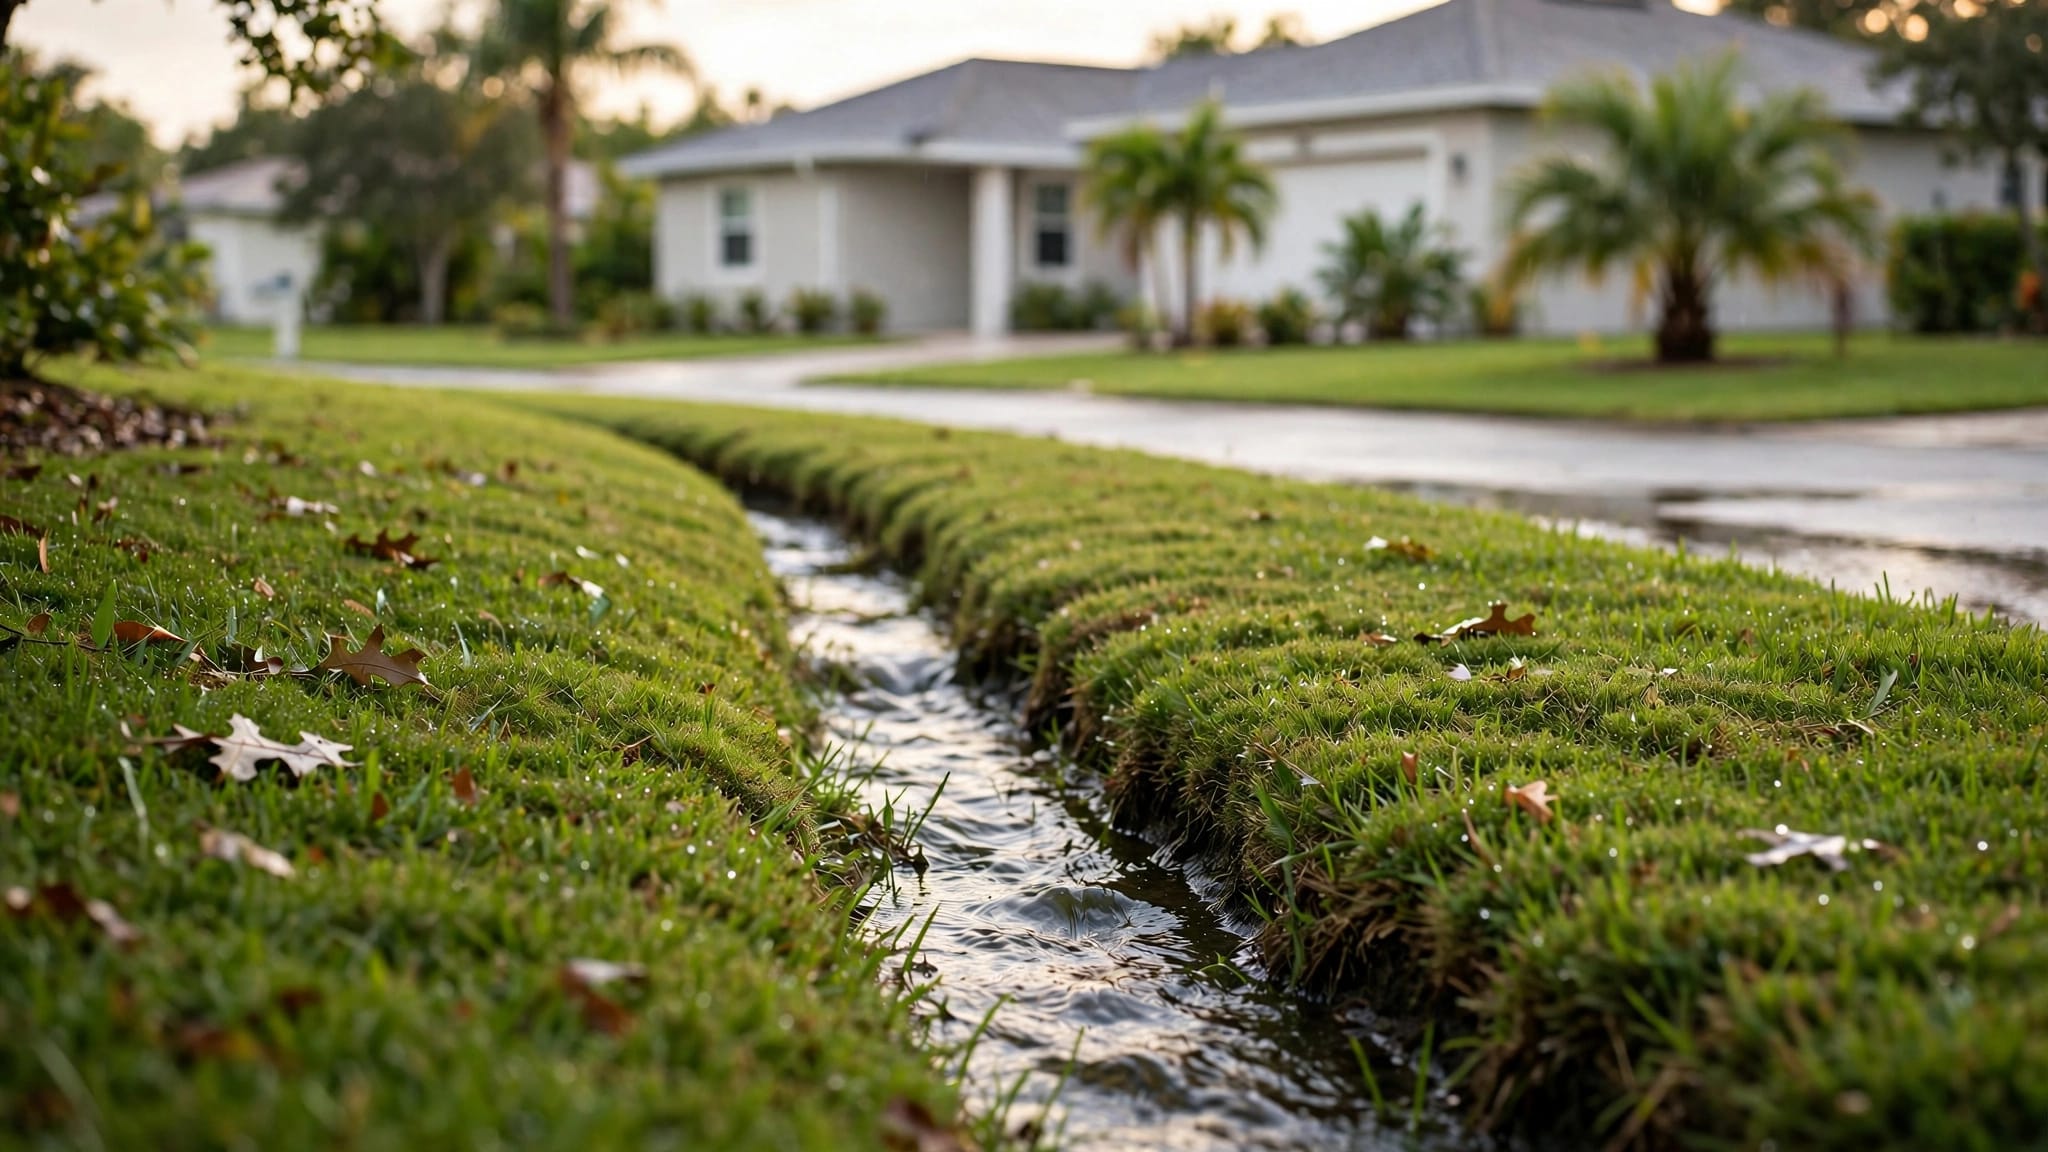
A wet patch beside your driveway doesn't tell you which sprinkler line is leaking. Digging there may miss the problem and damage a working pipe. Irrigation zone mapping gives you a better starting point: it shows what each controller station operates before you repair anything.
You don't need a professional survey. A yard sketch, a few careful tests, and clear photos can turn scattered clues into a useful repair record. Start by separating what you can see above ground from what remains unknown below it.
Why map the zones before making repairs?
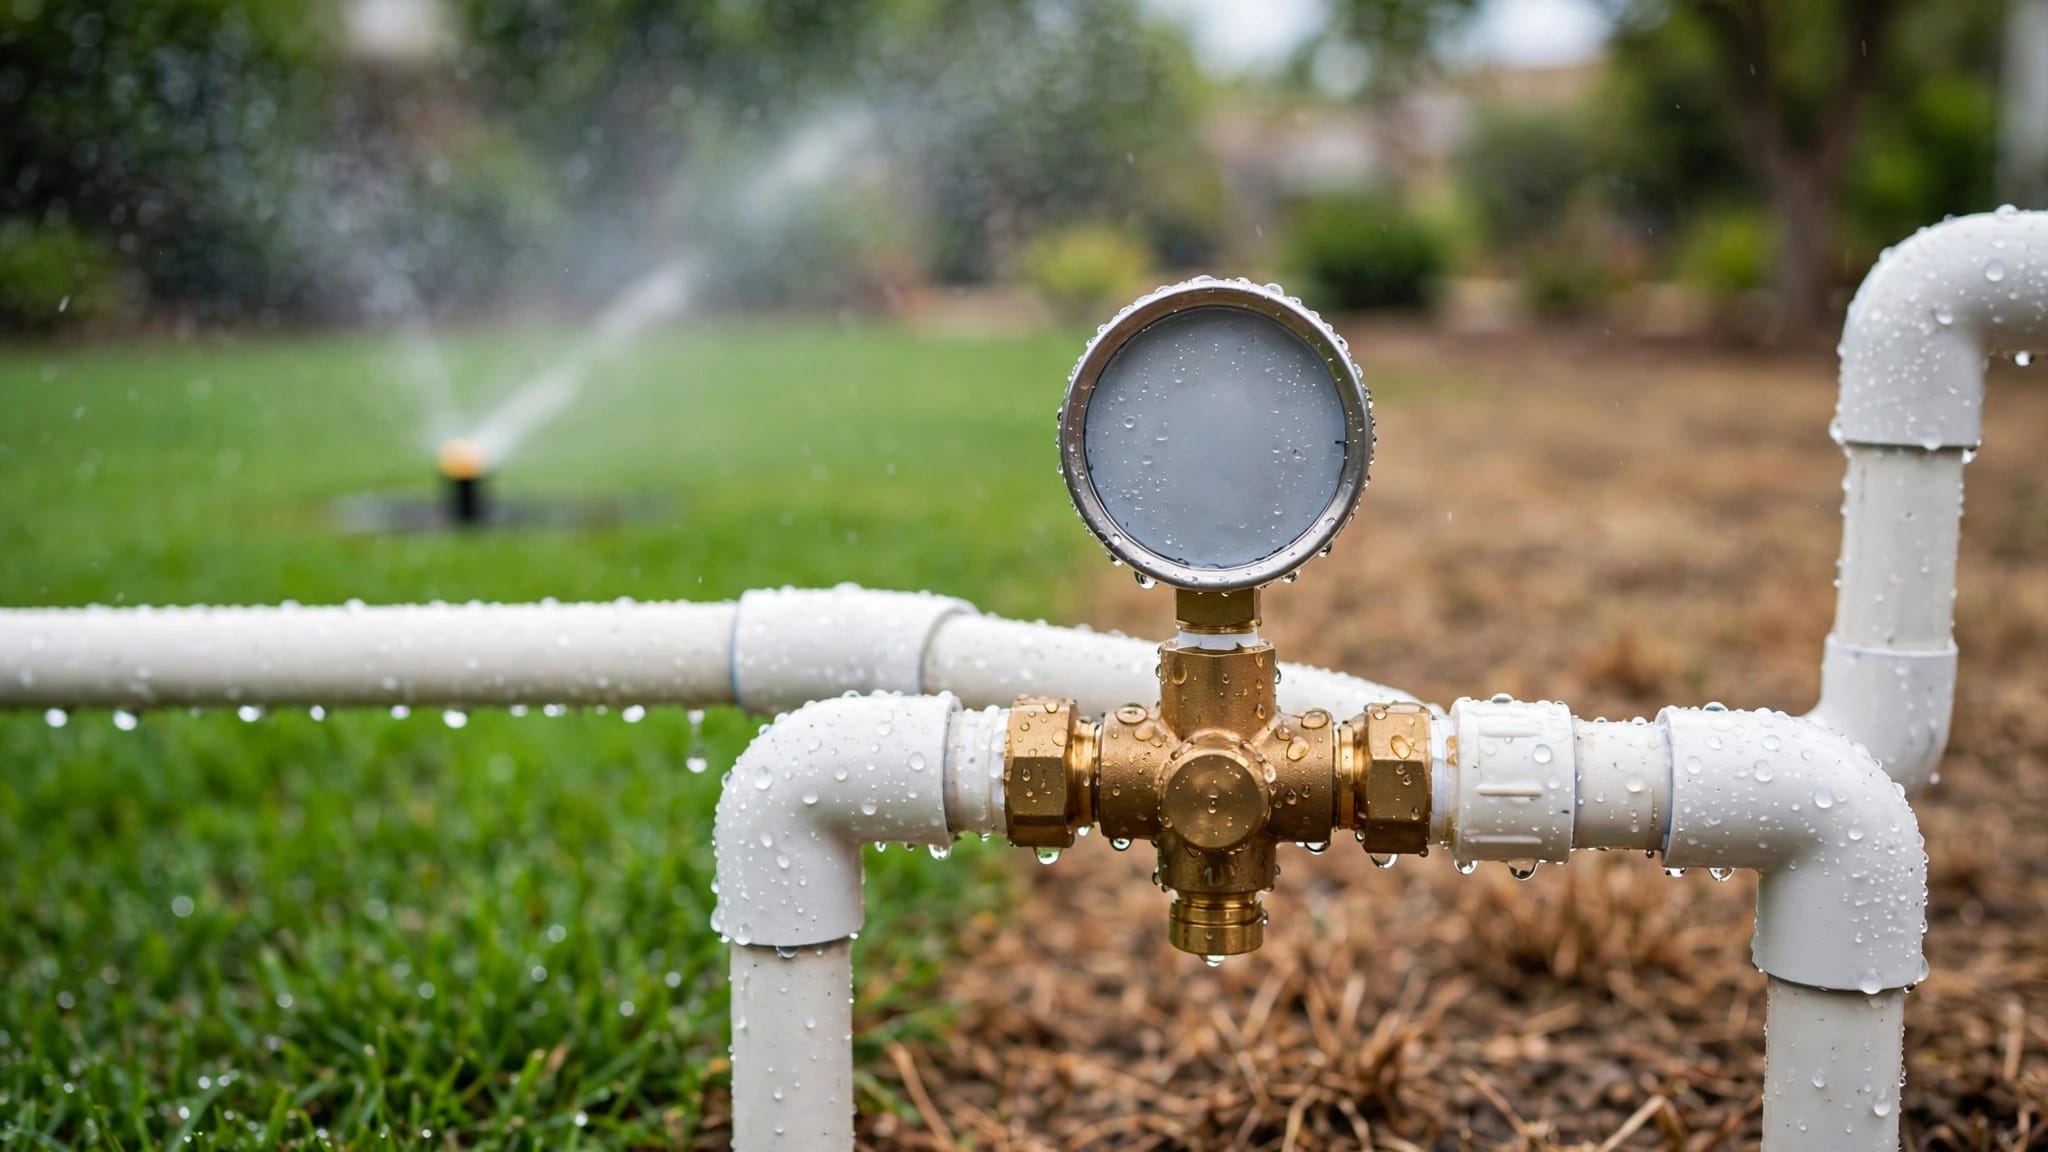
Each irrigation zone is a group of sprinklers or drip emitters controlled together. A problem that appears in one part of the yard may involve a head, pipe, valve, wire, or controller setting somewhere else. Mapping helps you narrow the area without assuming you know the underground route.
It also makes unusual behavior easier to describe. If two groups of heads turn on together, record which controller command activates them. That observation is more useful than reporting that the front lawn looks too wet. For more on that symptom, see troubleshooting irrigation zones that run together.
A controller's station number tells you which command you selected. It doesn't tell you where that station's valve is buried.
A good map records both the visible watering pattern and the limits of your knowledge. Leave an unknown pipe route marked as unknown rather than drawing a confident line through the yard.
Start irrigation zone mapping with a yard sketch
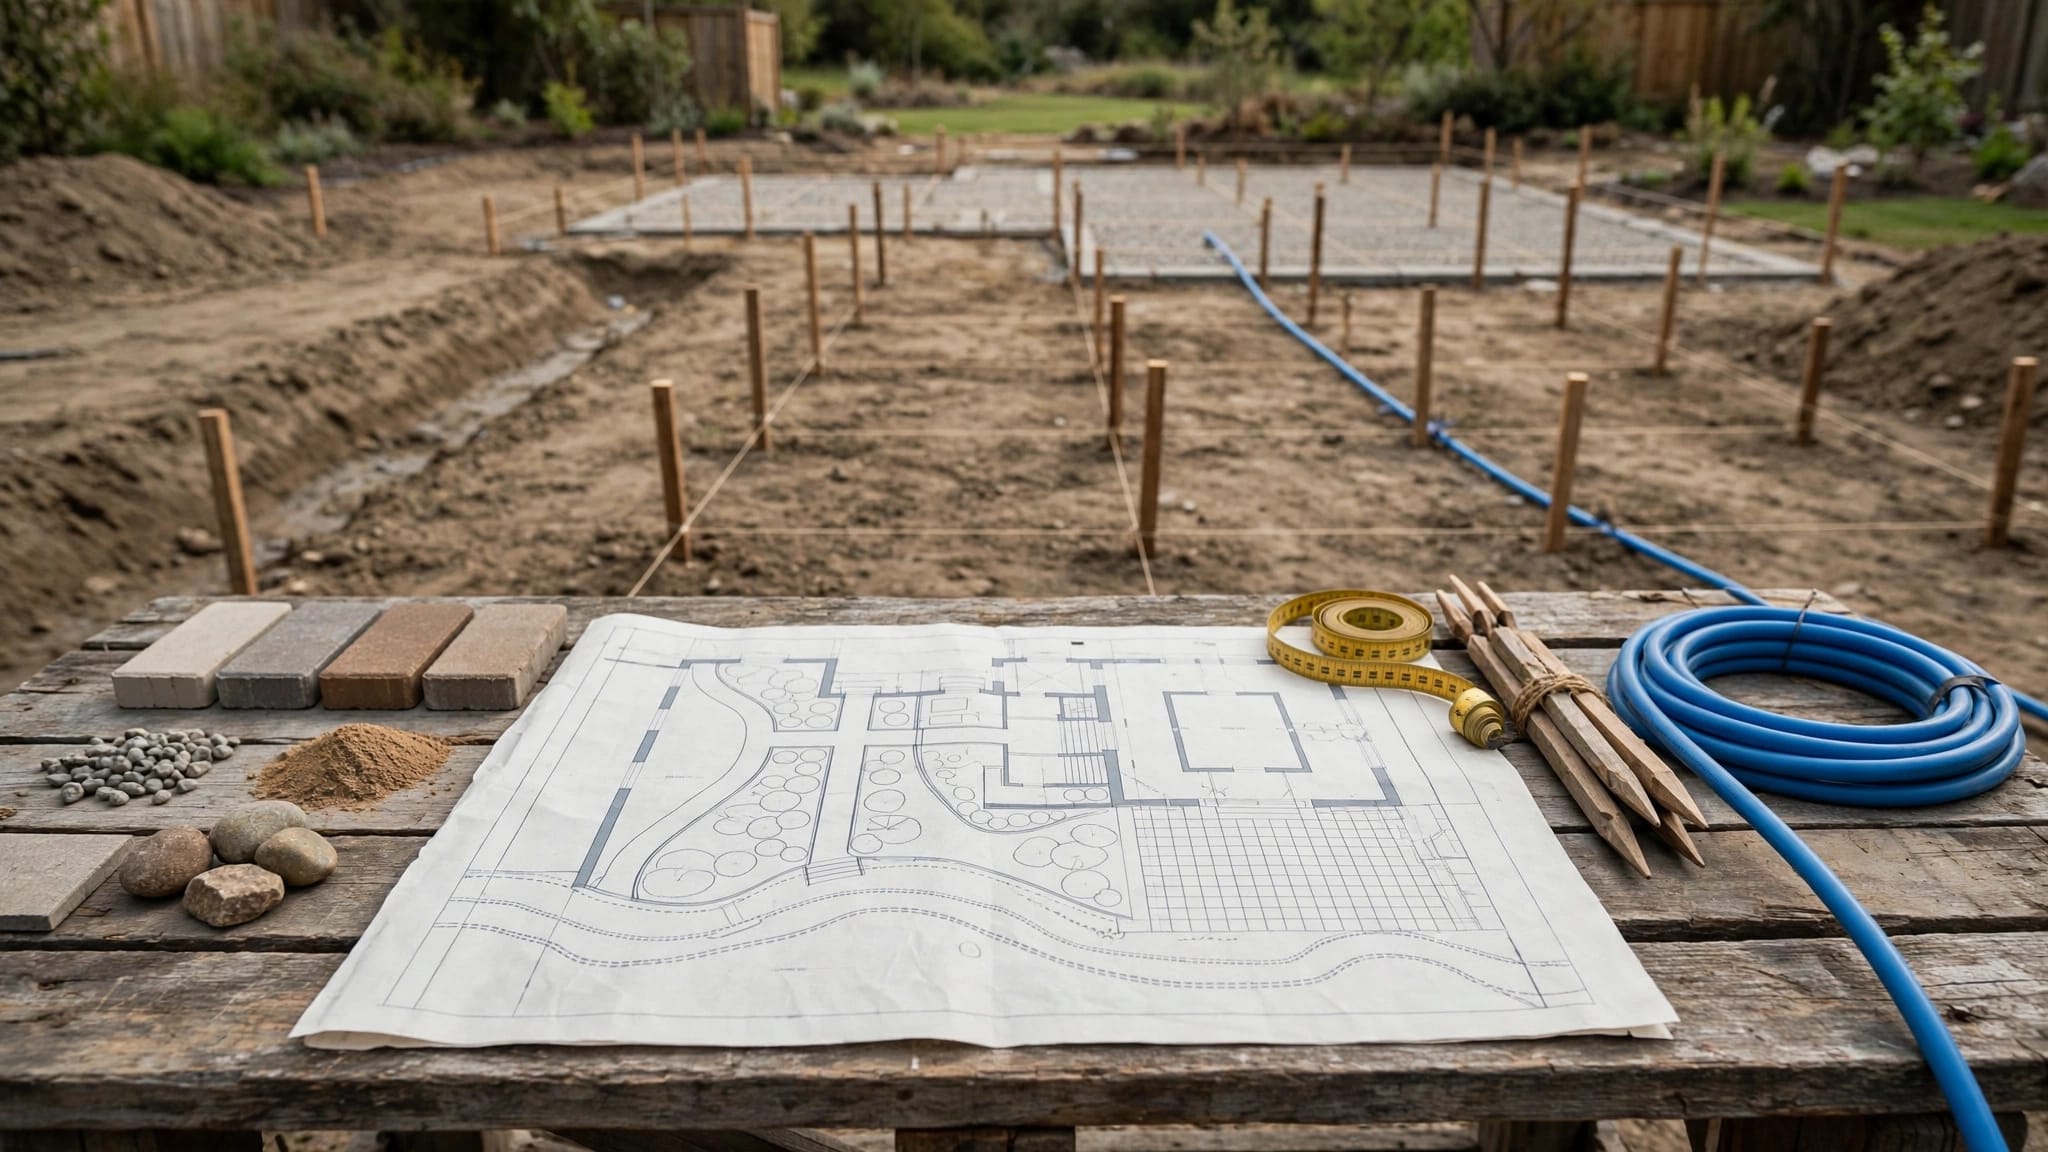
Draw a simple outline of the property on paper or annotate an aerial image. Keep the original blank version so you can update your findings without erasing earlier observations.

Mark features you can locate reliably
Add the house, driveway, patio, walkways, lawn edges, planting beds, fences, and pool area if you have one. Then mark the controller, visible valve boxes, sprinkler heads, drip beds, and any accessible irrigation shutoff.
Use fixed landmarks for locations you may need to find later. A valve-box lid shown relative to a house corner and fence post is easier to relocate than one described as "near the shrubs." If the water source is visible, add it too. Don't guess where a buried mainline runs.
Check labels and older records
Photograph the controller's current screen or dial position before changing anything. Copy its station labels onto the sketch, but treat labels as leads rather than proof. Landscaping changes can leave a station labeled "front lawn" watering a bed instead.
Previous repair photos, installer drawings, and records from a former owner may identify boxes hidden by sod or mulch. Record their information separately until you confirm it outside. Also note whether the system draws from a municipal supply, reclaimed water, or a pump if you know.
Test each zone without digging
Test only when the system is operating normally enough to run safely. If water is already flowing uncontrollably, soil is bubbling, or you suspect a broken line, skip the manual test. Turn off the irrigation supply if you can identify its shutoff safely, then arrange a repair.
Run one controller station at a time
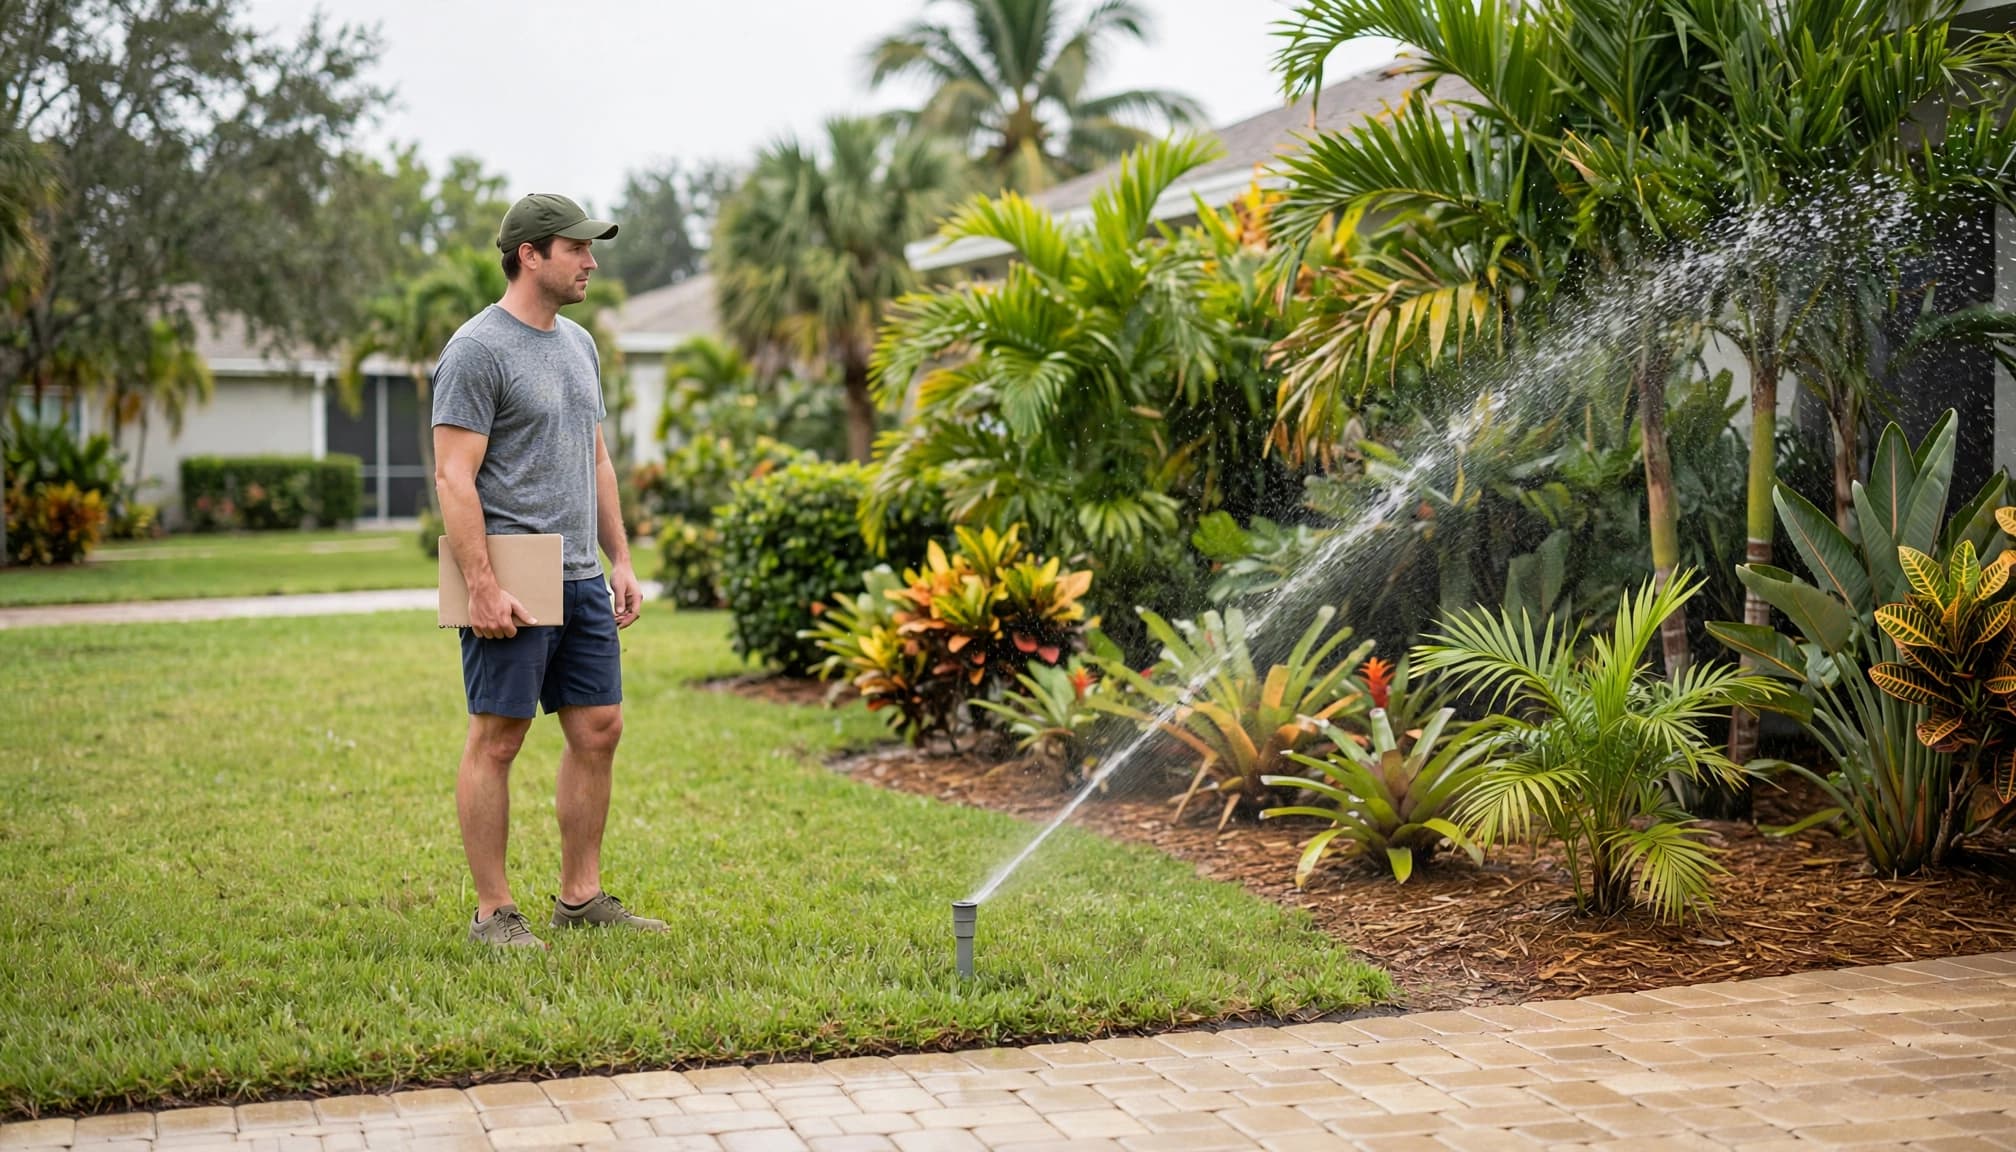
Choose a brief manual run and stay where you can observe the startup. Controller controls vary, so use your model's instructions rather than changing its regular schedule to perform a test. Keep people and pets clear of slippery pavement, open boxes, and damaged heads.
Walk the active area without crossing spray if visibility is poor. Note where heads rise, whether rotors turn, and whether drip tubing serves a planting bed. Record which heads operate together. Then stop the station and watch whether they shut off.
Repeat for each active station. If a station doesn't run, write that down instead of repeatedly starting it. A working neighboring station can give a technician a useful comparison.
Watch for behavior after shutdown
A little drainage at a low head can occur after a run. Continuous spraying or flow that doesn't stop needs attention. Shut off the irrigation water if you can do so safely; turning off the controller alone won't stop every valve or pipe problem.
Check the controller for duplicate start times, unused programs, or a manual override. A start time may launch a sequence of zones rather than one station. Write down the existing settings before changing them so you can distinguish a scheduling mistake from a hardware fault.
Turn your observations into a repair-ready map
After testing, add a station key beside the yard sketch. Give each station its controller number and a plain-language description of the area you watched. Use the same number in your notes and photos.
Separate station numbers from valve locations
A physical valve controls water to a zone, but its box may be well away from the heads it serves. Several valves can share one box. Meanwhile, a controller may have unused stations, and an old label may no longer match the yard.
Mark a valve's location only when you've identified the box with reasonable confidence. If you can see a box but can't tell which valve operates which station, label that relationship "unconfirmed." Don't open electrical connections or move valve parts to settle a guess.
Show coverage, symptoms, and uncertainty
Outline the approximate area watered by each station. Mark spray heads, rotors, bubblers, and drip areas with simple symbols, and make a small legend. Show overspray onto pavement, dry strips, weak heads, wet spots, and places where two zones appear to overlap.
For every concern, record the station number, date, and what you observed at startup and shutdown. Take a wide photo that includes a fixed landmark, followed by a close photo of the symptom. Save both with the map. If you're working with an irrigation technician, those details help them start with the right zone.
Use the map to narrow the problem, not guess the repair
Irrigation zone mapping tells you where to investigate. It rarely proves that a particular buried component has failed. Compare symptoms across stations before replacing a head or opening the ground.
Compare one weak zone with a working zone
If a single head sprays poorly while its neighbors operate normally, check for visible damage, grass blocking the spray, or a tilted head. If every head on one station is weak, the issue may be farther upstream. Note whether the pressure seems weak from startup or drops during the run.
A controller fault message, a valve click without water, or a station that never activates can involve wiring, a solenoid, the valve, or the water supply. Don't assume the first visible part is the failed one. If a valve box is accessible, you can photograph moisture or damage without pulling wires or taking the valve apart.
Treat persistent water as a stop sign
Pooling near a head, soft ground, or a fresh wet area may indicate a leak. In sandy Southwest Florida soil, water can also move downward before a large puddle appears. Mark the area on your map, but don't push a shovel into it to find a pipe.
If two separate groups of healthy heads run together, document which station starts and stops each group. If one group continues after its command ends, record that as well. Those patterns give a technician better clues than an added watering time, which won't fix a stuck valve or damaged line.
Protect landscaping and hardscape during the repair
Before new landscaping covers the yard, update your map with every known valve box and likely work area. Keep lids accessible under mulch or stone. If you're replacing sod with artificial turf, identify the valves first so future service doesn't require cutting through the finished surface.
Hardscape work needs the same planning. Share the map before a concrete company pours a patio, walkway, or driveway. Mark known irrigation lines and discuss sleeves where pipes need to cross beneath the new surface. Lines may also need moving before pavers go down, while heads may need final adjustment after planting. See the right order for a Cape Coral backyard renovation when several trades will work in the same area.
Finish pipe and valve-box work before paver cleaning or sealing. If water has unsettled the base beneath a walkway, fix the source before restoring the surface. A map won't show every buried line, so ask a contractor to verify routes before excavation.
Know when locating equipment needs a professional
An old controller label won't reliably locate a buried valve. Look first for an accessible box near bed edges or other fixed landmarks, and compare it with old photos. If observations remain inconclusive, a technician may need wire tracing or valve-box locating equipment to connect a station to its physical valve.
Call for help when a box is flooded, several zones fail, the shutoff is unknown, or a valve won't close. The same applies if a suspected fault lies beneath pavers or concrete. Professional irrigation valve repairs may involve testing beyond what a visual map can establish.
Before any excavation, follow Florida's 811 utility-locate process and ask how privately installed lines will be handled. Utility markings may not identify your irrigation pipes. If you find unfamiliar cable, conduit, or a pipe you can't identify, stop digging.
Key takeaways
- Map visible coverage and controller behavior before replacing parts.
- Keep station numbers, valve locations, and suspected pipe routes as separate records.
- Stop testing if water flows uncontrollably or a serious leak is suspected.
- Photograph your findings and update the map after every confirmed repair.
Frequently asked questions
Does each controller station have its own valve box?
Not necessarily. Each working station generally operates a valve, but multiple valves may sit inside one box. The controller's numbering doesn't show you where those valves are. Mark the box and the station-to-valve connection separately until you confirm both.
Can I find a buried valve by digging near the sprinklers?
A valve may be far from the heads it controls, so digging near them is unreliable. Check records, visible boxes, and surface clues first. When those don't settle the location, ask about professional valve-box locating or wire tracing rather than probing blindly.
What should I record before calling for irrigation repair?
Keep the yard map, station labels, current controller settings, and photos. Note which stations run, where water appears, and whether each area shuts off. Also record when you first noticed the problem and whether recent yard work took place nearby.
Conclusion
That wet patch beside the driveway is a clue, not a repair location. A documented zone map connects it to what the controller does, where water appears, and what remains uncertain.
Test only when it's safe, keep valve locations separate from station labels, and save your findings before work begins. The result is a more focused repair with less unnecessary digging.