Irrigation Solenoid Replacement in Cape Coral
A sprinkler zone that suddenly stops working can leave one part of your yard dry while another stays soaked. The cause may be a failed solenoid, a damaged wire, or a valve blocked by debris.
A careful irrigation solenoid replacement can restore the zone without replacing the entire valve. Before opening the valve box, confirm the problem and match the new part to the existing valve. Then shut off the controller and water supply before touching the wiring.
Diagnose the Failed Solenoid First
When only one irrigation zone fails, check the simple causes before buying parts. Run the zone manually from the controller and listen near the valve box. A faint click or hum can indicate that the solenoid receives power but cannot move correctly.
Also inspect the sprinkler heads and visible pipes. A broken head, clogged filter, crushed pipe, or closed flow-control stem can look like an electrical problem.
Check the Controller and Wiring
If the controller skips one zone but runs the others, inspect the zone wire and common wire at the controller. Look for loose terminals, corrosion, or a wire that pulled free.
At the valve box, check for cracked wire nuts, standing water, and green or black corrosion. A bad connection can prevent a good solenoid from receiving enough power. If several zones fail at once, the controller, common wire, or water supply is more likely than one solenoid.
Match the Replacement Solenoid
Solenoid compatibility matters. Most residential irrigation controllers use 24-volt AC output, but the replacement still needs to match the valve brand, model, thread style, and valve body. Common brands include Hunter, Rain Bird, Orbit, and Irritrol, but parts are not automatically interchangeable.
Take a photo of the valve and solenoid before removing anything. If possible, record the model number printed on the old part.
A solenoid can fit the threads and still operate poorly if its voltage or valve compatibility is wrong.
Gather Supplies and Shut Off the System
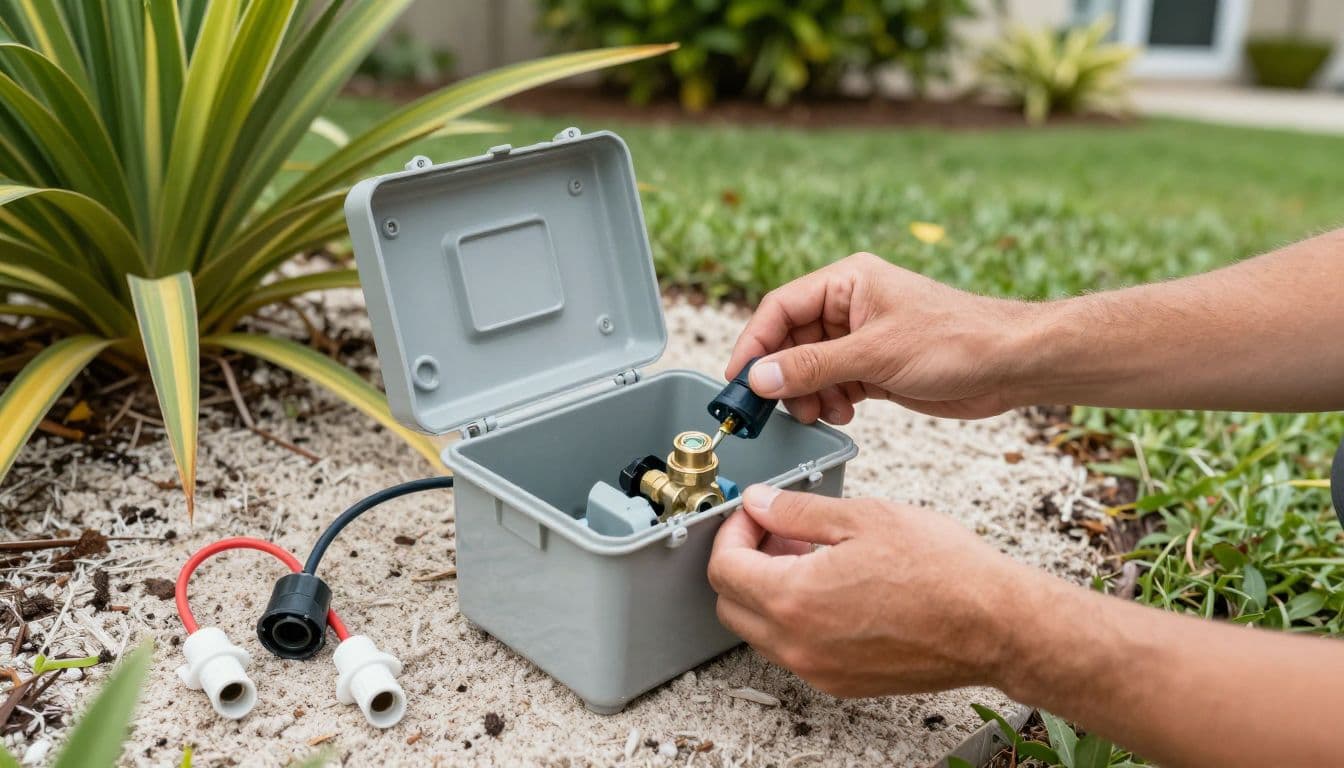
Prepare the replacement solenoid, a screwdriver, clean pliers, a small towel, and waterproof wire connectors rated for irrigation use. Gel-filled, direct-burial connectors are a better choice than standard electrical tape or ordinary wire nuts.
Turn the irrigation controller to the off position. Then close the irrigation water-supply shutoff. If you can't find a separate irrigation shutoff, stop and identify the correct valve before continuing. Working with water pressure still in the line can cause leaks or make the solenoid difficult to remove.
Open the valve box carefully and take one final photo of the wiring. Keep dirt out of the valve and place the lid where it won't collect soil.
Irrigation Solenoid Replacement, Step by Step
- Remove the old wire connectors and separate the zone wire from the common wire. Cut away corroded sections until you reach clean copper.
- Unscrew the old solenoid from the valve body. Most solenoids turn counterclockwise by hand. Hold the valve steady and avoid twisting the connected pipe.
- Check the new solenoid against the old one. Compare the thread, length, terminal wires, and model details before installation.
- Thread the replacement into the valve body. Follow the manufacturer's instructions and avoid forcing or over-tightening plastic threads. The solenoid should sit firmly without cracking the valve.
- Strip only enough insulation to expose clean wire. Connect the new solenoid wires to the same zone and common wires as before.
- Seal each splice with a waterproof irrigation connector. Push the wires fully into the connector, then check that no bare copper remains exposed. Do not rely on tape alone inside a damp valve box.
Restore the valve-box lid after checking that the wires sit above the bottom of the box. A tidy connection reduces future corrosion and makes the next repair easier.
Test the New Solenoid and Troubleshoot Problems
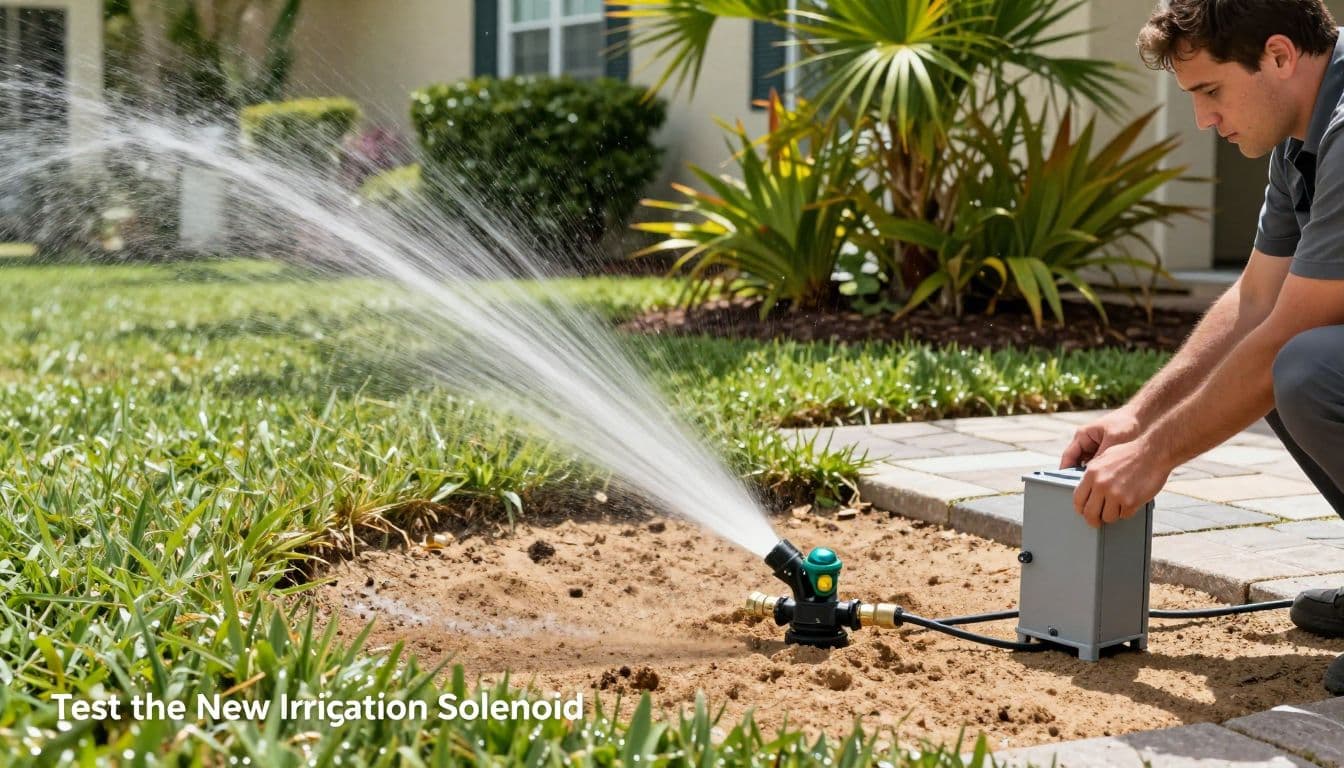
Open the irrigation water supply slowly, then turn the controller back on. Run the repaired zone manually for several minutes. The valve should open promptly, the sprinkler heads should spray normally, and the valve should stop when the controller ends the zone.
Look for leaks around the solenoid threads and listen for constant hissing after the zone shuts off. A small leak may indicate a damaged seal or a solenoid that isn't seated correctly.
If the Valve Still Won't Open
First, confirm that the water supply is open and the controller is set to the correct zone. If the controller sends power but the valve stays closed, the replacement may be incompatible, defective, or installed with damaged wiring.
A valve can also remain closed because its diaphragm or filter contains grit. If the valve has a manual bleed feature, use it according to the valve instructions. Water flow through the valve can help separate an electrical fault from a clogged or damaged valve body.
A technician can test for approximately 24-volt AC at the solenoid while the zone runs. No voltage points toward the controller, common wire, or zone wire. Voltage at the solenoid points toward the solenoid or valve itself.
If the Valve Won't Close
Turn off the water supply before opening the valve again. Check that the manual bleed screw is fully closed and that the solenoid is seated correctly.
A valve that continues running may have debris under the diaphragm, a damaged diaphragm, or a mismatched solenoid. If cleaning doesn't solve the problem, replacing the valve body may be more practical than repeating the solenoid repair.
Know When to Call a Professional
Professional help makes sense when the valve box is flooded, several zones have failed, or you can't locate the irrigation shutoff. Call for service if wires disappear underground, pipes twist when you remove the solenoid, or the valve still fails after a correct replacement.
Repairs also need careful planning when you are changing the yard. Move sprinkler heads before new landscaping is installed. Coordinate with a concrete company before pouring a patio or walkway, and protect irrigation lines near pavers or artifical turf. Even paver cleaning can damage an exposed valve box if its lid sits below grade.
Outdoor Life Pros provides irrigation repair and landscape design for properties in Cape Coral and nearby Southwest Florida communities.
Conclusion
A successful irrigation solenoid replacement starts with diagnosis, correct part selection, and safe shutoff procedures. The controller and water supply must be off before you disconnect wires or remove the solenoid.
Use waterproof irrigation connectors, test the zone slowly, and inspect both opening and closing performance. If the valve still fails, the problem may involve the wiring, diaphragm, controller, or valve body rather than the solenoid alone.