When Irrigation Zones Run Together in Cape Coral
A Cape Coral lawn can receive twice the water it needs when two sprinkler zones turn on at once. Besides wasted water, the extra runoff can soak planting beds, spray pavers, and leave sandy areas unstable.
When irrigation zones run together , the cause is usually in the controller, wiring, or a valve that is not closing. The pattern matters, because two zones operating at the same time is different from one zone that refuses to turn off.
A few safe observations can narrow the problem before a repair visit.
Why Irrigation Zones Run Together in Cape Coral
Most residential controllers open one valve station at a time. When two zones activate together, the system may be receiving two electrical commands, or one valve may be staying open after its command ends.
Knowing when each zone starts and stops helps separate an electrical issue from a valve or plumbing problem.
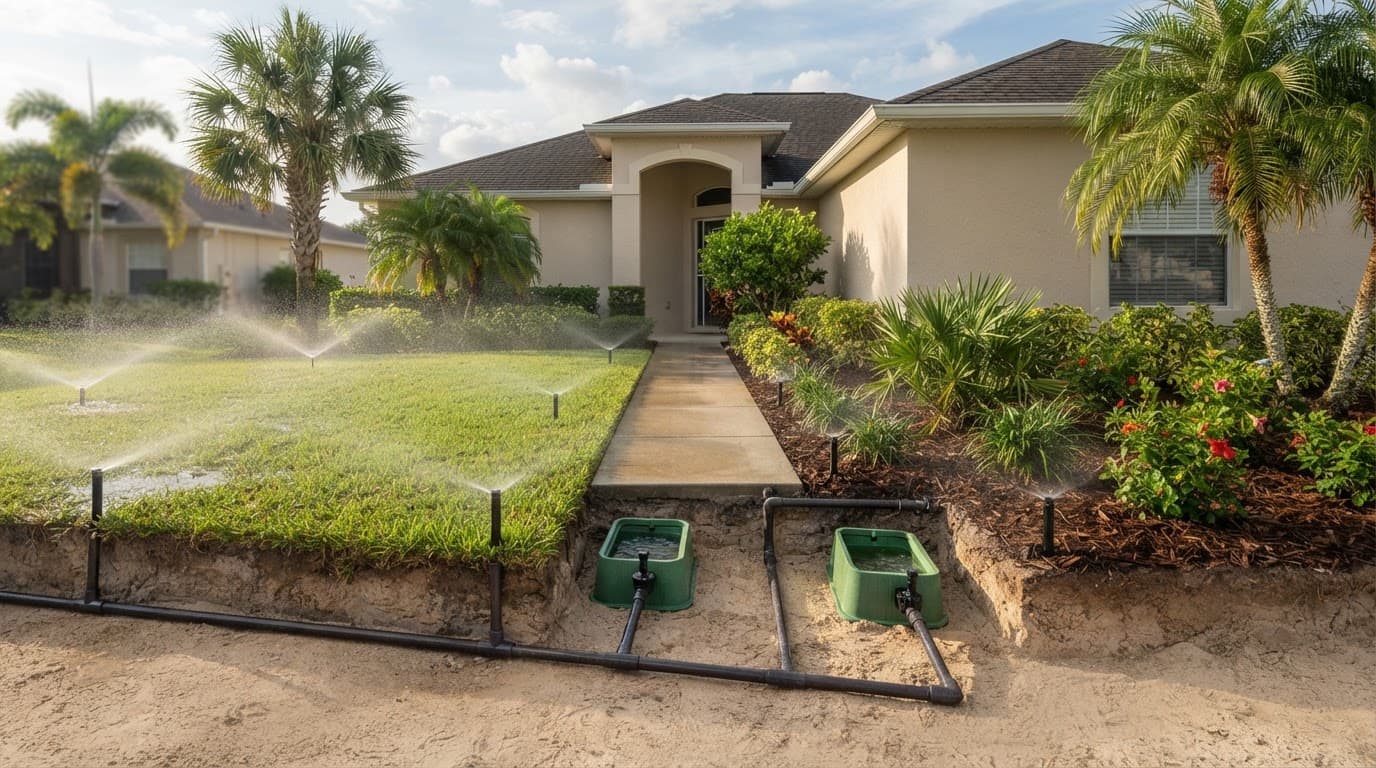
Two zones turn on at the same time
A duplicated schedule can make a system seem unpredictable. One start time launches every station in a program. If someone adds several start times hoping to select individual zones, the controller may repeat the whole program.
However, repeated cycles are not the same as two zones running simultaneously. When two sections begin and stop at the exact same moment, the controller may have a failed output, or two station wires may be touching.
A recent lightning event or power surge can also damage an older controller. This is more likely after summer storms, especially with an outdoor timer exposed to moisture.
One zone fails to shut off
A zone that keeps spraying after the controller turns it off has a different problem. The valve for that zone may be held open by a damaged diaphragm, debris inside the valve, a loose solenoid, or a partially opened manual bleed screw.
That valve can stay open even when the controller no longer sends power. In this case, the other zone may be working normally, but the stuck zone makes it look as though both are scheduled together.
Check the Controller Schedule First
Start with the controller because it is easy to inspect and does not require tools. Review every program, including Programs A, B, and C, along with every start time.
Run one controlled manual test
Use the timer's manual mode to run one station at a time for two or three minutes. Keep a simple note of which sprinkler heads run and when they stop.
- Review every program and remove accidental duplicate start times.
- Manually run the first affected zone and watch for sprinkler heads in the second zone.
- End the test at the controller, then wait two minutes to see whether either zone continues.
- Run the suspected second zone by itself and compare the result.
If both zones follow the same on and off command, the controller or wiring deserves attention. If one area continues to spray after its command ends, its valve is the likely source.
A pipe issue can send water into the wrong area, but it rarely makes two separate groups of healthy sprinkler heads operate together. Visible pooling, bubbling soil, or weak pressure often points more directly to a damaged pipe.
Inspect Wiring and Valve Boxes Safely
After the manual test, inspect the controller and accessible valve boxes without taking apart live electrical connections.
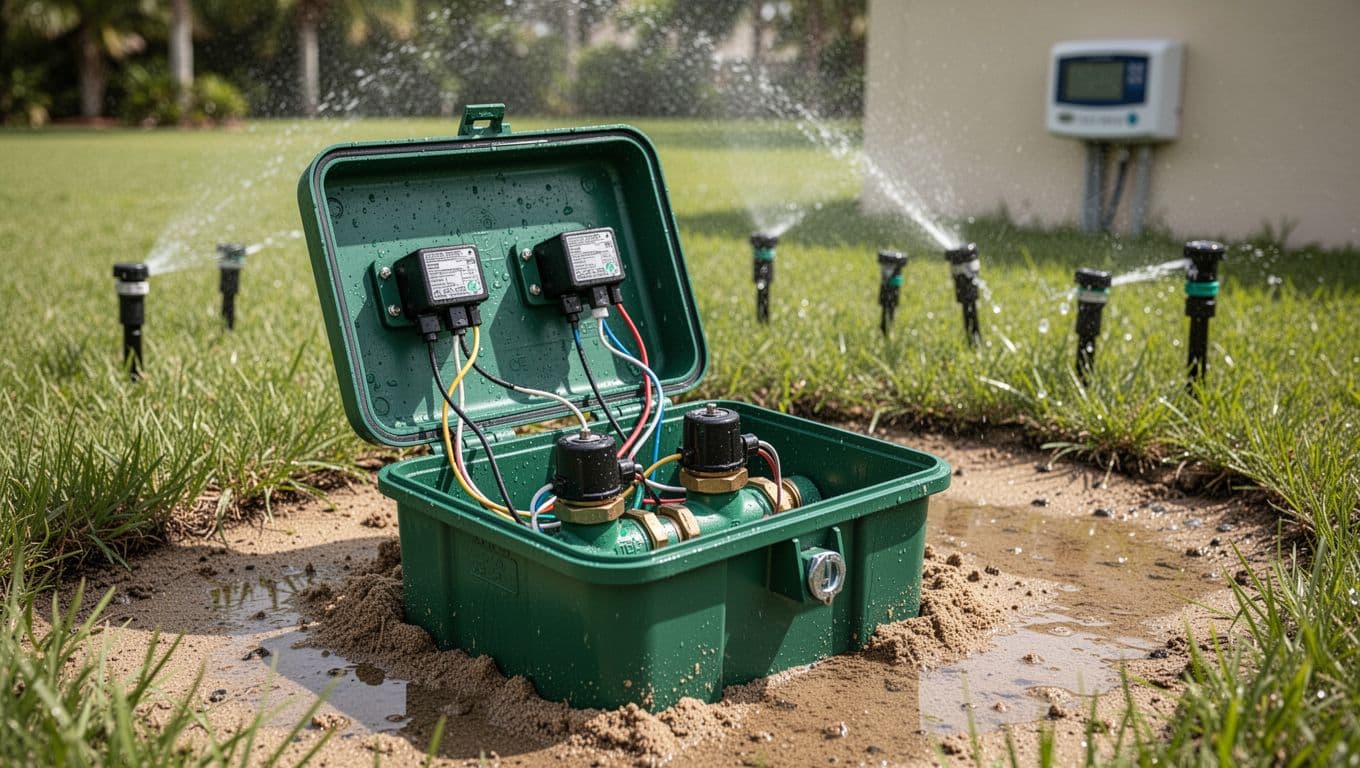
Look for moisture, corrosion, and loose wires
Turn off power at the irrigation controller's breaker, or unplug its transformer if it has one. Confirm that the display is dark before touching any wiring.
Then look for loose wire strands, cracked insulation, moisture in the controller cabinet, or corroded wire splices near the valves. Cape Coral's humidity and storm-driven rain can damage connections over time.
Leave pump relays, buried wire tracing, and electrical testing to a technician. A damaged station wire can energize more than one solenoid, while a poor common-wire connection often causes a single zone to fail.
If a zone keeps watering with the controller powered off, the valve is usually held open mechanically rather than commanded open electrically.
Check the valve box without forcing parts
Lift the valve-box lid and look for standing water, buried valve tops, exposed wires, or wet soil around fittings. Sandy soil can drain a leak downward before it creates a large puddle, so a soft or unusually green patch also deserves attention.
Turn off the irrigation water supply before moving a valve or solenoid. A solenoid that has backed out slightly can keep a valve open, but forcing plastic parts can crack them.
If water reaches one zone only while another zone runs, a crossed pipe connection or a valve issue may be involved. Cape Coral sprinkler system repairs often begin with this type of valve, wiring, and pressure check.
Protect Nearby Outdoor Improvements
Fix irrigation trouble before starting new landscaping work. Excess water can wash soil away from bed edges, stain hardscape, and create wet spots where they are hardest to reach later.
Before a concrete company pours a driveway, patio, or walkway, mark irrigation lines and install sleeves where pipes must cross under the new surface. Coordinating irrigation and hardscape work prevents buried repairs from becoming a demolition job.
Hold off on paver cleaning or sealing until valve-box digging and pipe repairs are complete. If you are considering artificial turf for a small side yard, repair recurring wet spots first, since turf can hide the evidence of a leak.
Get a Clear Diagnosis Before More Water Runs
A controlled zone test usually reveals whether the timer, wiring, valve, or plumbing needs attention. The key distinction is simple: zones that stop together suggest a control issue, while a zone that keeps running points to its valve.
Bring in professional irrigation service when a valve will not shut off, wiring shows corrosion or storm damage, or water is surfacing near buried lines. A prompt repair protects your lawn, planting beds, and nearby hardscape from unnecessary water.