


Irrigation Valve Stuck Open? What to Check First
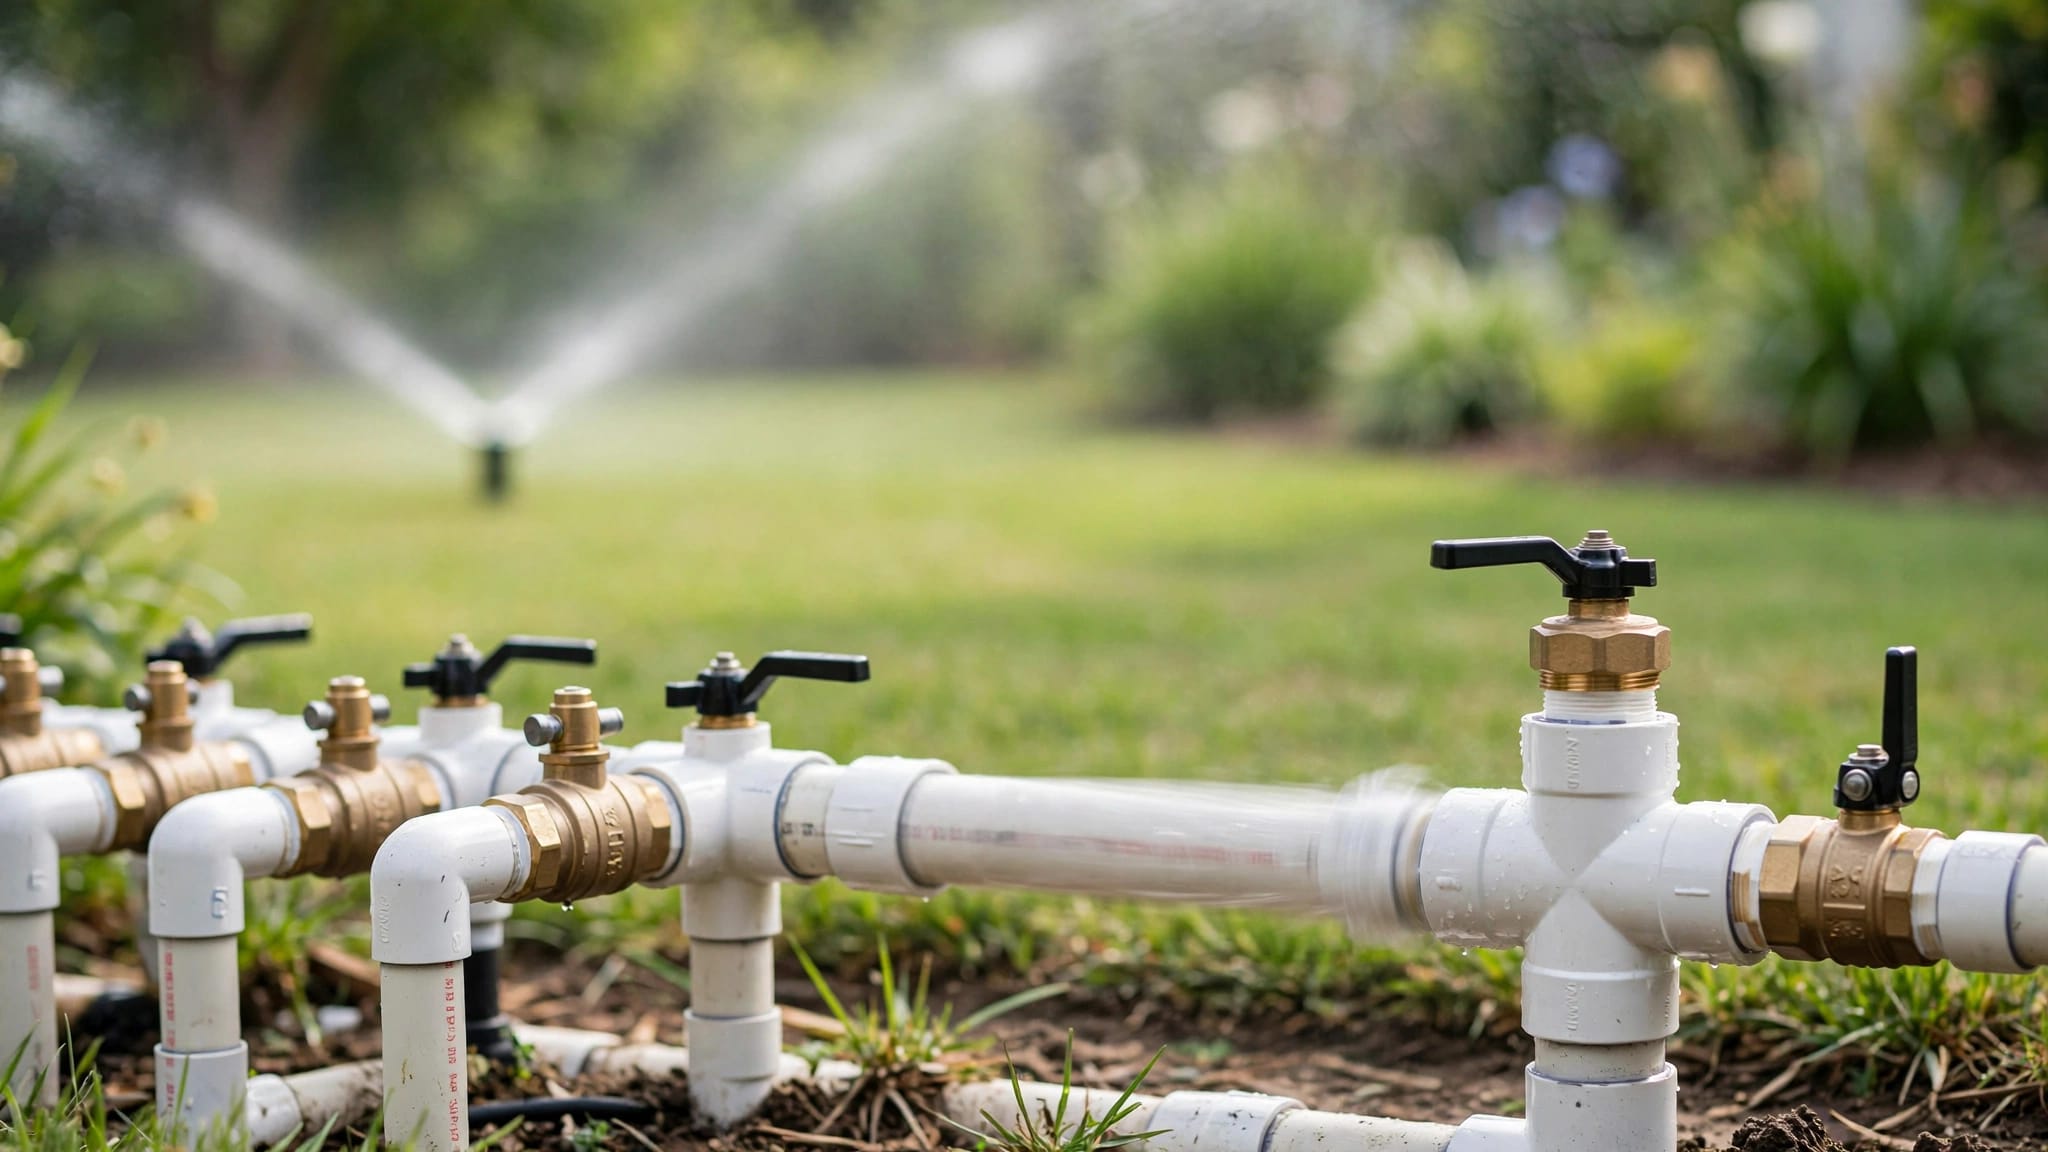
An irrigation valve stuck open usually has one of two problems: an unwanted electrical command or something preventing the valve from sealing. Start by turning the controller off, then check the valve's solenoid, diaphragm, and internal debris after safely isolating the water supply.
If sprinklers keep running or water is flooding the yard, close the irrigation system's main shutoff before continuing. The sequence below helps separate a controller issue from a mechanical valve failure without replacing parts unnecessarily.
Key Takeaways
- Turn the controller off first and watch whether the affected zone stops, continues spraying, or gradually drains.
- Shut off irrigation water and disconnect controller power before handling wiring, loosening the solenoid, or opening the valve.
- A loose solenoid, open manual bleed, damaged diaphragm, or trapped grit can prevent closure. Call a qualified irrigation professional if you can't safely isolate or repair the valve.
Start With the Controller
Cancel watering and review the schedule
Set the controller to OFF and cancel any manual watering session. For an app-connected controller, stop remote watering commands too. Review every active program for duplicate start times or overlapping schedules.
Several programmed starts can make a system appear to run continuously even when each valve closes correctly between cycles. Note whether one zone stays on or the controller keeps advancing through different zones.
If two areas operate together, our guide to why irrigation zones run together explains the related valve and wiring clues.
Separate a control command from a stuck valve
If watering continues, disconnect controller power using its accessible plug or designated disconnect. Don't open a household-voltage compartment.
With conventional electric valves, continued spraying after controller power is removed points toward a mechanical problem. However, systems with a master valve or pump need another distinction: disconnecting power may stop the water supply even though a zone valve remains stuck.
A technician can test whether an unwanted electrical signal reaches the solenoid while its station should be off. That separates controller or wiring faults from a valve that cannot seal.
Shut Off the Irrigation Water Before Repairs
The controller's OFF setting isn't a physical water shutoff. A mechanically open valve can keep passing water while the display shows no active station.
Find the dedicated irrigation isolation valve. Depending on the installation, it may be near the meter, backflow assembly, or irrigation mainline. Close the irrigation supply without forcing a stiff handle. Don't loosen backflow test ports or dismantle the assembly to stop flow.
For a well-fed system, use the irrigation branch shutoff where available. Before servicing pump equipment or associated electrical components, disconnect the pump's power at its designated breaker. Leave uncertain pump controls to a professional.
After closing the supply, relieve trapped pressure using the equipment's prescribed procedure before removing components. Don't assume the pipe is depressurized because sprinkler heads have retracted.
A quiet controller doesn't make a valve safe to open. Water isolation and pressure relief are separate steps.
If water continues flowing steadily after the irrigation shutoff is closed, stop. The wrong valve may be closed, the shutoff may be defective, or another supply path may exist. Have a qualified professional isolate the system.
Check the Solenoid and Manual Bleed
Look for a loose solenoid or open bleed
The solenoid is the small electrical component attached to the zone valve. On many valves, partially loosening it allows manual operation. If someone recently tested the zone, it may not have been returned to its closed position.
With water isolated and pressure relieved, inspect its seating. Also look for a manual bleed screw that was left open. Close these components according to the valve's instructions, using gentle pressure rather than force.
Plastic threads can crack when overtightened. If the solenoid won't seat normally or the connected pipe twists, stop instead of tightening harder.
Inspect wiring without assuming it caused the problem
Disconnect controller power before handling control wires. Look for damaged insulation, loose connections, corrosion, and failed connectors inside the valve box.
Corroded splices often prevent a valve from operating, but corrosion alone doesn't prove why it stays open. Electrical testing should establish whether the controller or wiring continues energizing the valve.
If replacement is necessary, the solenoid must match the valve model. Hunter, Rain Bird, Orbit, and Irritrol parts aren't automatically interchangeable. Our guide to irrigation solenoid replacement covers compatibility and installation.
Use waterproof irrigation connectors for repaired splices. Electrical tape alone doesn't protect connections in a damp valve box.
Inspect the Diaphragm and Clear Debris
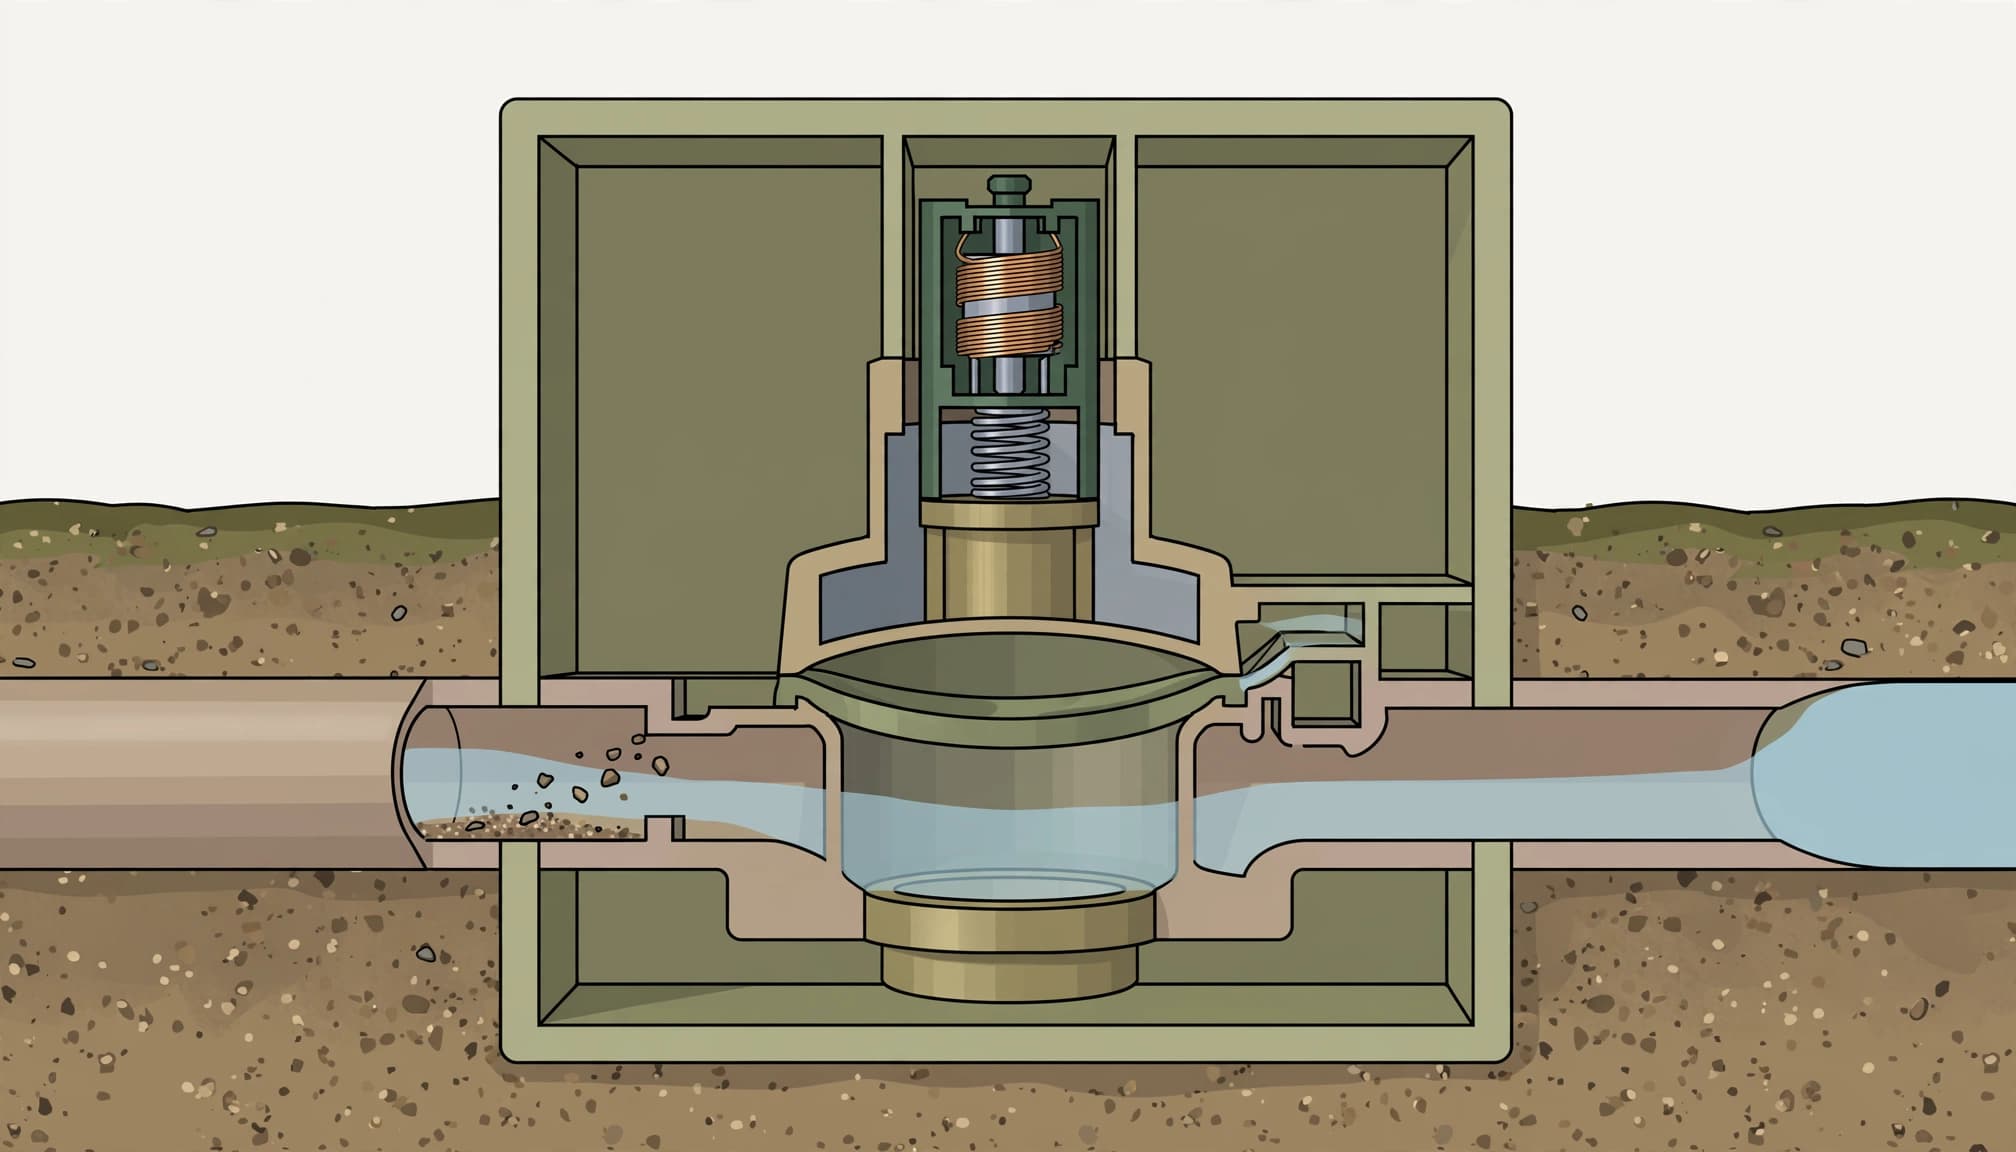
Examine the flexible seal and valve seat
If the solenoid and manual bleed are correctly seated, the problem may be inside the valve. The diaphragm is a flexible internal seal. Damage, distortion, or debris around its sealing surface can keep water passing into the zone.
Only open the valve after shutting off water, disconnecting power, and relieving pressure. Clear loose soil from around the cover first. Photograph the assembly so springs, seals, and other components return to their original positions.
Look for tears, stiffened rubber, displaced seals, and damage to the valve seat. Cleaning won't restore a torn diaphragm or cracked body.
Remove grit without damaging small passages
Sand or soil caught at the sealing surface can hold the diaphragm slightly open. Clean accessible components gently with clean water, following the valve's service instructions. Don't scrape sealing surfaces or push sharp tools through small passages.
Keep surrounding dirt out of the open valve. Reassemble the parts in their original orientation without pinching the diaphragm or overtightening the cover.
If sediment returns, address its source rather than repeatedly cleaning the same valve. Our guide to flushing sand from irrigation lines explains the broader issue. Flushing requires a suitable discharge point, not simply running debris through sprinkler nozzles.
Restore Water Slowly and Test Both Directions
A repair isn't complete when the sprinklers turn on. The valve also needs to close reliably.
Reassemble everything before slowly reopening the irrigation supply. Restore controller power, then run the repaired zone manually. Watch for normal spray patterns and leaks around the valve cover, solenoid threads, and pipe connections.
Next, end the watering command. Observe whether the sprinklers stop and whether any hissing continues inside the valve box. Test neighboring zones too, especially if wiring or shared connections were disturbed.
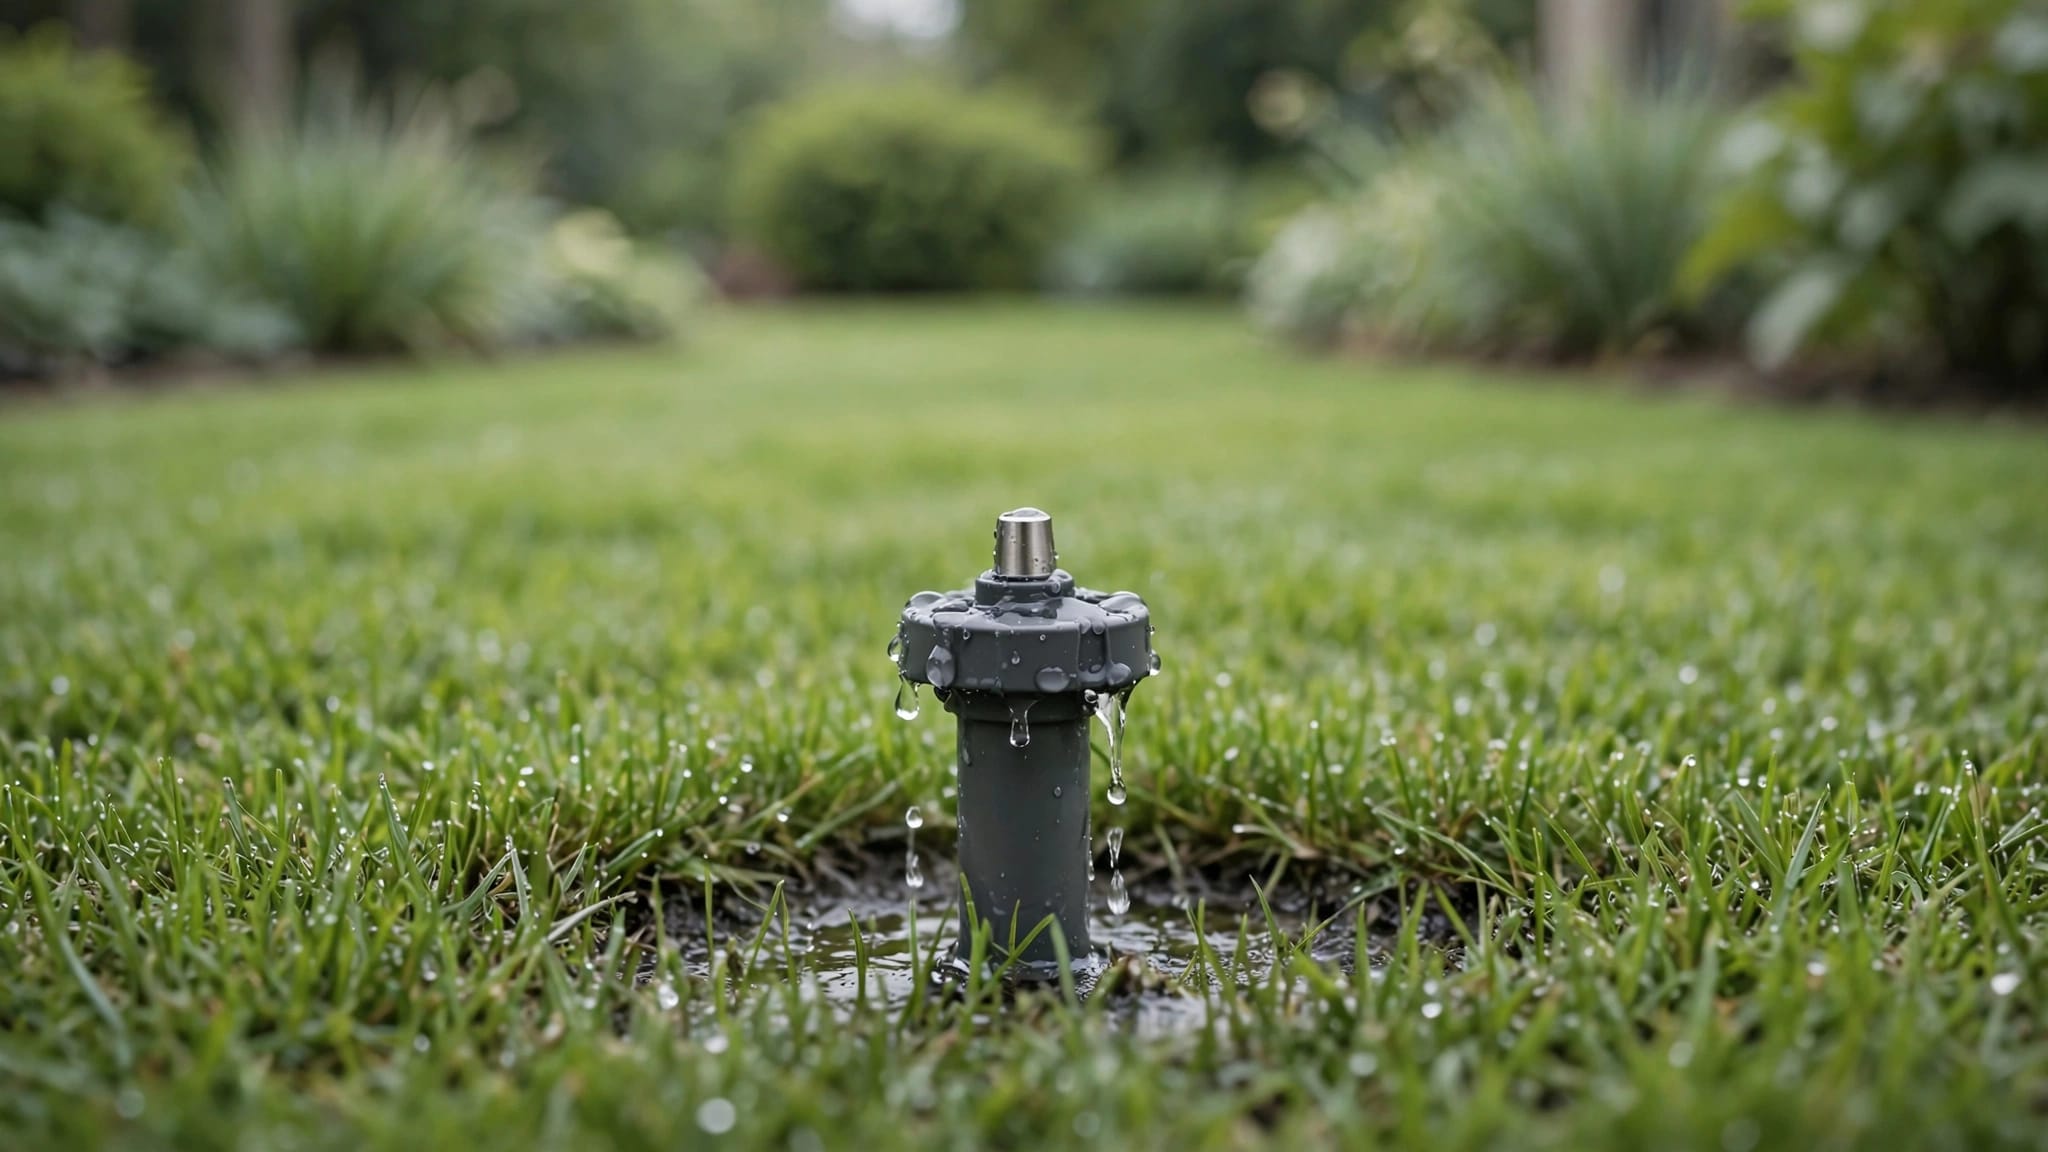
Brief drainage at a low sprinkler head can occur as water empties from the lateral pipe. Continued spraying or persistent seepage deserves further investigation.
If the valve still passes water, close the supply again. Repeatedly cycling the controller won't repair a damaged sealing surface. The next step is a more complete diagnosis of the solenoid, diaphragm, valve body, and control circuit, rather than another unsupported parts replacement.
Know When to Call an Irrigation Professional
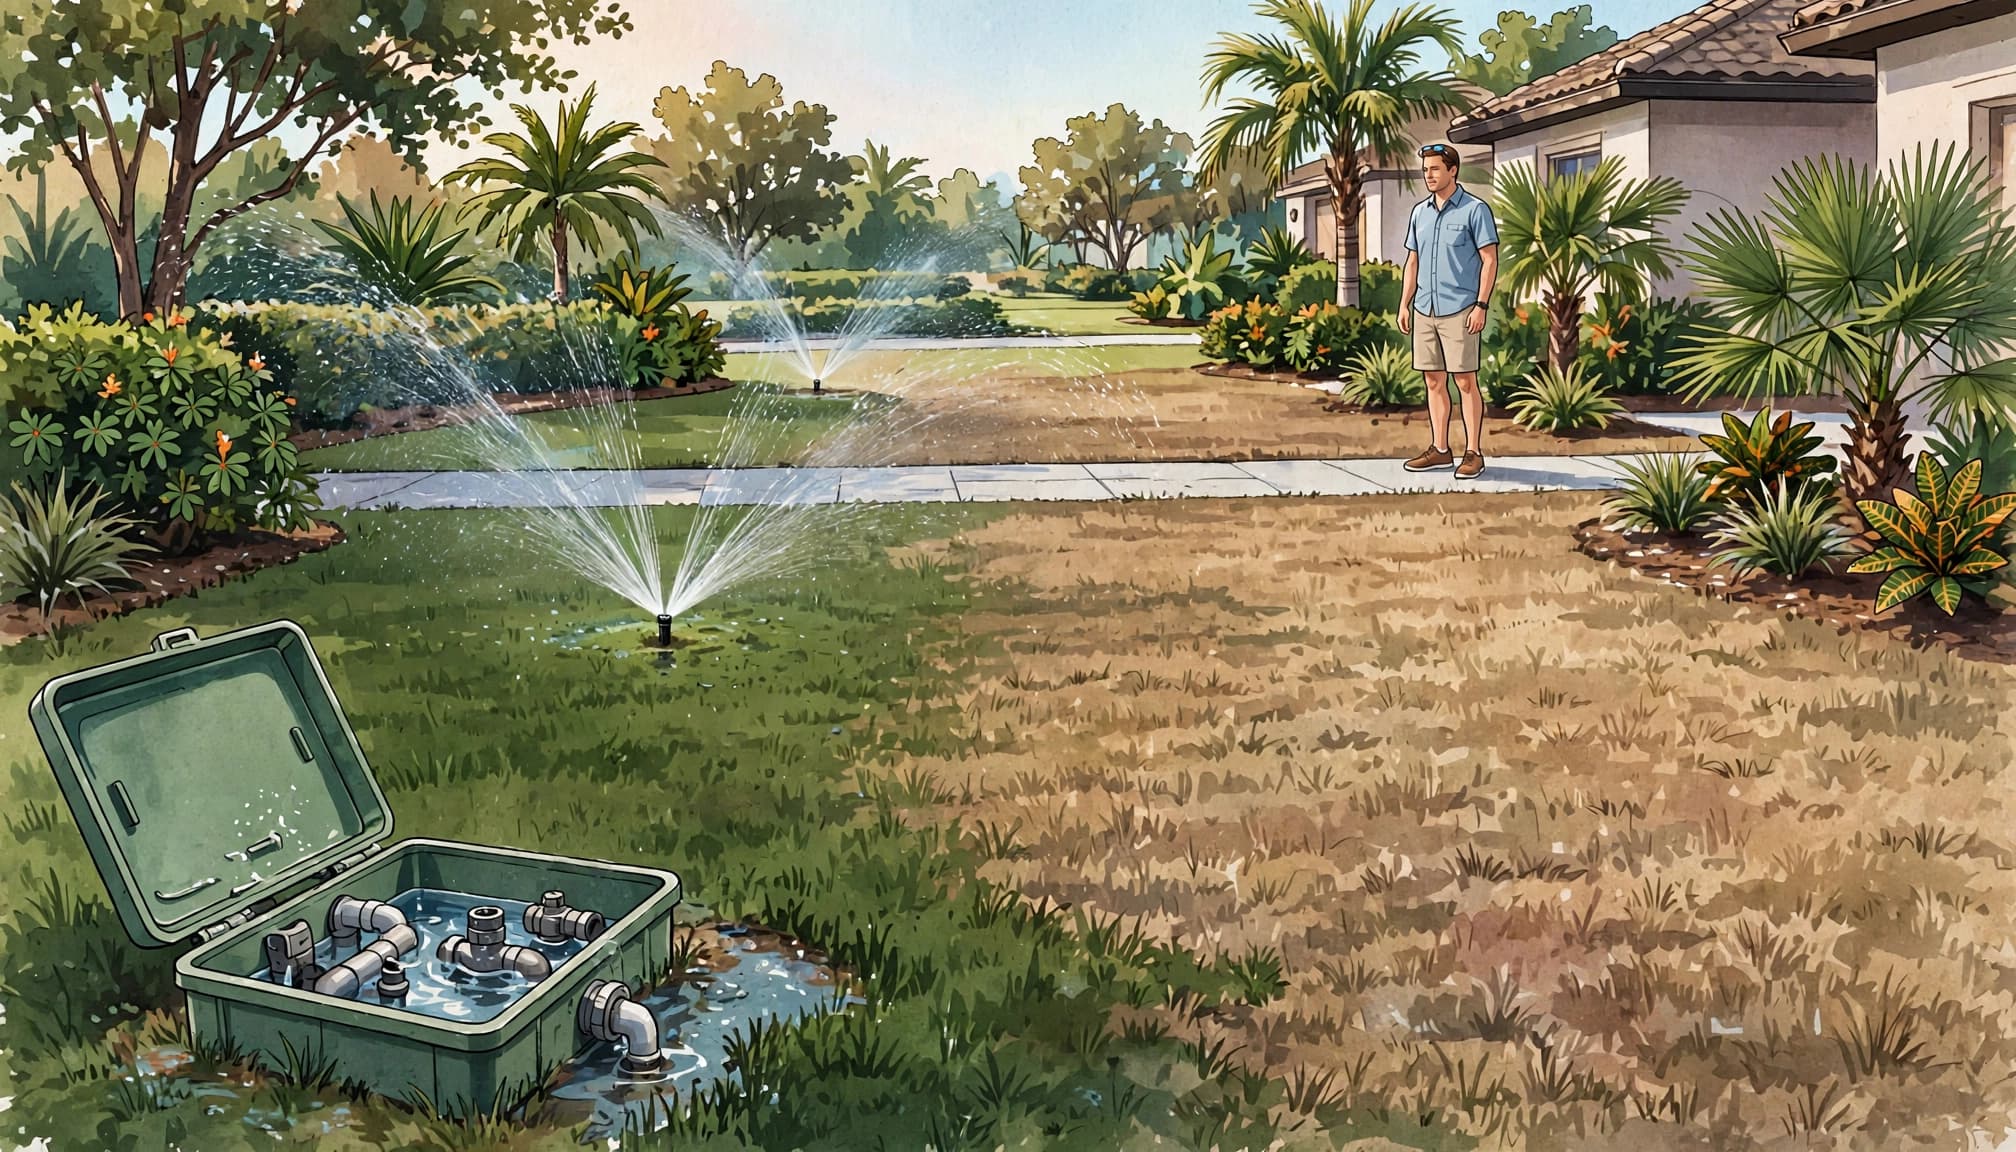
Call for help when the valve box is flooded, several zones malfunction, buried wiring needs tracing, or you can't locate the irrigation shutoff. Damaged electrical equipment, uncertain wire identification, and moving pipes are also reasons to stop.
Professional diagnosis matters when a correctly assembled valve still won't close. An unwanted control signal, incompatible solenoid, damaged diaphragm, and cracked body require different repairs. Replacing the easiest-to-reach part may leave the original problem untouched.
At Outdoor Life Pros, we provide irrigation repair in Cape Coral and nearby Southwest Florida communities. We can also coordinate repairs with landscaping changes so new work doesn't cover an unresolved leak.
Complete irrigation repairs before paver cleaning or sealing to avoid muddying finished surfaces during excavation. Before a concrete company pours a patio or walkway, locate irrigation lines that cross the work area. Artificial turf projects also need planning for irrigation serving nearby planting beds.
These projects are easier to coordinate while valve boxes and pipe routes remain accessible.
Frequently Asked Questions
Why does one sprinkler head leak after watering stops?
A low head may release water left inside the zone's pipes. That flow should diminish as the pipes drain. Persistent seepage can indicate a valve that isn't sealing. Compare it with the other signs of an irrigation leak, including unusually wet soil and water flowing outside scheduled cycles.
Will replacing the solenoid fix a valve that won't close?
It can, if the solenoid is defective, damaged, or incompatible. However, grit beneath the diaphragm, an open manual bleed, or a damaged valve body can produce the same symptom. Diagnose the cause before buying a replacement, and don't assume that a clicking solenoid proves the entire valve works correctly.
Can a rain sensor stop a mechanically stuck valve?
A rain sensor interrupts scheduled watering through the controller. It can't physically reseat a damaged diaphragm or remove debris from a valve. If water continues despite the controller being off, use the irrigation shutoff and investigate the valve. Shortening runtimes won't correct a mechanical leak.
Get the Valve Closing Reliably Again
Troubleshooting an irrigation valve stuck open starts with the controller, followed by safe water isolation and inspection of the solenoid, diaphragm, and debris. The important distinction is whether an electrical command keeps the valve open or its internal parts cannot seal.
Keep water isolation ahead of every hands-on repair. If you can't safely stop the supply or restore reliable closure, leave the system off and call a qualified irrigation professional.