How to Flush Sand From Irrigation Lines in Florida
Sand coming from sprinkler heads can turn a healthy yard into a maintenance problem. It clogs nozzles, reduces coverage, wears valves, and leaves gritty buildup on patios and walkways. If you need to flush irrigation lines , the right method depends on whether your system uses a private well or municipal water.
Start by identifying the sand source before you open valves or remove sprinkler heads. A one-time burst of debris may clear quickly, but recurring sand usually points to a filter, well, valve, or damaged pipe that needs attention. These steps help Florida homeowners clear the lines safely and spot problems that flushing alone won't fix.
Why Sand Gets Into Florida Irrigation Lines
Sand can enter an irrigation system in several ways. Well-supplied systems may pull fine sediment when the well screen, pump intake, or well condition needs inspection. A pump intake positioned too close to the bottom can also disturb settled material.
Municipal systems don't use a private well pump, but they can still receive debris after water-main repairs, work on the property's service line, or an irrigation repair. Sand that appears only in one zone often points to a local problem, such as an open fitting, cracked pipe, dirty valve, or contaminated valve box.
Fine sediment may pass through the mainline and settle inside lateral pipes. When a zone opens, the first burst of water pushes that material toward the heads. Drip irrigation is especially sensitive because its small emitters clog faster than spray bodies or rotors.
Sand in every zone usually points toward the water source or main filter. Sand in one zone usually calls for a closer look at that zone's valve and piping.
The first step is to determine where your irrigation water comes from. That choice changes how you shut the system down and where you search for the cause.
Well water and municipal water need different checks
A well system normally has a pump, pressure tank, pressure switch, and electrical disconnect or breaker. Before opening a pump housing, filter, pressure tank connection, or wiring compartment, shut off power at the breaker . Closing the water valve alone doesn't make electrical components safe.
Don't loosen a pressurized fitting. Follow the pump or filter manufacturer's instructions to relieve pressure after power is off. If you're unsure which breaker controls the pump, stop and have a qualified professional identify it.
A municipal system usually has an irrigation shutoff near the meter, backflow preventer, or main valve. Close the irrigation isolation valve before removing a filter, valve cap, or pipe fitting. You generally won't have a private pump to disconnect, but keep the controller off while working around electric zone valves.
If sand reaches indoor faucets, sinks, or other household plumbing, stop treating it as an irrigation-only issue. Contact your water provider for a municipal system, or a well professional for a private well.
How to flush irrigation lines in Florida, step by step
Flushing works best when you give sediment a clear exit. Running sprinklers normally can spread sand through the heads instead of removing it, so open the line at a suitable point first.
- Turn off the irrigation controller. Set the timer to OFF so no zone starts while you're working. If the system has a well pump, shut off its breaker before servicing any pump, filter, pressure tank, or electrical part.
- Close the water supply. Use the irrigation shutoff for a municipal system. For a well system, close the irrigation branch valve if one exists. If you need to work near the pump or pressure equipment, leave power off and follow the equipment's pressure-relief procedure.
- Find the best flushing point. Look for an end cap, flush valve, drain point, or the last sprinkler head on the zone. A valve box may contain the zone valve, but the valve itself isn't always the best place to discharge sand. Water should exit after the sediment has traveled through the section you want to clean.
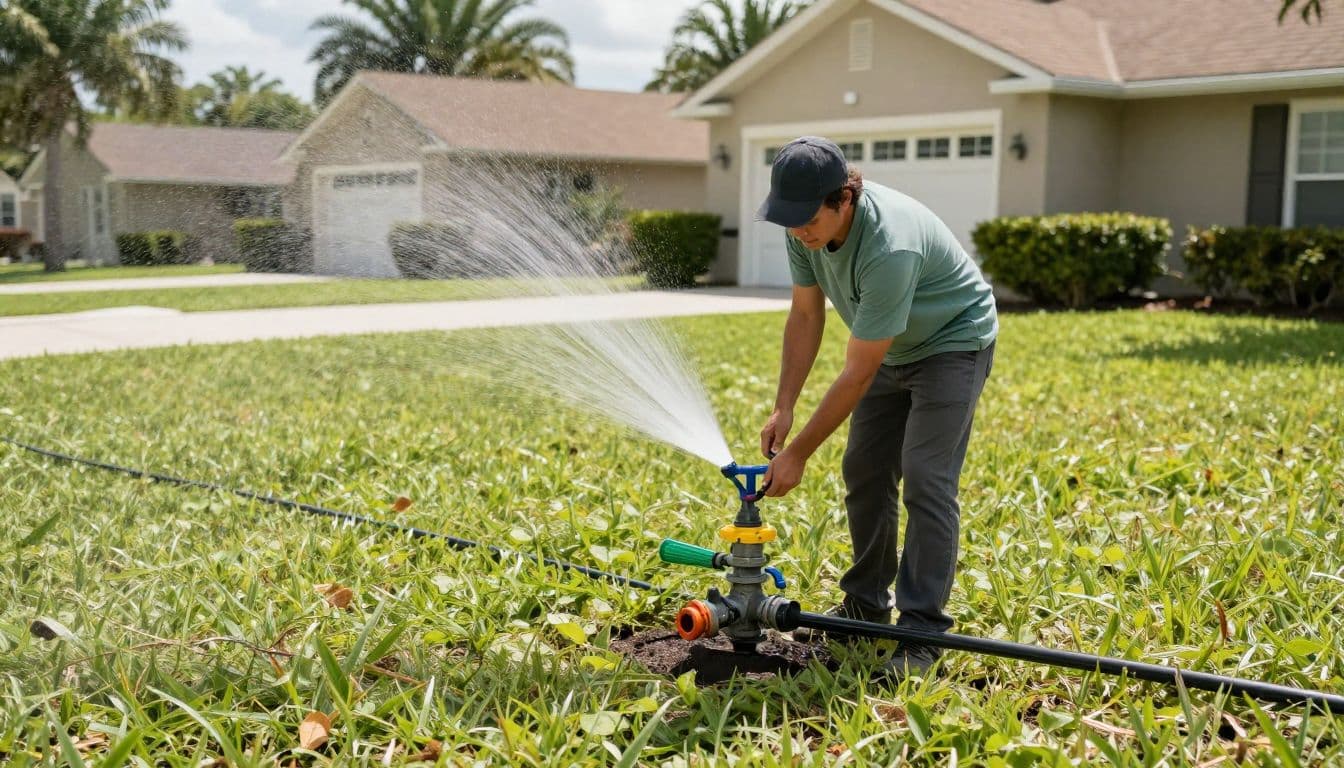
- Open one zone at a time. Remove the last nozzle or open the designated flush port. For a spray head or rotor, keep the body in place when possible and remove only the nozzle. For drip tubing, open the end flush cap or manifold instead of forcing sediment through the emitters.
- Restore water and flush in short bursts. Open the supply slowly to limit sudden pressure changes. Let dirty water run for about 30 to 60 seconds, then close the supply briefly and inspect the discharge. Repeat until the water looks clear and no visible grit comes out. Direct the flow away from foundations, pool decks, mulch beds, and erodible soil.
- Close the outlet and repeat for each zone. Shut the water off before reinstalling a nozzle or cap. Rinse removable screens and nozzles with clean water, then check that every fitting is secure. Once all zones are flushed, restore the supply and test them one at a time.
Don't leave a well pump running without watching the system. If pressure falls sharply, the pump runs continuously, or the water supply becomes weak, shut it down and investigate the source.
After flushing, inspect the first few heads in each zone. A head can look clean from the outside while its internal screen remains packed with sand. Replace a damaged nozzle rather than trying to enlarge its opening with a wire.
Troubleshooting sand, low pressure, and clogged sprinkler heads
A clean discharge doesn't always solve the original problem. Use the symptom and its location to narrow down the repair.
Sand keeps coming back
If every zone produces sand, inspect the system's filter first. A clogged or damaged filter can allow sediment through while also reducing pressure. Well owners should also have the well, pump intake, and well screen checked if sand returns after repeated flushing.
When only one zone produces sand, examine that zone's valve box, valve diaphragm, exposed fittings, and nearby pipe repairs. Sand may have entered while a fitting was open. A broken lateral line can also draw soil into the pipe when the system loses pressure.
Municipal customers should ask the water provider whether recent main work occurred. However, recurring debris inside one private irrigation zone still requires an inspection of the property's piping.
Pressure drops or heads stop spraying
Low pressure can come from a dirty filter, partly closed shutoff, leaking mainline, failing valve, or too many open zones. Sand caught inside a valve can prevent the diaphragm from opening fully. Check the filter and valve box before adjusting pump controls.
If pressure is low throughout the property, don't keep increasing the pump setting. A professional should test the pump, pressure tank, supply piping, and system demand. Improper adjustments can damage equipment or hide a failing well.
Clogged heads should be removed and rinsed. Clean the nozzle and screen with water, then reinstall the correct nozzle for that head. If several heads clog again within days, return to the source instead of cleaning each head repeatedly.
Water looks brown or cloudy
Brown water often contains suspended sediment after a line has been disturbed. Flush the affected zone until the discharge clears, then inspect the filter and heads. Keep irrigation water away from drinking-water connections and outdoor items that contact food.
If discoloration continues, spreads to household fixtures, or comes with an unusual odor, stop using the water and contact the municipal provider or a well contractor. The irrigation system may not be the source.

Protect your landscaping and hardscape during the repair
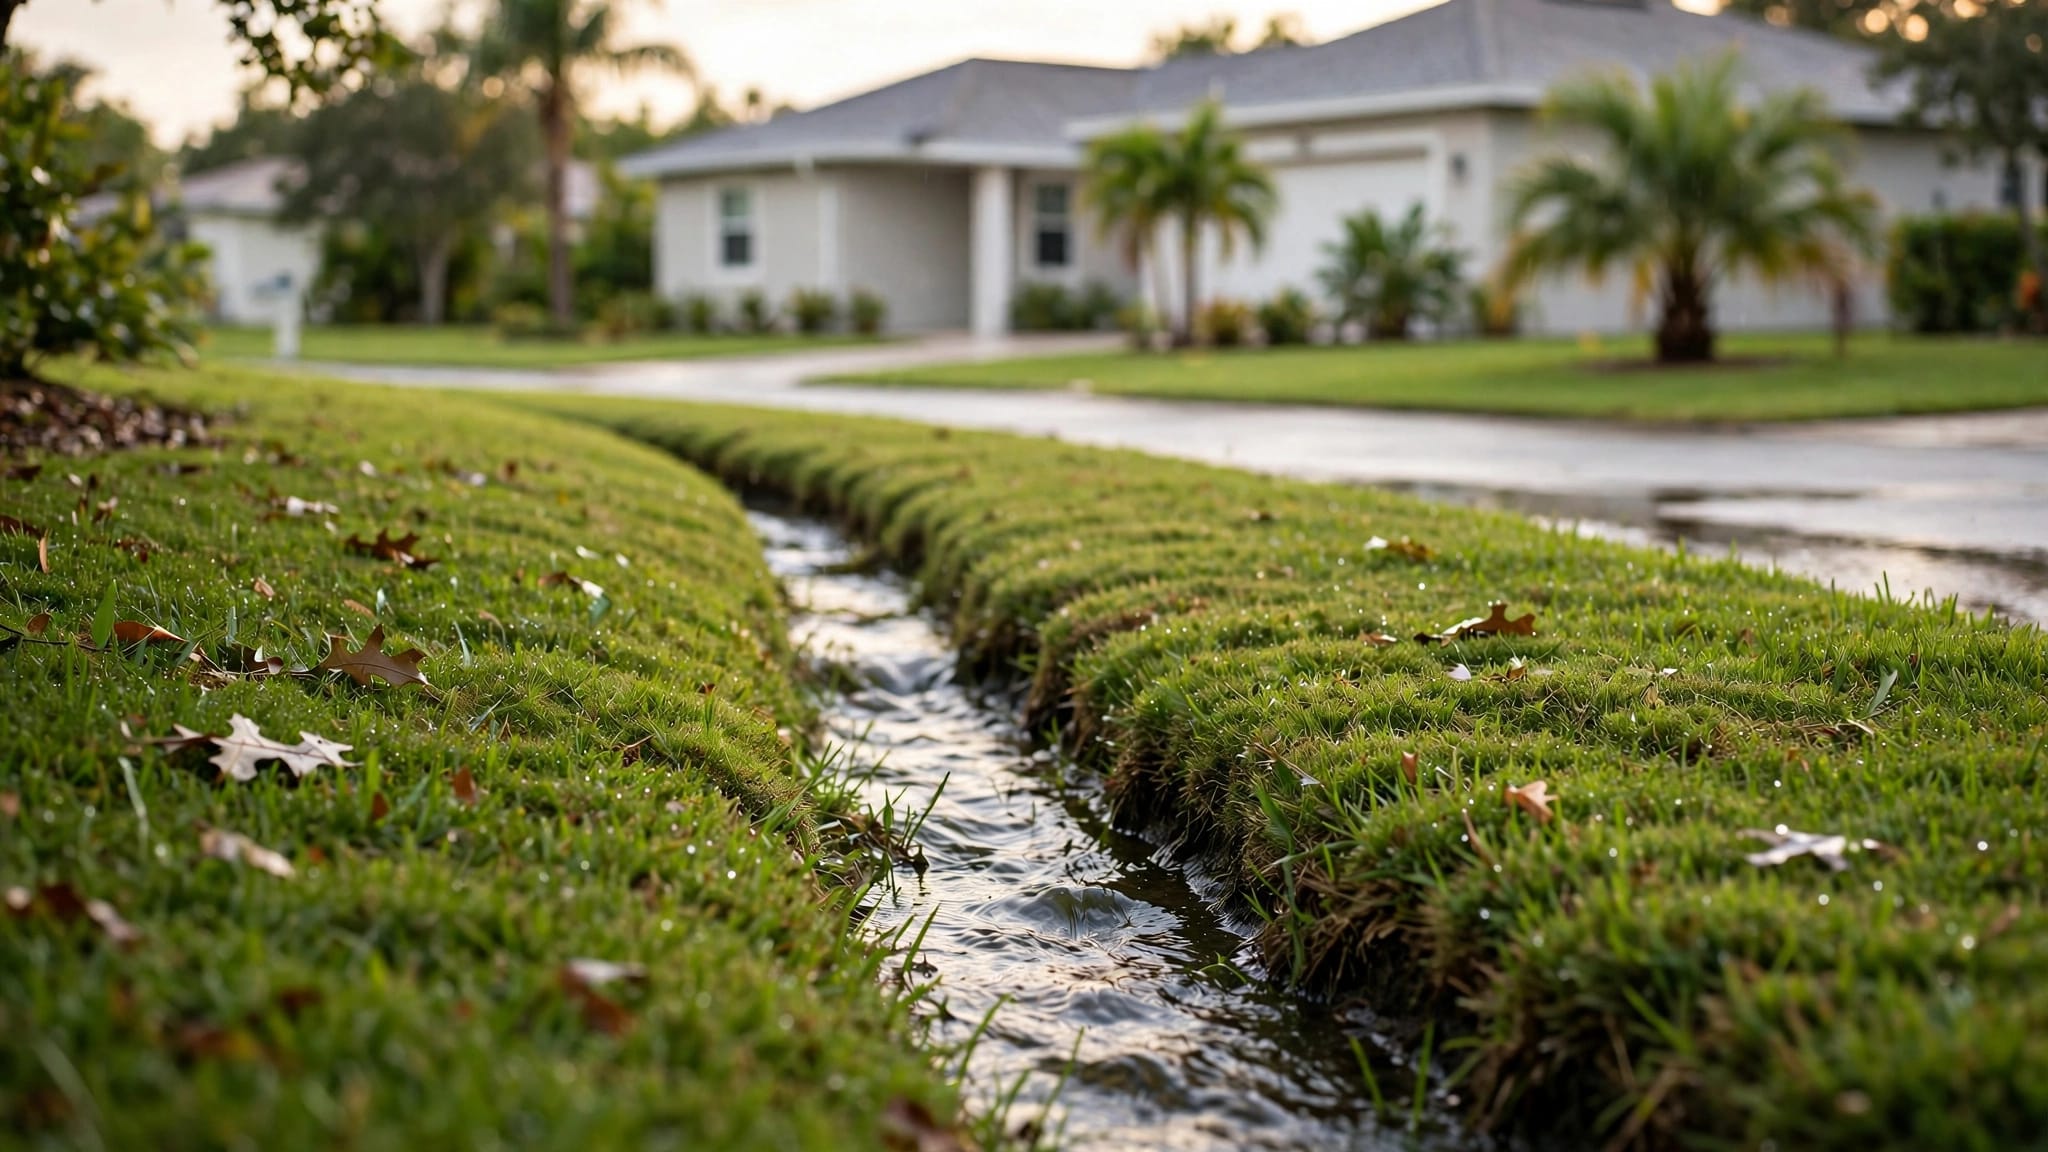
Sand-laden water can wash out soil around beds, tree roots, pool areas, and walkways. Use a hose or temporary discharge path to guide the flow toward a safe drainage area. Avoid creating a channel beside the foundation or under a concrete edge.
Fine sand can collect on pavers and become difficult to remove after it dries. Fix the irrigation source before scheduling paver cleaning, because another flush can leave the surface dirty again. Use a low-pressure rinse near joints until you know the base isn't washing out.
Artificial turf also needs care. Sand and mud can settle into the backing or collect around its edges. Remove loose sediment with a gentle rinse and avoid directing a strong stream into seams or perimeter restraints.
If erosion exposes the base beside a patio or causes a slab edge to settle, repair the irrigation issue first. A concrete company can then assess the affected surface and its base without dealing with continuing water damage.
When to call an irrigation professional
Call for help when sand returns after multiple flushes, the well pump runs continuously, pressure stays low, or several valves fail at once. The same applies when you can't identify the irrigation shutoff or electrical breaker.
A professional can isolate zones, test pressure, inspect filters, remove valve debris, and locate leaks without opening unnecessary sections of the yard. In Southwest Florida, that can prevent avoidable damage to established landscaping, pavers, sod, and drainage work.
For local service details, review Outdoor Life Pros irrigation repair services. If you need to plan for a repair, the irrigation repair cost guide for Cape Coral covers common issues such as leaks, failed valves, stuck zones, and controller problems.
Conclusion
The safest way to flush irrigation lines is to isolate the water source, protect the pump and electrical equipment, and give each zone a clear discharge point. Flush one zone at a time, clean the filters and nozzles, and watch for pressure changes.
A single dirty burst may need only a careful cleaning. Sand that keeps returning points to a source problem, damaged pipe, or failing component. Find that cause before it damages your sprinkler heads or your Florida yard.