


How to Fix Sprinkler Heads That Won't Pop Up
A sprinkler head that won't pop up may be stuck in dirt, blocked by grass, damaged, or short of water pressure. Start by watching the affected zone, then clean and inspect the head before replacing parts.
The number of heads affected gives you a useful clue. One stubborn head often points to a local problem, while several weak heads can signal a leak or pressure issue elsewhere.
Here's how to work through the checks in order.
Key Takeaways
Run the zone first and compare the problem head with the others. Clear grass and soil around it, then inspect the riser and clean the nozzle and filter if the head is accessible.
Look for leaks before assuming low pressure comes from the water supply. Replace a cracked or worn head, but investigate the pipe, valve, or supply if several heads aren't working properly.
Watch the Zone Before Starting Sprinkler Head Repair
Turn on the affected zone and stand where you can see the problem head and its neighbors. Give the zone enough time to reach its normal spray pattern.
Notice whether the head stays completely down, rises partway, or pops up but sprays poorly. Also look for water bubbling at its base or pooling nearby. Mark the location so you can find it again after the zone shuts off.
Compare what you see with the other heads:
- One head that stays down while nearby heads work may be stuck, buried, clogged, or damaged.
- Several heads that barely rise may share a leak, restriction, or low-pressure problem.
- A head that rises but sprays into the grass may be too low, tilted, or blocked by the surrounding turf.
Run another zone for comparison. If it works normally, focus first on the weak zone rather than assuming the entire irrigation system needs adjustment.
Clear Grass and Soil Around the Head
After the observation test, turn off the zone and close the irrigation water supply before handling the head. Wait for the water to stop.
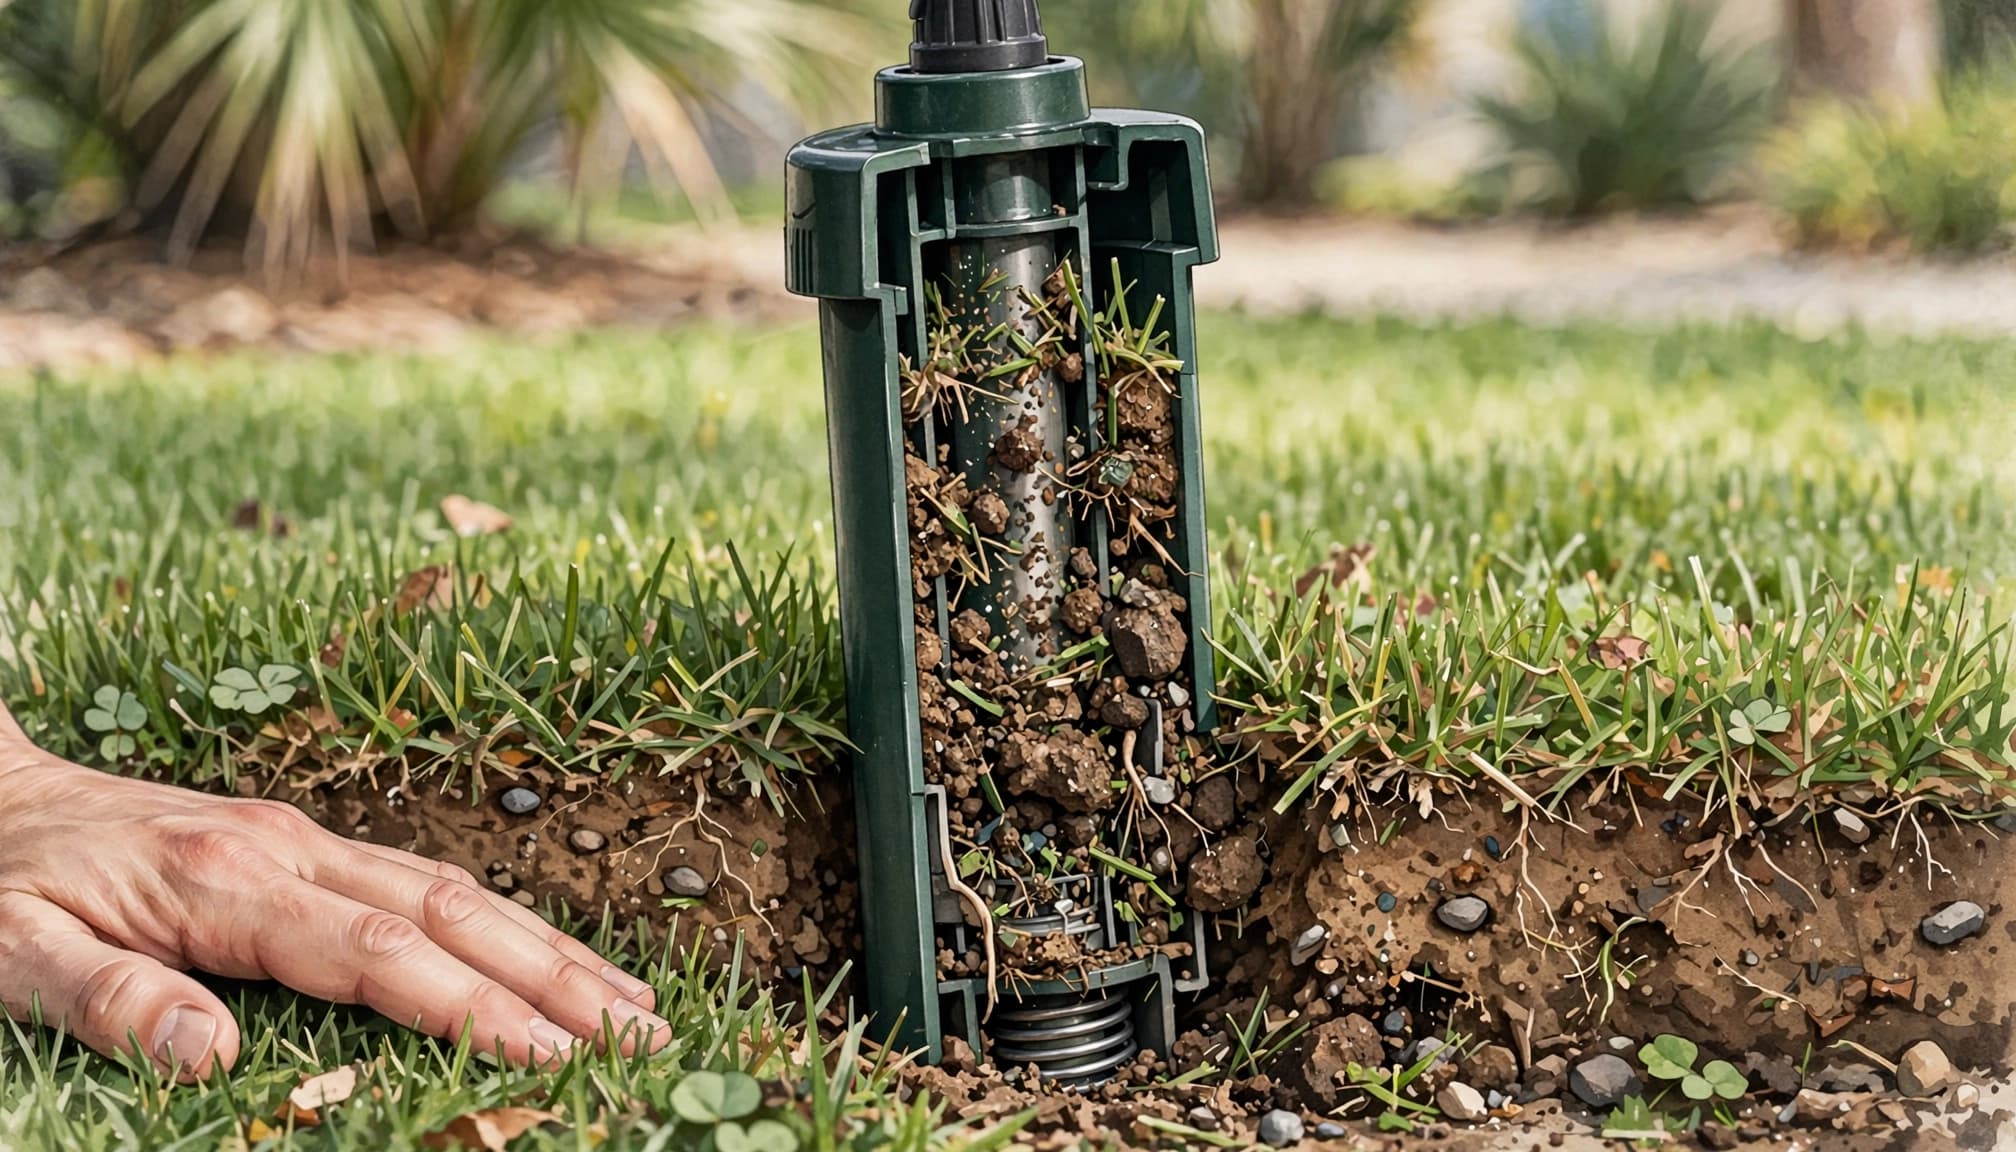
Clear away loose grass clippings, soil, and mulch from the top of the sprinkler. Make enough space for the pop-up stem to move without grass catching on it. Keep loose material out of the opening around the stem.
A head can also sink below the surrounding lawn as soil settles or landscaping changes. Even if its stem rises, the spray may hit grass instead of reaching the intended area. Our guide to why sprinkler heads sink into the lawn covers the common causes.
Don't pull the entire sprinkler body upward to change its height. Its connection below ground could be rigid or flexible, and pulling may damage it. A persistently sunken or tilted head may need its underground connection repositioned.
Inspect and Clean the Sprinkler Head
Once the area is clear, look for a cracked cap, damaged stem, missing nozzle, or water-stained break in the body. If the visible parts look intact, dirt inside the head may be interfering with its movement or spray.
Clean the stem and nozzle
With the irrigation water off, clear grit from the exposed stem and around the cap. If the stem is accessible, gently move it to see whether it travels freely. Avoid forcing it if it catches or won't move.
For a spray head with a removable nozzle, unscrew the nozzle and rinse it with clean water. Clear the openings without enlarging them. Sand or grass inside a nozzle can interrupt the spray, though a clogged nozzle alone doesn't prove why the stem won't rise.
Rinse the filter and reassemble
Many spray heads have a small filter screen beneath the nozzle. If yours does, remove it, rinse away debris, and return it to its original position. Some rotor heads have different internal parts, so avoid dismantling a rotor if its parts aren't familiar.
Reinstall the nozzle securely and restore the water supply. Run the zone again to see whether the stem rises and the spray reaches the lawn. If the head still sticks or the body leaks, continue with the checks below.
Look for Leaks Around the Head and Line
A leak can divert water before it reaches the sprinkler. That may leave one head weak, or it may reduce flow to several heads on the same zone.
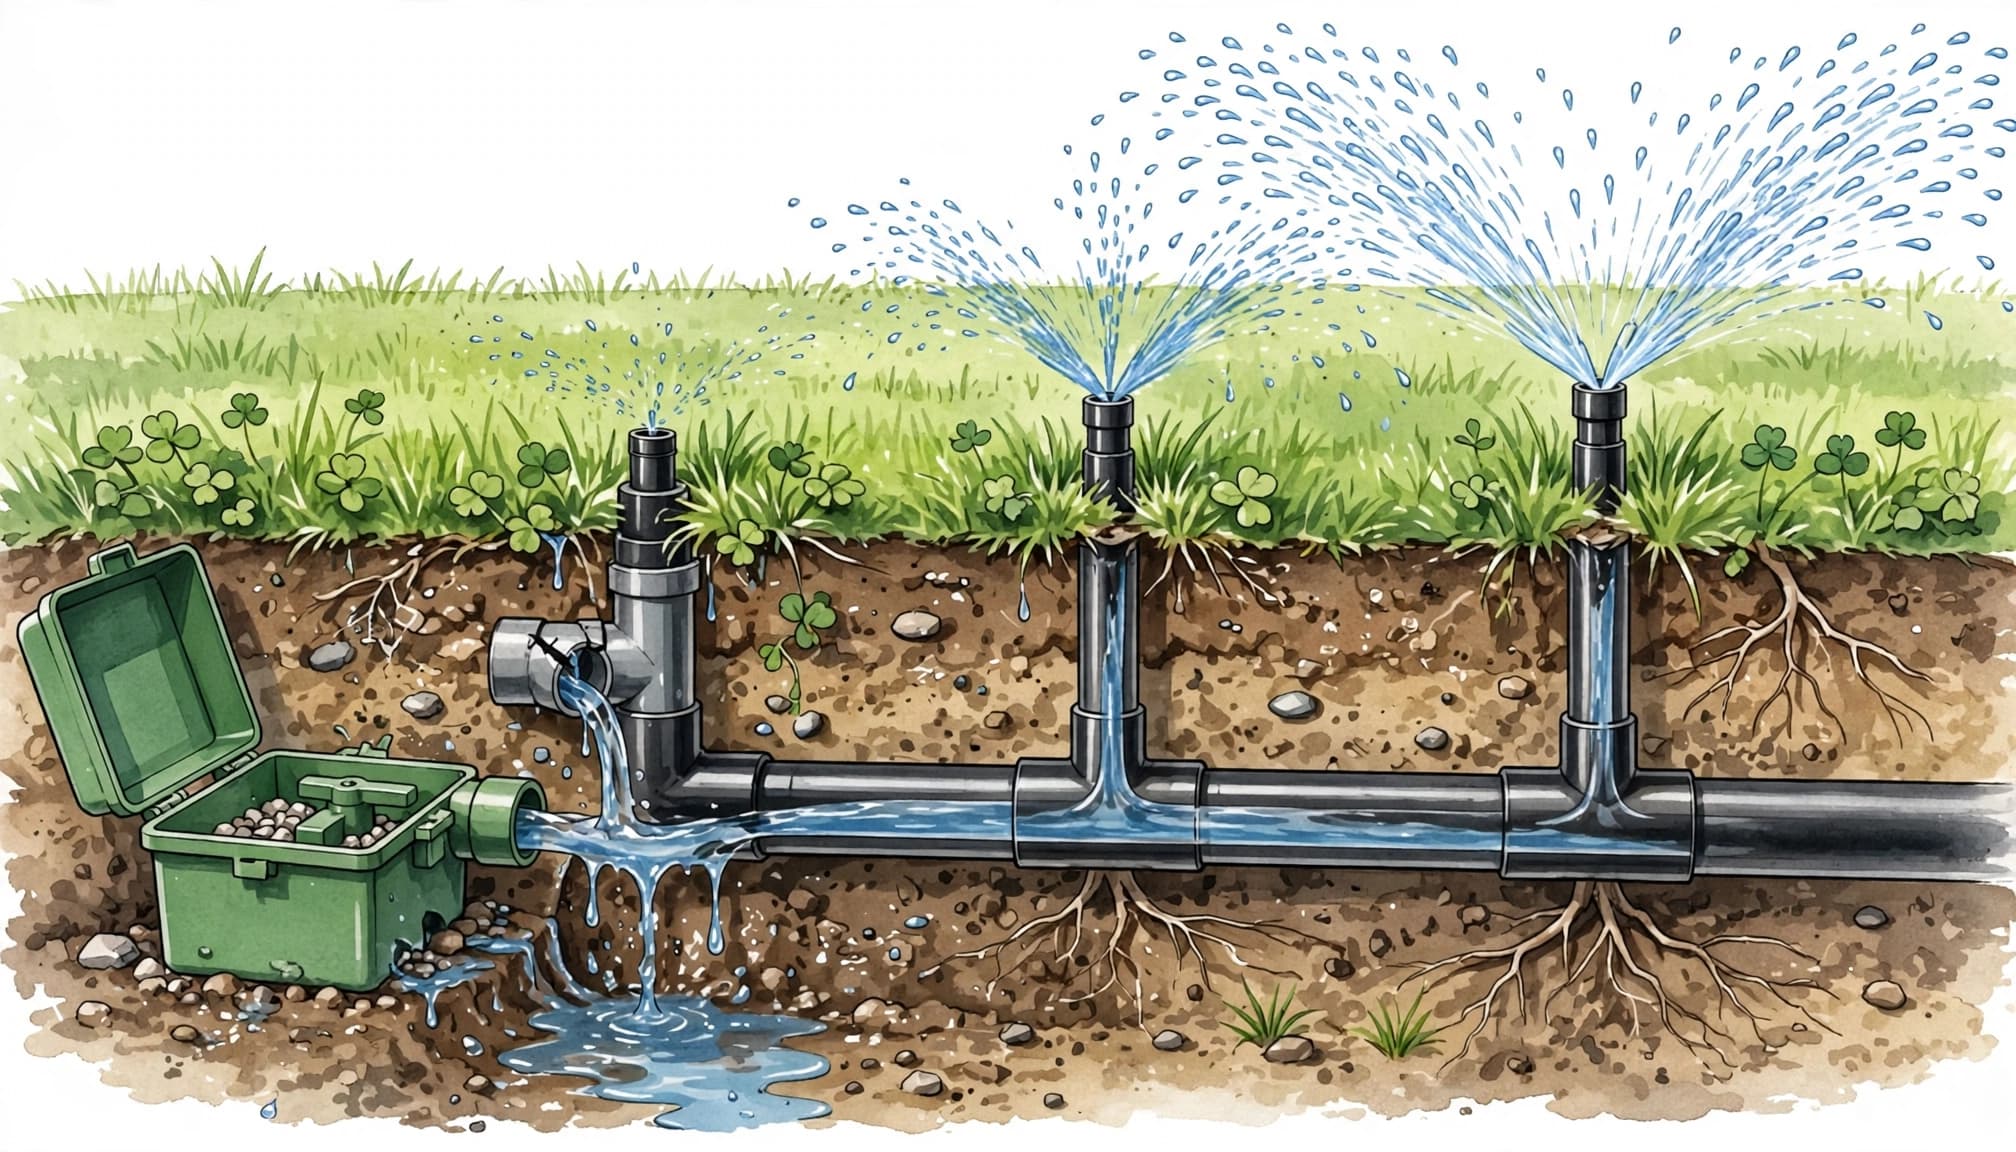
Run the zone and look for a steady flow around the sprinkler body, bubbling soil, or a wet patch that grows during the cycle. A broken fitting may produce a noticeable spray, but a buried leak can be less obvious. Sandy soil can absorb water quickly, leaving damp or unusually soft ground instead of a large puddle.
After the zone shuts off, see whether water continues to flow. A short period of drainage can occur as water leaves the line, but continuing flow deserves attention. Close the irrigation supply if it doesn't stop.
A water meter can provide another clue for properties connected to a metered supply. With irrigation and household water fixtures off, watch for meter movement. Movement suggests water is being used or leaking somewhere, though it doesn't identify irrigation as the source.
Our guide to common signs of an irrigation leak explains what to look for around the yard.
Trace Low Water Pressure to Its Source
If cleaning didn't help and several heads remain low, investigate the zone's water supply. A weak zone can have a restriction, a faulty valve, a leak, or more sprinkler demand than the available flow can support.
When one zone is weak
Compare the affected zone with another that runs normally. If the other zone performs well, the problem may be in the weak zone's valve, filter, piping, or heads.
Look for a leak first, especially if the loss of pressure appeared suddenly. A clogged filter or valve that doesn't open fully can also restrict flow. If the zone has always performed poorly, its layout or number of heads may exceed the available water supply.
Our article on troubleshooting low pressure in one irrigation zone covers these possibilities in more detail.
When several zones are weak
If every zone struggles, look for a supply issue rather than replacing heads one by one. Weak flow at household fixtures may offer another clue, although irrigation systems can have a separate supply or pump.
A pressure test can help narrow the problem, but a reading at an outdoor faucet doesn't necessarily match pressure at a distant sprinkler head. Different head types also have different operating requirements. An irrigation professional can test the system and identify where the pressure drops.
Replace a Damaged Sprinkler Head
Cleaning won't fix a cracked body, a broken stem, damaged threads, or a worn mechanism that repeatedly sticks. Replace the head when the damage prevents it from rising, sealing, or distributing water properly.
Match the replacement
Choose a head with a compatible inlet connection, body style, pop-up height, and nozzle or spray pattern. Keep the existing coverage in mind: a different head can throw water too far, miss part of the lawn, or apply water differently from its neighbors.
If you're unsure what is installed, compare the markings and parts on the old head with the replacement. Our guide to sprinkler head types for Florida lawns explains the difference between common sprays and rotors.
Install it without stressing the connection
With the irrigation water off, expose enough of the body to reach its connection. Unscrew the old head while keeping the underground fitting stable. If the fitting turns, the pipe moves, or a broken piece remains inside, stop rather than forcing it.
Keep soil out of the open connection. Thread the replacement on by hand until snug, then position it upright at the appropriate finished grade. Overtightening can damage plastic threads.
If the short pipe beneath the head is broken, the head alone won't solve the problem. Our guide to sprinkler riser repair and replacement explains that connection in more detail.
Test the Repair and Restore Coverage
After reassembly, restore the water supply and run the zone. Watch the repaired head as it rises, then inspect the area around its base while the system is operating.
A steady leak, bubbling soil, or water collecting beside the body can indicate a loose or damaged connection. Shut off the zone and address the cause before filling the area back in. Tape alone won't repair a cracked fitting.
Check the spray direction and distance, too. Water should reach the intended lawn or planting area rather than concentrating at the head or spraying a wall. Once the zone shuts off, the stem should retract without catching on grass or soil.
Return the surrounding soil and turf only after the connection operates without an evident leak. Keep the head accessible and close to the finished soil level so lawn equipment is less likely to strike it.
When to Call for Irrigation Repair
A professional inspection makes sense when several heads stay low, a wet area keeps returning, or the sprinkler connection moves when you try to remove the head. Valve problems, pump issues, and leaks beneath hardscape need more than a replacement nozzle.
Water escaping near a driveway or patio can wash away supporting soil. Fix the irrigation leak before asking a concrete company to repair settled concrete or scheduling paver cleaning. Likewise, address buried irrigation problems before installing an artificial turf base.
At Outdoor Life Pros, we provide irrigation repair and landscaping services in Cape Coral, Fort Myers, Estero, and Bonita Springs. We can inspect the affected zone and help identify whether the head or another part of the system needs attention.
Frequently Asked Questions
Why won't one sprinkler head pop up when the others work?
Grass, dirt, a stuck stem, or a damaged body may be blocking that head. A leak or obstruction at its connection is also possible. Inspect and clean it before replacing it.
Can low pressure keep sprinkler heads down?
Yes. Heads may rise only partway or stay down when the zone doesn't receive enough pressure. A leak, restriction, valve problem, or supply issue can all reduce performance.
Should I replace every head on a weak zone?
Start by finding the cause. If several heads are weak because of a shared leak or restriction, replacing them won't repair that problem. Replace individual heads when they're damaged or worn.
Get the Head Working Before Adding Run Time
A sprinkler that won't pop up needs a clear diagnosis before you change the watering schedule. Start with the head and its surroundings, then look for leaks or pressure problems if cleaning doesn't restore the spray.
The right sprinkler head repair restores coverage at the source. It also helps you avoid replacing working parts while an underground problem continues.