


Why Drip Irrigation Emitters Clog in Cape Coral Beds
Drip irrigation emitters can clog when sediment, mineral deposits, biofilm, or fertilizer residue collect in their small water passages. In a Cape Coral plant bed, the first sign may be a dry shrub beside another that still gets plenty of water.
A blocked emitter is only one possible cause of uneven watering. A kinked line, leak, or pressure problem can produce similar symptoms, so it's worth finding the source before replacing parts or adding more watering time.
Start by looking at what can enter the system and where the weak flow occurs.
What Can Clog Drip Irrigation Emitters?
Drip systems deliver water close to plant roots through small outlets. Those openings help control flow, but they can also trap material carried through the tubing. The material depends on your water source and how the system is maintained.
Sand and other particles
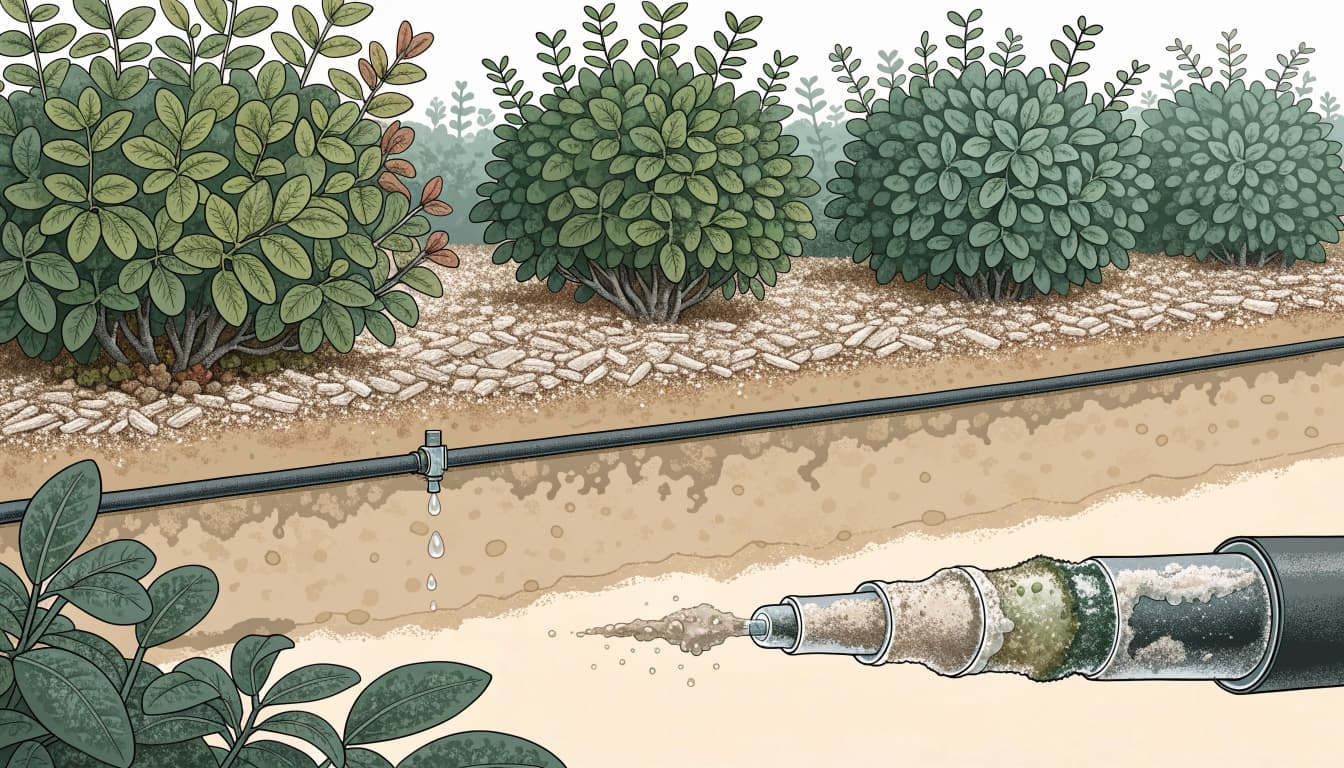
Fine sand, soil, and other particles can enter irrigation tubing through the water supply or during a repair. For example, well water can carry sand or iron particles. Soil can also fall into an open line when tubing is cut or a fitting is replaced.
Once inside, particles can settle in the tubing and move toward emitters when the zone starts. A filter helps catch debris before it reaches the bed, while an accessible flush end gives trapped material a way out.
Deposits, biological growth, and fertilizer
Dissolved minerals can form deposits inside emitters. A pale crust around an outlet may be a clue, although appearance alone won't identify the cause. Water chemistry varies by property and source.
Algae and biofilm can also restrict small passages. Biofilm is a slimy buildup of microorganisms that can develop inside a water system. In addition, fertilizer injected through irrigation equipment can leave residue if material doesn't dissolve fully or reacts with substances in the water.
Different materials call for different repairs. Repeatedly replacing emitters without addressing the source can leave the new ones vulnerable to the same blockage.
Find Out Whether the Emitter Is the Problem
Run the affected zone while you walk the entire bed. Move mulch aside gently so you can see the tubing and outlets, then compare the dry area with nearby plants receiving water.
Compare nearby outlets
If one emitter is dry but others on the same line work normally, inspect that outlet first. It may be clogged, buried under compacted soil, or disconnected from its small supply tube.
If several emitters farther along a line have weak flow, look for a kink, crushed tubing, or a blockage upstream of that group. Weak flow across the whole zone points toward a broader issue, such as a dirty filter, a partly closed valve, a leak, or insufficient pressure.
Soil provides clues too. A dry surface doesn't always mean dry roots, especially under mulch. Move mulch aside and feel the soil a few inches below the surface. Meanwhile, an unusually wet spot during a cycle can point to a split line or loose fitting.
Rule out pressure and leaks
Increasing the controller runtime won't repair a blockage. It may instead soak plants near working emitters while the dry plant receives little water.
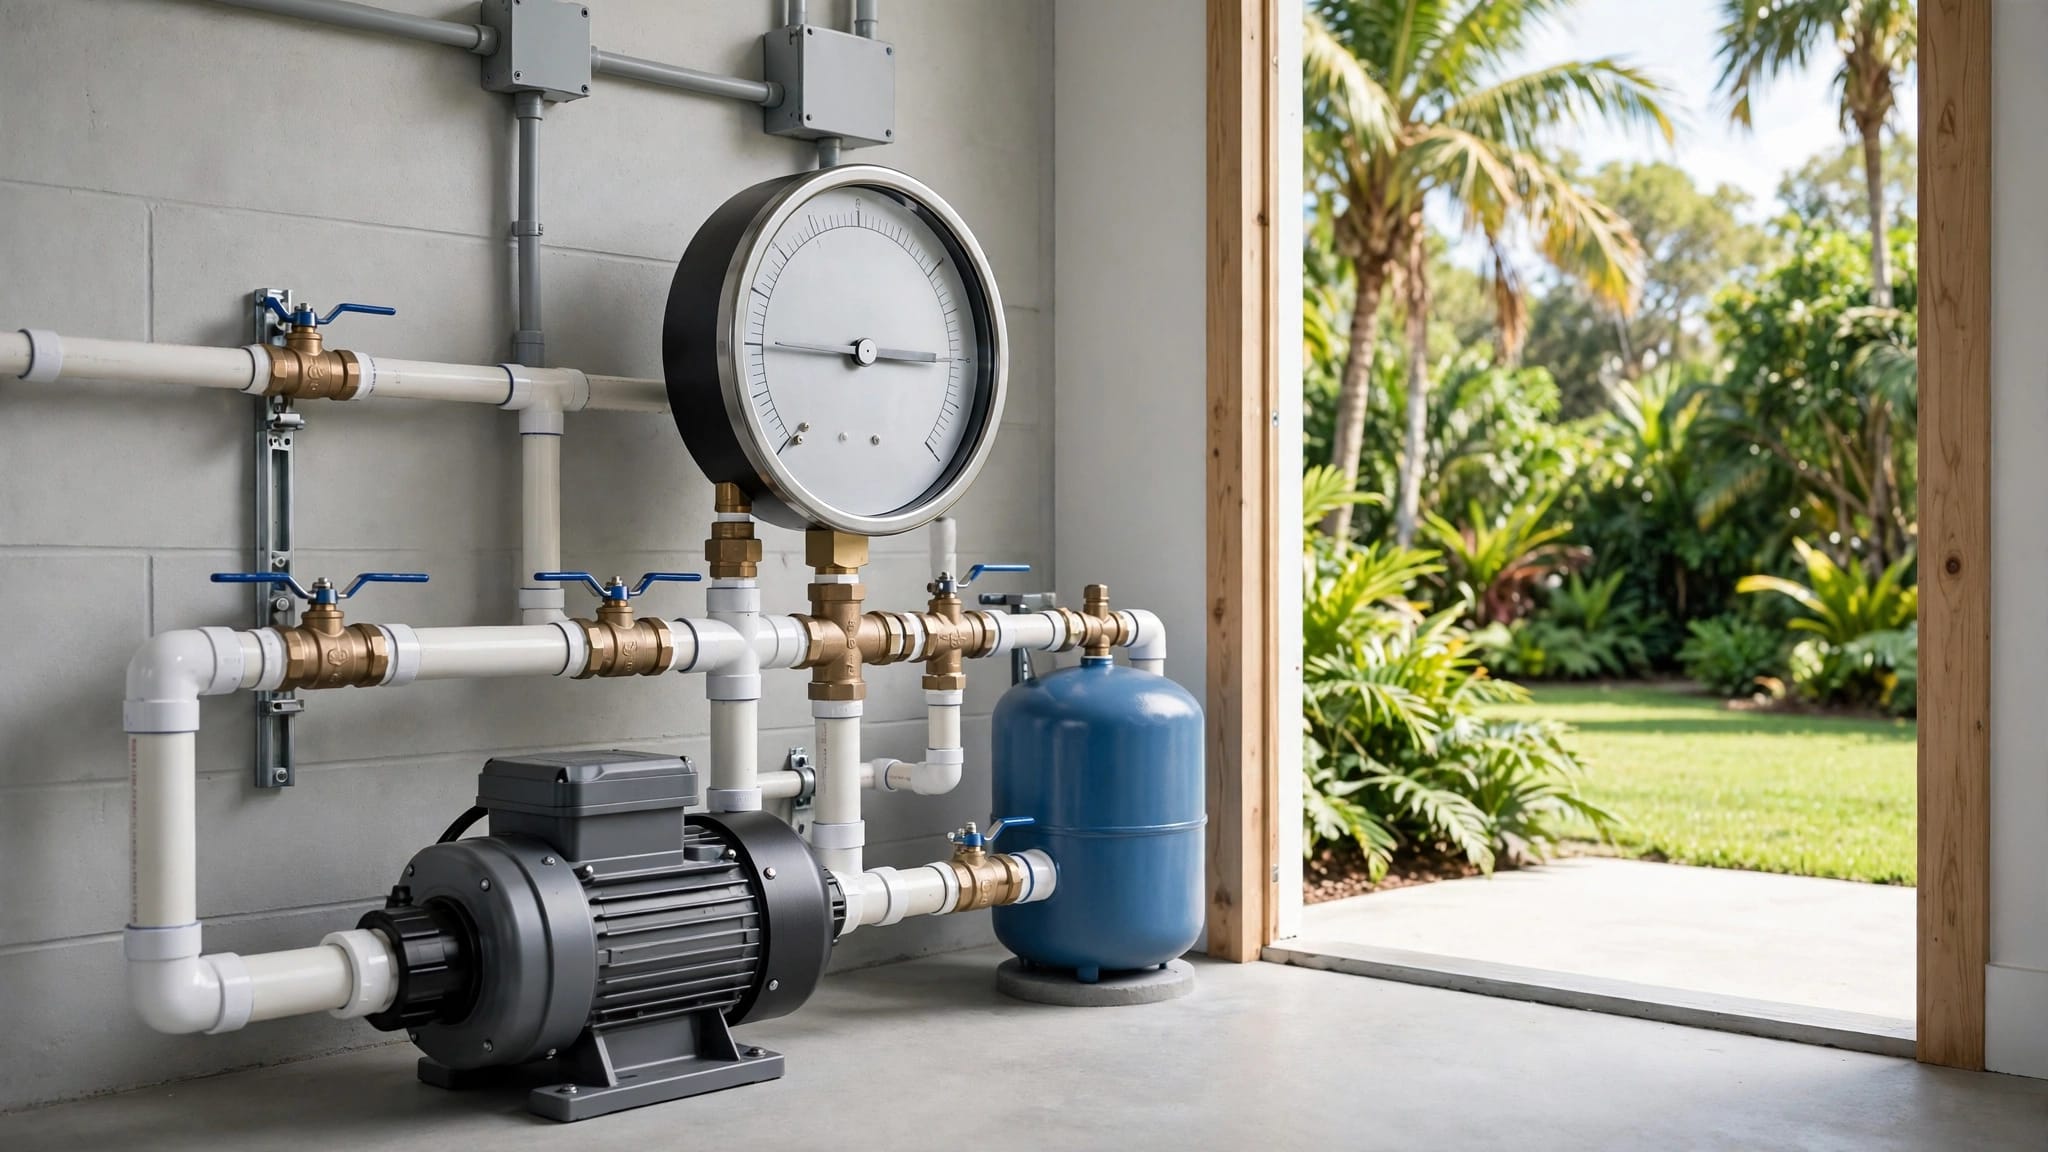
Look for water bubbling around a fitting, displaced mulch, or soft ground along the tubing. If flow is weak throughout the zone and no obvious problem appears, testing irrigation pressure in Cape Coral can help distinguish an emitter issue from a supply or zone problem. Persistent low pressure may involve a buried break, valve, or pump.
Flush a Drip Line Safely
Flushing sends water out through an open end rather than forcing loose debris through the emitters. It's useful after tubing repairs and when sediment has accumulated inside a line.
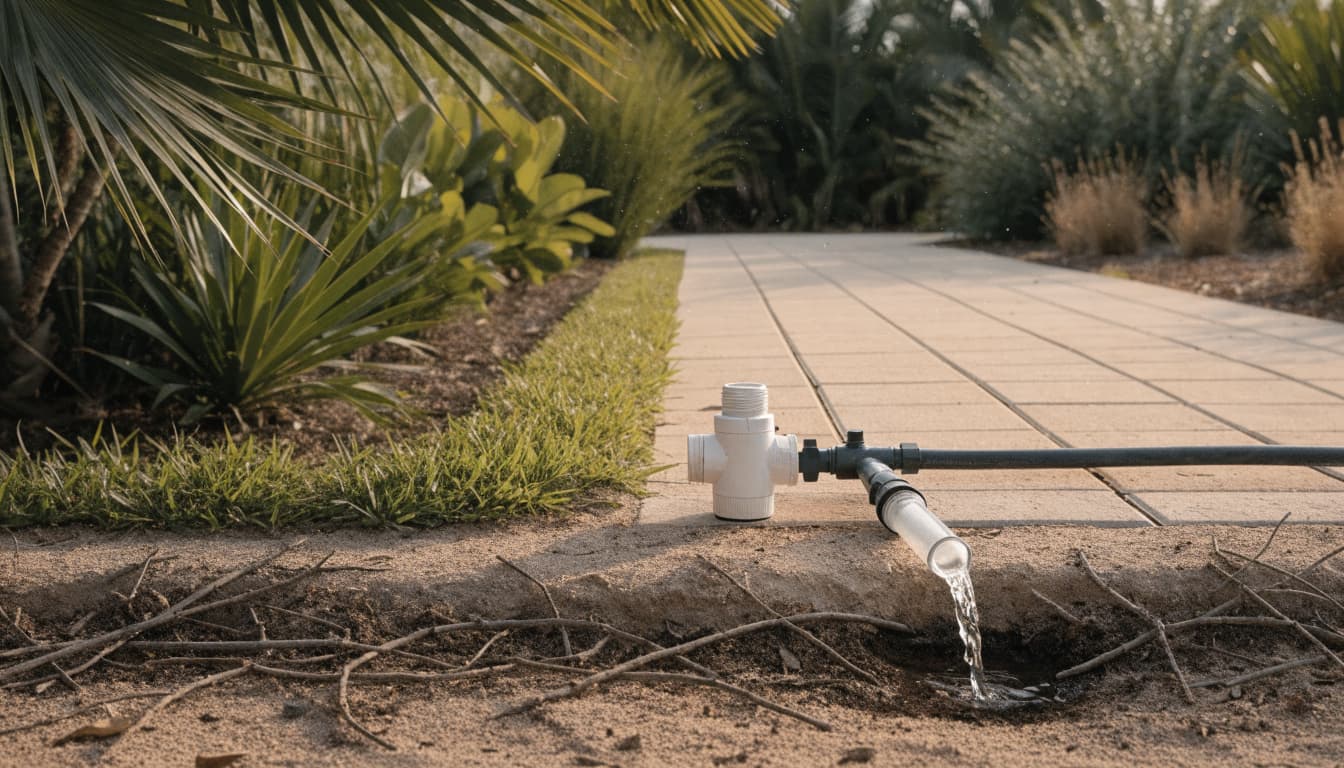
Before opening any component, turn the controller off, shut off the irrigation water supply, and relieve pressure according to the equipment instructions. If a well pump supplies the system, shut off its power before opening pressurized components. Don't open pump housings or electrical compartments for a routine line flush.
For an accessible line with a removable end cap or flush fitting:
- Expose the end of the tubing without pulling it loose from the bed.
- Remove the end cap or open the flush fitting after the water is off and pressure is relieved.
- Direct the open end toward an area where the discharge won't wash out soil or flow against a building.
- Restore the supply and run the zone briefly, letting water carry loose material out of the open end.
- Stop the zone, shut off the supply, relieve pressure, and close the end. Then restore the system and test the emitters.
Open and flush one line at a time when the layout allows it. Watch the discharged water and continue until it runs clear. If the water remains dirty, the line lacks an accessible flush point, or you aren't comfortable operating a pump-fed system, arrange irrigation service.
Flushing clears loose material from tubing, but it may not remove a deposit already lodged inside an emitter.
Clean or Replace a Blocked Emitter
After flushing, run the zone again and inspect the weak outlet. Some emitters have removable parts, while others are sealed or built into the tubing. The construction determines what you can clean without damaging it.
Removable emitters
Turn the zone off before disconnecting an emitter. If its design allows it to come apart, rinse the accessible parts with clean water and remove loose debris gently. Keep small pieces together so they go back in their original positions.
Don't push a pin or wire through the opening. Enlarging the passage can change the flow, leaving one plant with too much water and others with less. Once reassembled, run the zone and compare its output with nearby emitters of the same type.
Sealed or damaged outlets
Replace an emitter that can't be opened or remains blocked after gentle cleaning. Match the replacement to the existing system's type and flow rate. For built-in dripline outlets, a damaged section of tubing may need replacement instead.
Avoid pouring household cleaners or acids into irrigation lines. Incorrect treatment can damage components or create a safety hazard. When deposits or slime keep returning, have an irrigation professional identify the material and choose a treatment suitable for the equipment and water source.
Choose Filtration That Fits the System
A filter at the drip supply helps keep particles out of the small passages downstream. Screen and disc filters are common options. The right choice depends on the water source, the material being captured, and the emitter manufacturer's requirements.
A filter also needs to be accessible. If it's hidden under soil or blocked by new planting, it becomes harder to inspect and clean. When you open it, isolate the water supply and relieve pressure first. Rinse a reusable element according to its instructions, remove debris from the housing, and reinstall the parts before restoring flow.
Filtration may need more than a basic screen when water contains heavy sediment, iron, or biological material. A filter can capture particles, but dissolved minerals may pass through and form deposits later. Fertilizer injection also needs an appropriate layout so undissolved material doesn't travel straight to the emitters.
A pressure regulator is another useful part of many drip installations. It helps keep pressure within the range the equipment is designed to handle. Pressure control and filtration do different jobs, so one doesn't replace the other.
Keep Emitters Clear During Routine Yard Care
A quick look while a zone runs can catch a dry plant or damaged tube before the problem spreads. Move along the bed and watch for loose fittings, pinched tubing, exposed lines, and mulch displaced by a leak.
After any repair that opens a line, flush it before putting the system back into normal operation. Also inspect the filter when flow drops or visible debris collects. Keep flush ends reachable, even if the tubing runs beneath mulch.
Plant needs matter as much as the equipment. A new shrub may need a different watering approach than an established one, and compacted soil can hold water longer than sandy soil. Feel the soil near the roots before changing a schedule.
Drip isn't the only option for every bed. Our comparison of drip and spray irrigation for Cape Coral beds explains where each method fits and how their maintenance differs.
Protect Irrigation During Outdoor Projects
Landscape work can introduce soil into an open line or damage shallow tubing. Before adding mulch or moving plants, locate the drip line and keep fittings clear of shovels and edging tools. If a line is cut, keep the open ends out of the soil until the repair is complete.
The same planning helps around patios and walkways. Before a concrete company pours a slab, identify irrigation lines crossing the work area and plan for future access. During paver cleaning, protect exposed tubing and avoid directing high-pressure water at fittings.
Artificial turf installations can also change where a yard needs irrigation. If a turf area no longer needs watering, adjust the system without leaving open or leaking lines behind.
After the work, run every affected zone and look for dry outlets, leaks, and water reaching the new surface. Our landscape installation inspection guide covers other checks to make during a project walkthrough.
When to Call for Irrigation Repair
A single removable emitter may be a manageable homeowner repair. Broader problems deserve a closer inspection, particularly when multiple zones lose flow or sediment keeps returning after a flush.
Call for help if you find a suspected buried leak, a valve that won't shut off, a persistent pressure drop, or a pump issue. Stop the system if water continues flowing unexpectedly or a fitting is damaged. Leave electrical components, pump repairs, and backflow assemblies to qualified professionals.
At Outdoor Life Pros, we provide irrigation repair as part of our landscaping services in Cape Coral. We can help locate the source of uneven watering before you replace more equipment than the system needs.
Keep Water Reaching the Roots
Clogged drip irrigation emitters can leave one plant dry while the rest of a bed looks healthy. Look at the entire zone first, then flush and clean the affected components where their design allows.
A suitable filter, accessible flush ends, and regular visual checks make problems easier to catch. Most importantly, address recurring debris or deposits at their source so replacement emitters have a better chance of staying clear.