How to Test Irrigation Pressure in Cape Coral
Brown patches, weak spray, and misting sprinkler heads can point to a pressure problem, but guessing often leads to the wrong repair. A simple irrigation pressure test gives you a useful starting point before you replace heads, adjust a controller, or dig near a valve.
Cape Coral yards often combine turf, planting beds, palms, and hard surfaces that need different watering patterns. By checking pressure at rest and while zones run, you can see whether the issue affects the whole supply or one part of the system.
Why Irrigation Pressure Affects Your Yard
Pressure determines how far a sprinkler throws water and how evenly it applies it. Too little pressure can leave outer areas dry. Too much pressure can turn a spray pattern into fine mist that drifts onto sidewalks, windows, or pavers.
Flow matters too. Pressure is the pushing force in the line, while flow is the volume moving through it. A gauge helps reveal pressure changes, but it can't measure gallons per minute on its own.
Static pressure versus running pressure
Static water pressure is the reading when no water is moving through the irrigation system. You take it at a hose bib with the faucet open and every irrigation zone off. It shows the available pressure at that point in the home's plumbing.
Running pressure is the reading while one irrigation zone operates. Once sprinklers, drip tubing, or rotors demand water, pressure drops. Some drop is normal. A large drop can suggest a restriction, a leak, too many heads on one zone, or a partially closed valve.
A hose-bib gauge measures pressure at the faucet, not at every sprinkler head. It is still a useful comparison point when you test each zone under the same conditions.
Get the Right Gauge and Prepare the Faucet
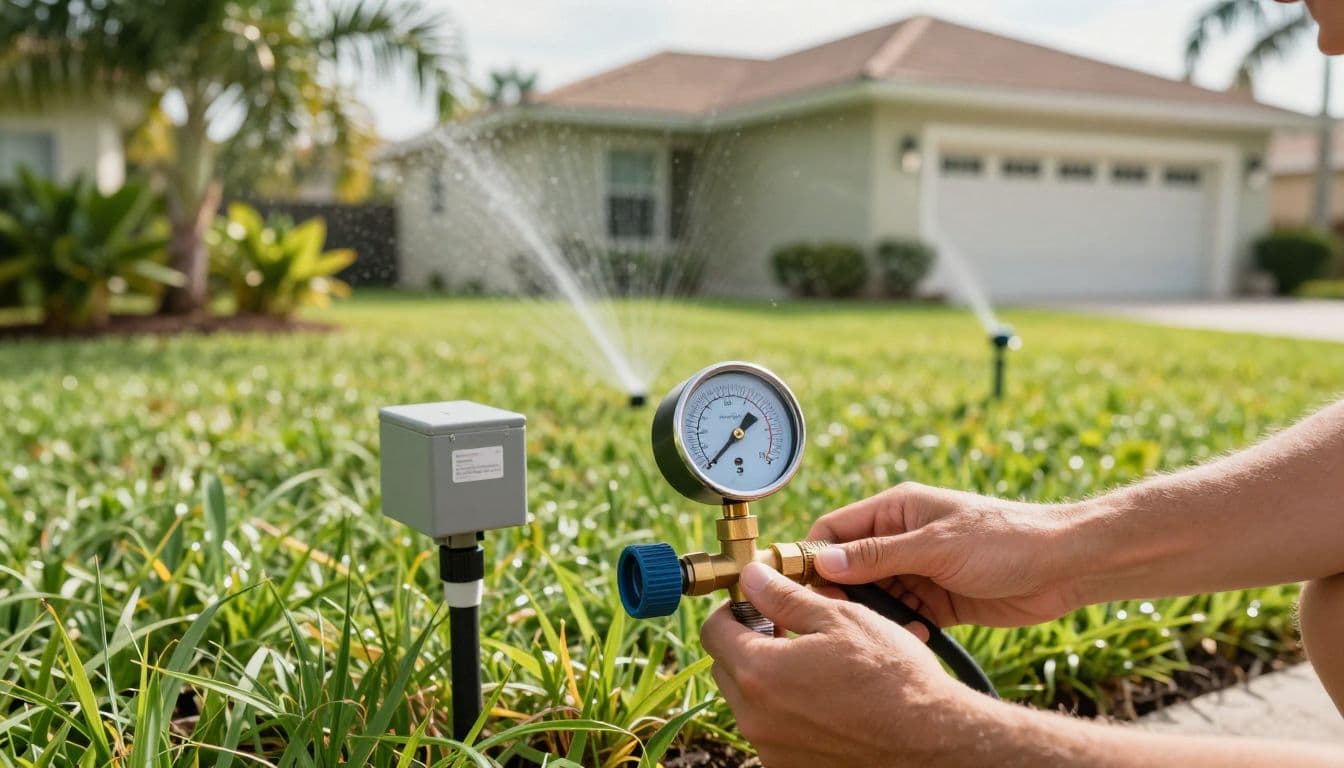
For most homeowners, a hose-bib pressure gauge is inexpensive and easy to use. Look for a gauge with a female garden-hose-thread connection, a readable dial, and a range that covers typical residential pressure, such as 0 to 100 PSI.
A gauge with a small peak-pressure indicator can help catch brief pressure spikes. However, a basic dial gauge works well for a first test.
Inspect the hose bib before attaching anything
Choose an outdoor faucet close to the irrigation connection when possible. Remove any hose, timer, splitter, or spray nozzle. Check the threads for dirt, corrosion, or a damaged washer.
If the faucet has an anti-siphon device, attach the gauge to the outlet below it. Don't force a gauge onto a cross-threaded or visibly worn fitting. Replace the rubber washer in the gauge connection if it won't seal.
Gather a few simple items
Keep a notebook or phone nearby so readings don't get lost. You will also want access to the irrigation controller and a dry towel for the faucet.
Before testing, avoid running laundry, showers, dishwashers, or other major water uses. Those demands can lower your readings and make a healthy irrigation system seem weak.
Perform an Irrigation Pressure Test at Home
The best irrigation pressure test uses the same hose bib for every reading. Test on a day when you have time to run each zone separately and watch the sprinkler patterns.
Begin with a quick walk around the property. Look for wet soil, bubbling water, broken heads, or a zone that already looks different from the others. These observations make the gauge numbers easier to interpret.
Record your static pressure first
Follow these steps for the static reading:
- Turn off the irrigation controller or confirm that no zone is running.
- Thread the gauge onto the hose bib by hand until the washer seals. Do not use pliers on the gauge body.
- Open the faucet slowly and fully.
- Wait 15 to 30 seconds for the needle to settle, then record the PSI.
- Close the faucet, remove the gauge gently, and check for drips.
Label the reading with the date, time, and weather conditions. If you test again in a different season, those notes help you compare results fairly.
Check pressure while a zone is running
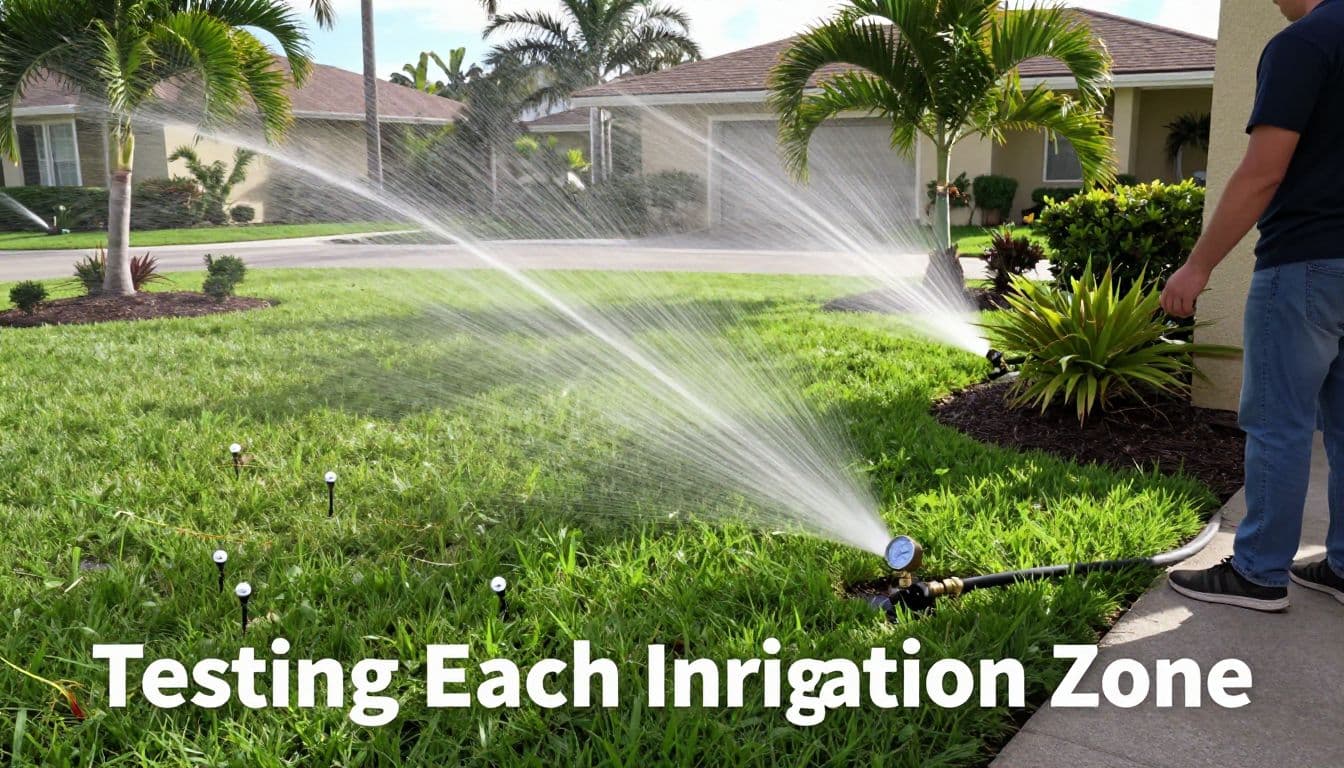
Reattach the gauge, then start one irrigation zone from the controller. Let the zone run for a minute so heads rise fully and the pipe fills. Open the hose bib fully and record the gauge reading.
Watch what happens in the yard at the same time. A zone can have an acceptable reading yet still perform poorly because of clogged nozzles, mismatched heads, or a tilted spray body.
Afterward, stop the zone before moving to the next one. Closing the hose bib slowly after each reading reduces stress on the faucet and protects the gauge connection.
Test Multiple Zones and Keep Useful Notes
One zone rarely tells the whole story. Spray zones, rotor zones, and drip zones draw water differently, so each may produce a different running reading.
A zone with many high-flow rotor heads may show a larger pressure drop than a short drip zone. The comparison that matters most is whether a similar zone behaves differently from the rest.
Use a simple zone-by-zone log
A short record can reveal patterns that a one-time glance misses.
| Zone | Irrigation type | Running pressure | What you saw |
|---|---|---|---|
| Front lawn | Spray heads | ___ PSI | Even spray, weak edge coverage |
| Side yard | Rotors | ___ PSI | One head mists |
| Plant bed | Drip tubing | ___ PSI | Water near valve box |
Write down whether other water fixtures were in use. Also note which zones share the same valve box, whether a rain sensor was active, and whether the pressure changed during the cycle.
Look for meaningful differences
If static pressure is steady but one zone falls far below the others, focus on that zone. A clogged filter, stuck valve diaphragm, pinched drip line, damaged pipe, or overloaded design could be the cause.
When every zone reads low, the cause may be closer to the water supply, backflow device, shutoff valve, or pressure regulator. A single pressure check can't identify the failed part, but it helps narrow the search.
How to Read Pressure Results Without Guessing
There is no single PSI number that fits every sprinkler system. Manufacturers design spray heads, rotors, drip components, and pressure-regulating heads for different operating ranges.
Many residential spray-head systems are intended to work around 30 to 50 PSI at the head, while some rotor models need different pressure. Your hose-bib gauge reading will not always match the pressure at a distant head because pipe length, elevation, valves, and flow losses affect the result.
Compare readings with manufacturer specifications
Check the cap, nozzle chart, product manual, or manufacturer website for the exact sprinkler model. Match the stated operating-pressure range to the component you have installed.
Pressure-regulating spray bodies may state their regulated PSI on the body. Drip systems often use a dedicated pressure regulator, because ordinary supply pressure can damage emitters and fittings.
If the system was installed during a landscaping upgrade, locate the plan or invoice before changing head types. Mixing high-pressure rotors with standard spray heads on the same zone creates uneven watering even when the gauge seems fine.
Treat symptoms and readings together
Low pressure often appears as heads that barely pop up, short throw distances, or dry strips between sprays. A sudden pressure loss can also accompany a break underground.
High pressure commonly produces fog-like mist, overspray, and uneven coverage. However, a worn nozzle can create the same misting pattern. Replace damaged nozzles before assuming the supply pressure is too high.
Pressure that starts normal and falls during a zone cycle may point to a slowly closing valve, a restriction, or demand elsewhere in the house. Repeat the test once to confirm the pattern.
Troubleshoot Common Pressure Problems
Start with visible and easy-to-correct issues. Clean debris from spray nozzles, straighten tilted heads, and clear mulch away from heads that cannot rise. Then run the affected zone again.
Don't adjust every screw at once. Mark the original position or take a photo first. Small changes are easier to reverse.
When one zone has low pressure
Walk the zone while it runs. Look for water pooling around a head, a geyser from a cracked fitting, or a patch of unusually green grass that may hide a leak.
Next, inspect the valve box. A valve that does not open fully can restrict flow, but electrical and mechanical valve repairs need care. If you find muddy standing water or hear constant hissing, turn off the irrigation system and arrange professional service.
For persistent low readings, Cape Coral irrigation leak and valve repair can address buried breaks, failed valves, controller issues, and zone problems without unnecessary replacement work.
Protect irrigation lines during outdoor projects
Irrigation pipes often run near bed edges, driveways, patios, and walkways. Before a concrete company pours a new slab, ask where irrigation lines cross the work area. Installing sleeves before the pour keeps future repairs from becoming a demolition job.
Similarly, map heads and valve boxes before paver cleaning, re-leveling, or new hardscape work. Heavy equipment and pressure-washing tools can damage exposed heads or shift soil around shallow pipes.
If part of the yard no longer needs irrigation, artificial turf can reduce demand in small areas such as side yards and pet runs. Compare artificial grass installation in Cape Coral with sod options before capping lines or changing zones.
When to Call an Irrigation Professional
Call for help when pressure changes sharply, water surfaces in the yard, or a valve box stays wet after the controller stops. These signs can mean a buried leak or valve problem that a hose-bib gauge cannot locate.
Professional testing can measure pressure closer to the valves and heads, inspect backflow components, check electrical signals, and isolate damaged sections. This is especially useful before adding new beds, extending a zone, or changing the irrigation layout during a larger outdoor project.
A tested system also helps protect new plant material. Proper coverage supports healthy landscaping without soaking pavers, washing mulch into drains, or wasting water along the street.
Final Thoughts on Testing Irrigation Pressure
A gauge gives Cape Coral homeowners a clear baseline for finding irrigation trouble. Record static pressure, test one running zone at a time, and pair each number with what you see across the yard.
The most useful result is often the difference between zones, not one isolated PSI reading. Check each sprinkler manufacturer's specifications before making adjustments, then address leaks, worn parts, and design issues with measured pressure in mind.