


Why Croton Leaves Curl in Southwest Florida
Croton leaves curling can be a sign of stress from moisture problems, heat, cold, wind, salt exposure, transplanting, or pests. The curled shape alone won't tell you which condition is responsible.
In Southwest Florida, a shrub can face several of these stresses in the same season. Start with the soil and the plant's recent conditions before changing its care.
A close look at the leaves and the surrounding bed can help you decide what needs attention.
Start by Looking at the Whole Croton
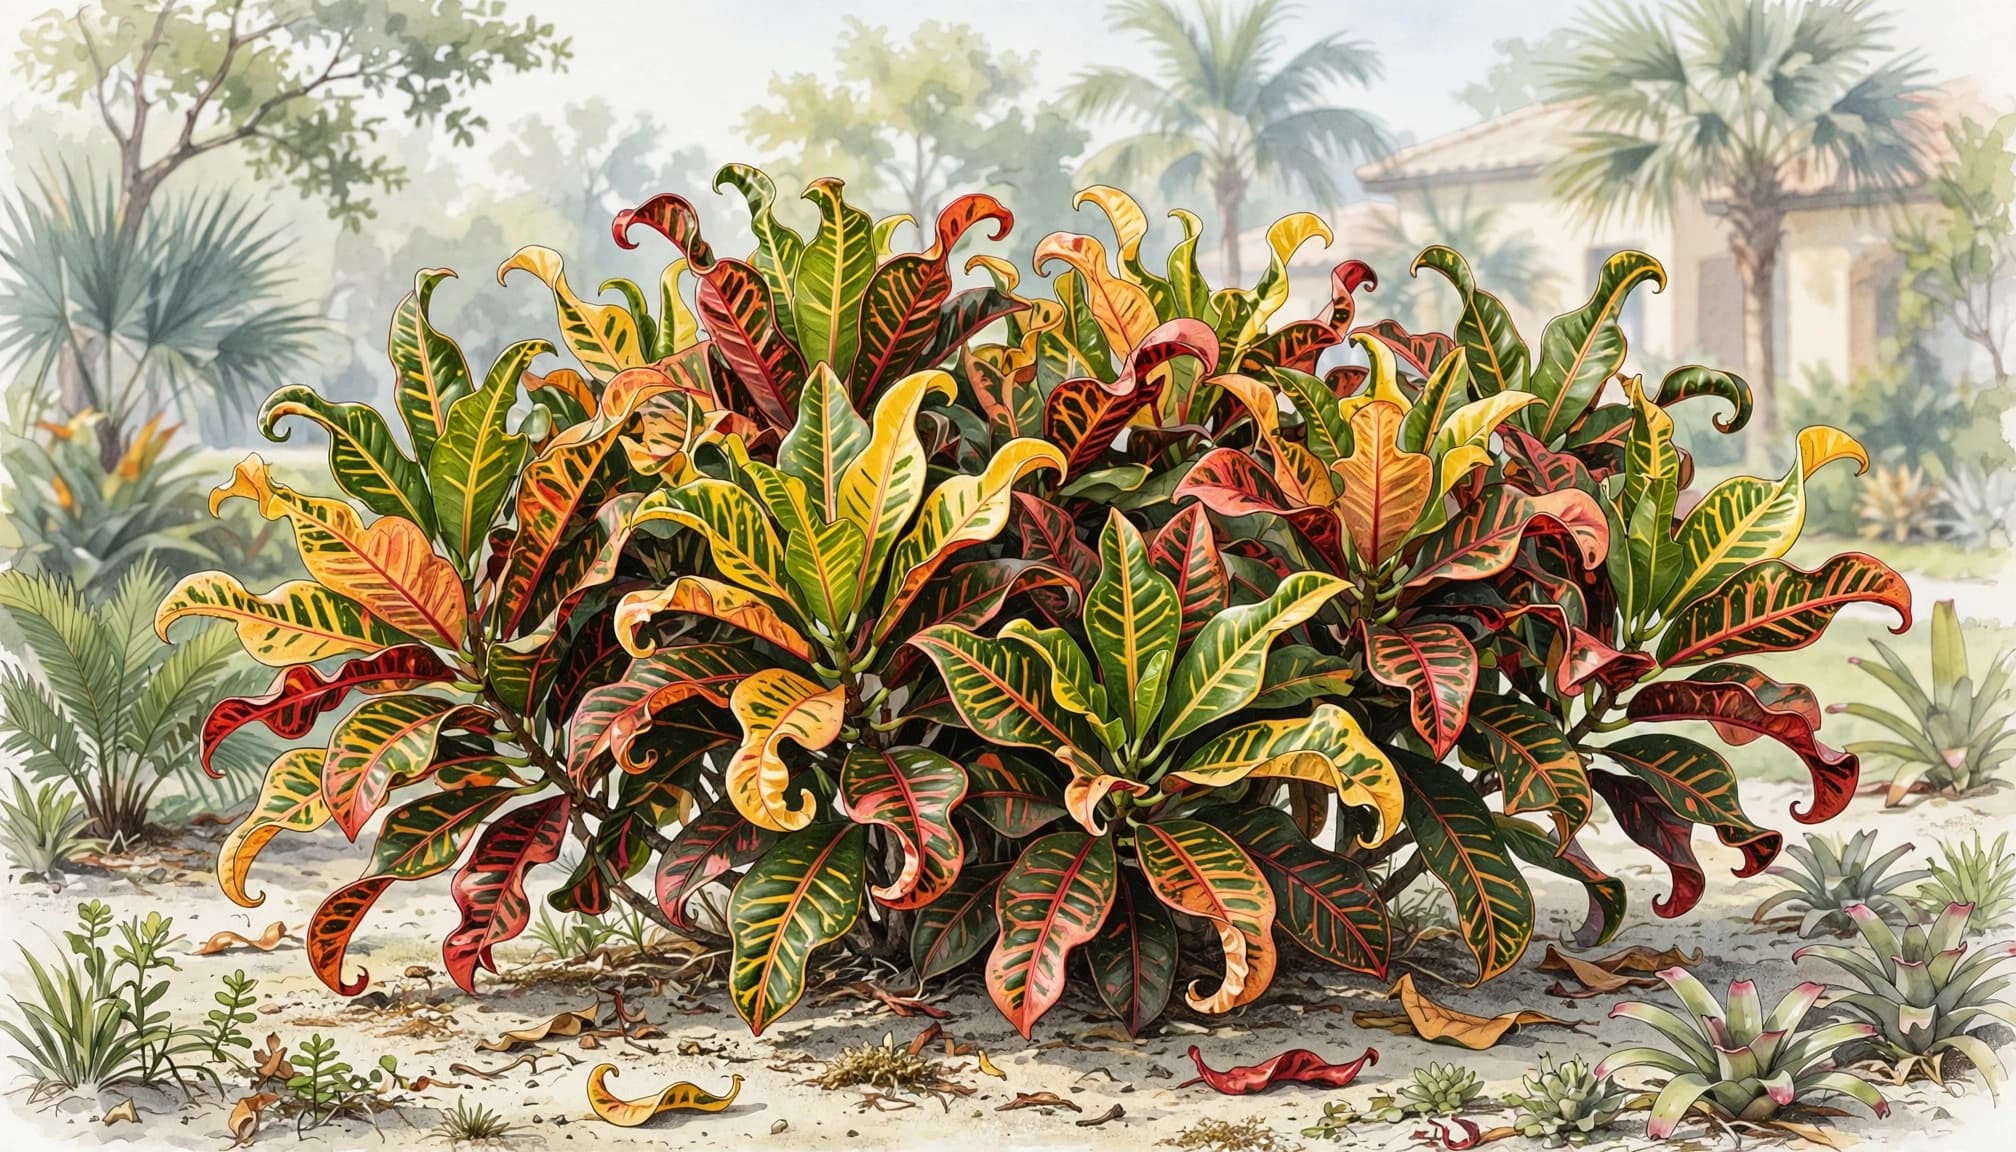
Crotons have many leaf shapes, and some varieties naturally have narrow or twisted foliage. Compare the affected leaves with older leaves on the same plant. A change in shape alongside drooping, brown edges, or leaf drop deserves a closer look.
Consider what happened before the change. A cold front, a long dry spell, a recent planting, or an irrigation repair can provide useful context. Look at nearby plants, too. If several shrubs show damage on the same exposed side, weather or spray may be involved.
The location of the damage also matters. New growth can reveal small pests, while the soil around the root ball can point you toward a moisture problem. Because symptoms overlap, use several clues rather than treating one leaf as a diagnosis.
Check Watering and Drainage First
Southwest Florida's sandy soil can dry quickly, yet a low or compacted bed can also hold too much water. Both conditions put stress on croton roots.
When the root zone is dry
Push a finger a few inches into the soil near the plant. If the root zone feels dry, water slowly around it so moisture has time to soak in. A quick splash on the leaves won't reach the roots.
Newly installed crotons need particular attention because their original root balls can dry faster than the surrounding bed. Check the root ball itself as well as the nearby soil. Then adjust watering to the conditions rather than relying on an automatic schedule.
Drooping foliage and dry soil suggest the plant needs water, but dry soil alone doesn't establish what caused the leaves to curl.
When the bed stays wet
Saturated soil can limit the oxygen available to roots. Look for standing water, a persistently soggy root zone, or a sprinkler that wets the same area too often. Heavy rain and automatic irrigation can combine to keep a bed wet longer than intended.
Pause unnecessary irrigation and allow the soil to dry somewhat. If the bed repeatedly collects water, the grade, compacted soil, or runoff from a roof or patio may need attention. A raised planting area or a better-drained location can be a longer-term option.
A wet patch that returns without rain may also point to an irrigation problem. Our guide to common irrigation leak symptoms covers signs to look for around sprinkler lines and valves.
Give Crotons Relief From Harsh Sun and Heat
Crotons bring red, yellow, orange, and green foliage to a landscape, but intense exposure can leave their leaves looking faded or scorched. A hot wall, pale stone, or nearby pavement can add to the heat around a planting bed.
Look at the afternoon exposure
A croton in morning sun with some afternoon protection often has a gentler setting than one exposed beside a west-facing wall. Brown, crisp areas on sun-facing leaves are worth considering alongside the plant's soil moisture and recent weather.
Temporary shade cloth can reduce exposure during extreme heat. For a lasting change, consider whether a nearby plant or a different bed could provide filtered afternoon light without putting the croton in deep shade.
Our suggestions for plants in east-facing Cape Coral beds include crotons and other choices suited to morning light.
Consider stone and hardscape
Decorative rock can complement a colorful croton, but it also leaves the bed exposed to sun and heat. Check the soil beneath the surface instead of judging moisture by the appearance of the stone.
Keep enough open space around the plant to inspect and water the root zone. For more ideas on pairing foliage with stone, see our guide to plants for decorative rock beds.
Protect Tender Growth During Cold Snaps
Crotons are tropical shrubs, so a Southwest Florida cold front can leave their foliage looking ragged. Leaf curling, drooping, brown edges, and leaf drop after a cold spell are reasons to inspect the plant, though they don't establish the extent of damage on their own.
Exposure matters. A croton in an open, windy corner can face different conditions from one in a sheltered courtyard. Nearby walls and overhead tree canopy can make a planting site more protected.
When a cold front threatens, move a potted croton to a sheltered location if practical. For plants in the ground, use frost cloth when protection is needed. Drape it over supports and extend it toward the ground, then remove it when conditions warm.
After cold weather, avoid rushing to prune every damaged leaf. Wait until warmer weather and new growth make it easier to see which stems survived. Keep the root zone appropriately moist, but don't saturate it in an attempt to speed recovery.
Account for Coastal Wind and Salt
Coastal yards and exposed canal-side properties can experience wind and salt exposure. Leaves on the side facing the wind may show more wear than foliage tucked inside the shrub. Dry, brown margins can appear after exposure, although heat and moisture stress can produce similar damage.
Reduce direct exposure
A sheltered bed, courtyard, or screen of suitable plants can reduce wind exposure. If a croton repeatedly struggles in an open coastal position, consider moving it to a more protected place rather than treating each damaged leaf.
After salt spray reaches the foliage, gently rinse the leaves with fresh water when practical. Avoid using water that may itself contain excess salt.
Look at the irrigation source
Salt in irrigation water is another possible source of stress. If several plants show leaf-edge damage where sprinklers spray them, the water source and coverage deserve attention. Changing the watering schedule alone won't remove salt from the water.
Keep other yard products away from the plant as well. Before paver cleaning, protect nearby foliage and follow the product's directions for preventing runoff into planting beds.
Inspect Leaves and Stems for Pests
Small pests can hide beneath croton leaves or along stems. Their presence gives you more useful information than leaf shape alone, so inspect the plant before applying a treatment.
Search the undersides
Spider mites are tiny and may leave fine webbing or pale speckling. Mealybugs can appear as white, cottony clusters, while scale insects often look like small bumps attached to leaves or stems. Aphids may gather on tender growth.
Look closely at both damaged and healthy-looking foliage. A hand lens can help you see small pests. Sticky residue or dark sooty mold may also appear where certain insects feed, but neither identifies the insect by itself.
Choose a targeted response
A gentle spray of water can dislodge some pests. For a heavier infestation, use a product labeled for the identified pest and ornamental plant, and follow its instructions. Avoid treating a plant indiscriminately when you haven't found evidence of pests.
Pay attention to restrictions involving heat, sunlight, nearby water, children, and pets. If you can't identify the pest or the infestation continues, a qualified pest professional can help.
Give Newly Planted Crotons Time to Adjust
A croton may show stress after installation or relocation. The plant has to adjust to its new light, soil, and root conditions, and its root ball needs consistent attention while roots establish in the surrounding bed.
Look at the planting depth and soil around the original root ball. The top of the root ball should sit at or slightly above the surrounding soil level, rather than buried under a mound of soil or mulch. A deeply planted croton can remain too wet around its base.
Add a layer of mulch over the bed to help moderate soil moisture, but leave space around the stem. Check the root ball regularly and water according to its moisture, rainfall, and drainage. Avoid fertilizing a stressed plant in the hope that fertilizer will fix a watering or site problem.
If the croton was moved into stronger sun, temporary shade may also help limit exposure while it adjusts.
Make a Plan for the Planting Bed
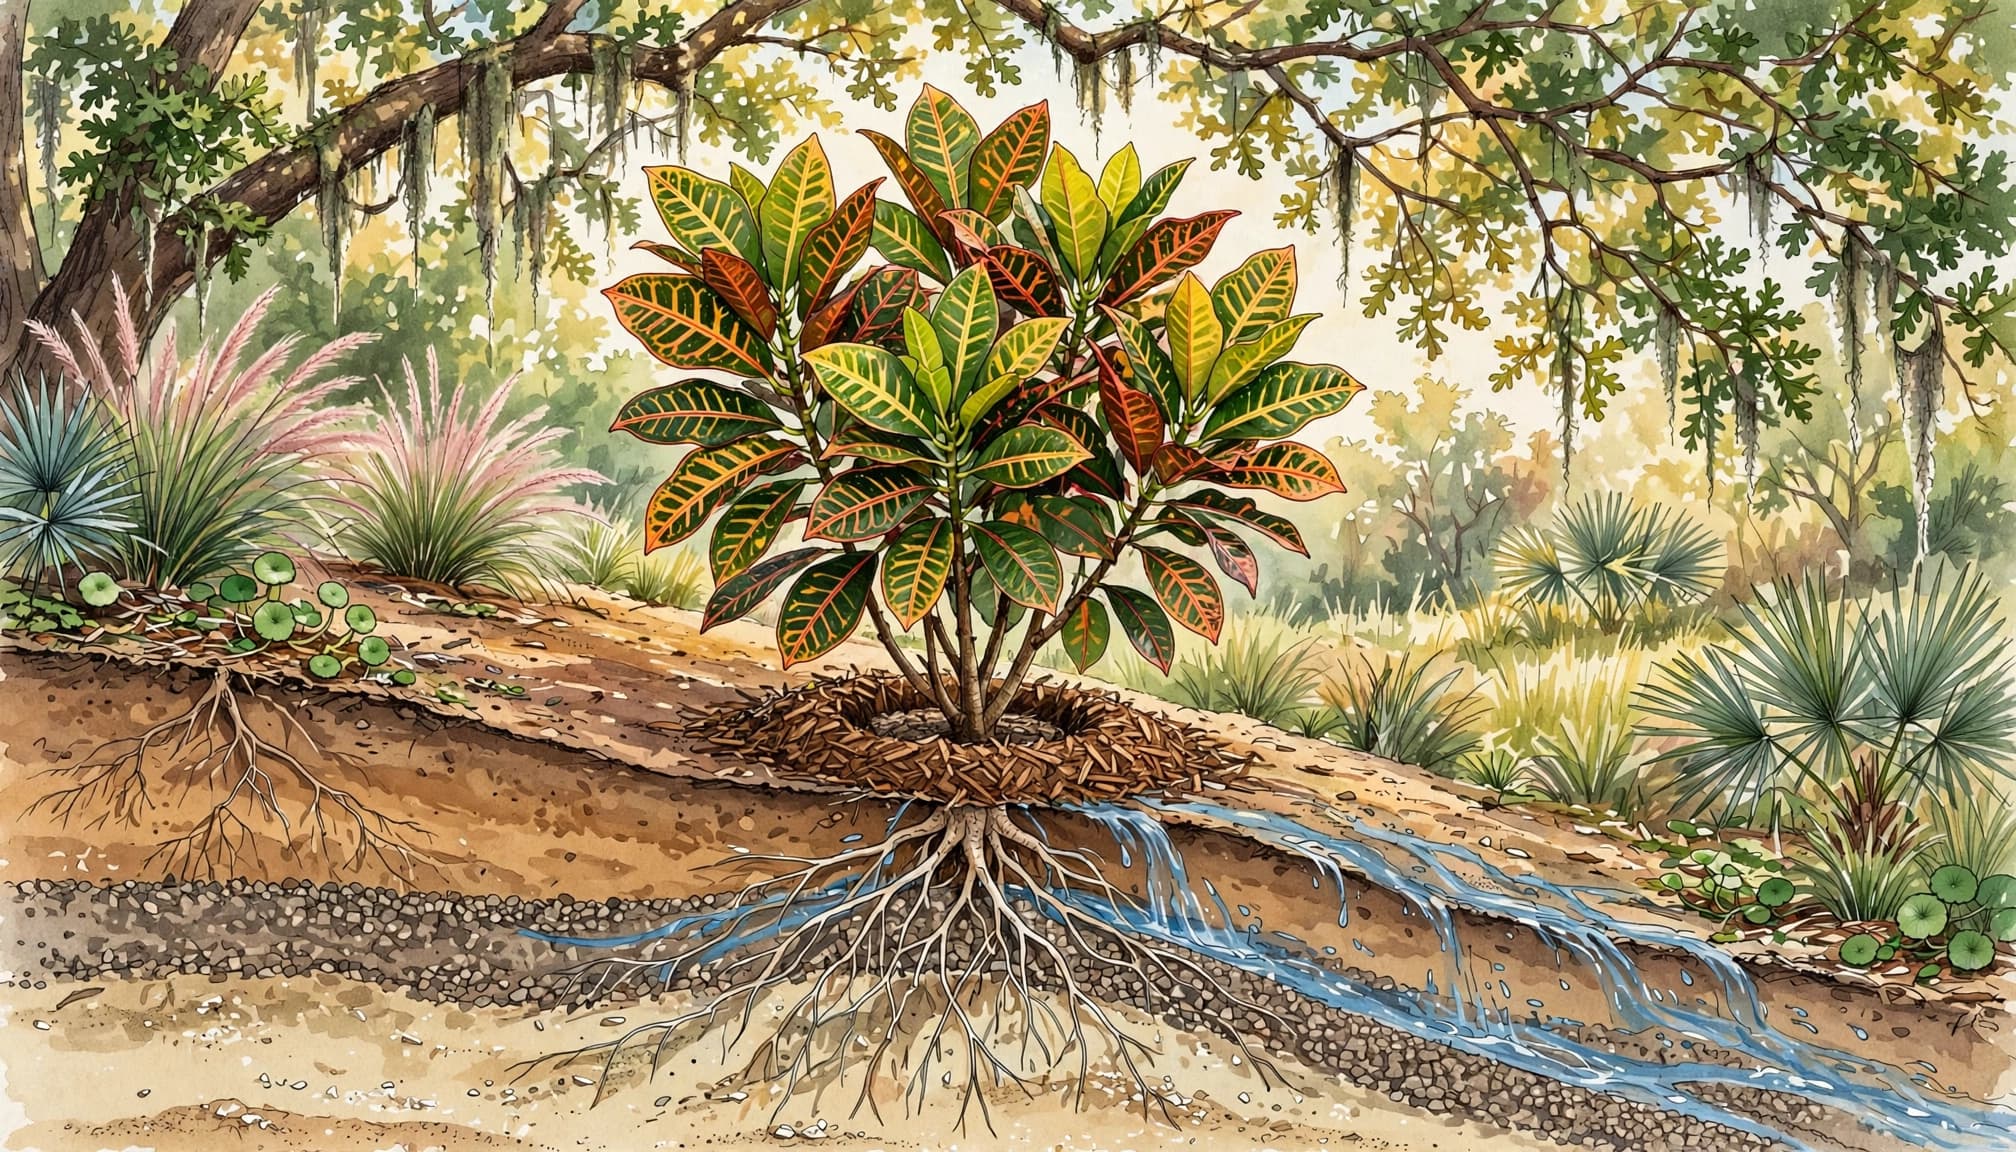
Once you've inspected the plant, address the clearest problem first. Dry soil calls for different care than a saturated bed, and visible insects call for a different response than recent cold exposure.
Run the irrigation zone briefly and watch where the water lands. A blocked or misdirected head can leave one part of a bed dry while another receives too much water. Also look for runoff entering the bed from a downspout or hardscape.
For persistent problems, the planting site's layout may need more attention than the shrub itself. In our Florida-friendly landscape design ideas, we cover ways to plan a yard around local conditions.
At Outdoor Life Pros, we help homeowners with landscaping and irrigation repairs in communities including Fort Myers, Cape Coral, Estero, and Bonita Springs. A closer look at the bed can help identify whether its water coverage or placement needs to change.
Give Your Croton the Conditions It Needs
Curling leaves are a reason to look closer, not a diagnosis by themselves. Soil moisture, exposure, recent weather, and visible pests offer a more useful picture of what your croton is experiencing.
Focus on the clearest evidence first. With a suitable planting spot and careful attention to the root zone, you'll be better equipped to support healthy new growth.