


Clean Algae From Cape Coral Pavers Without Losing Sand
To clean algae from Cape Coral pavers, start with a compatible cleaner, gentle brushing, and a controlled garden-hose rinse. Keep the spray off the joints as much as possible, then replace any sand that loosens.
Southwest Florida's humidity, summer rain, and irrigation overspray can keep shaded paving damp long enough for slippery growth. The goal is to remove that buildup while protecting stable, filled joints .
Start by inspecting the surface, because weak joints and drainage problems change how you should approach cleaning.
Key Takeaways
- Use a cleaner suited to your paver material and any existing sealer, then scrub gently.
- Rinse across the paver faces without aiming a concentrated stream into the joints.
- Restore depleted sand after everything dries, and address moisture sources to reduce regrowth.
Inspect the Surface and Choose a Suitable Cleaner
Separate algae from other paver problems
Algae commonly appears as greenish growth on damp, shaded surfaces. However, appearance alone doesn't identify every stain. Chalky deposits may be mineral residue, while dark patches can include other organic buildup.
Our guide to white residue on pavers explains why those deposits need a different approach.
Also inspect the joints before adding water. Look for missing sand, cracked joint material, rocking pavers, and low spots. Cleaning won't stabilize a failed base. If pavers move underfoot or water repeatedly carries sand away, repair comes before re-sanding.
Match the cleaner to the paving material
For light surface film, a pH-neutral cleaner labeled for your paver material is a sensible starting point. Use a soft or medium nylon brush rather than wire bristles.
Established algae may need a treatment labeled for organic growth on that particular hardscape. Compatibility matters for concrete pavers, natural stone, colored surfaces, and sealed finishes.
Test an inconspicuous spot and let it dry before treating the larger area. Watch for fading, roughness, or changes in sheen. Avoid acidic household remedies as a default algae treatment, and never mix cleaning products .
Prepare the Patio Without Disturbing the Joints
1. Sweep away loose debris
Move furniture, planters, and outdoor rugs so you can reach the entire affected area. Then sweep leaves and loose dirt off the surface without digging bristles into the joints.
Removing debris first keeps it out of your cleaning solution and reduces the material you'll need to rinse away. Clear nearby drain openings by hand rather than pushing leaves into them.
Wear closed-toe, slip-resistant shoes, gloves, and eye protection appropriate to the cleaner. Keep children and pets away during treatment and for the product's stated re-entry period. Wet algae can remain slippery while you're working.
2. Pre-wet with a gentle spray
When the cleaner's directions call for a damp surface, lightly pre-wet the pavers with a garden hose. Some treatments require dry application, so don't automatically soak every surface first.
Use enough water to dampen the paving without creating puddles or flowing channels through the joints. Avoid concentrated spray at edges where sand already looks thin.
Protect nearby plants according to the cleaner's directions. Also keep cleaning solution off artificial turf, painted surfaces, and metal fixtures unless the product permits contact. Plan runoff control before applying cleaner, especially near pools, canals, and storm drains.
Apply the Cleaner and Scrub Gently
3. Treat a manageable section
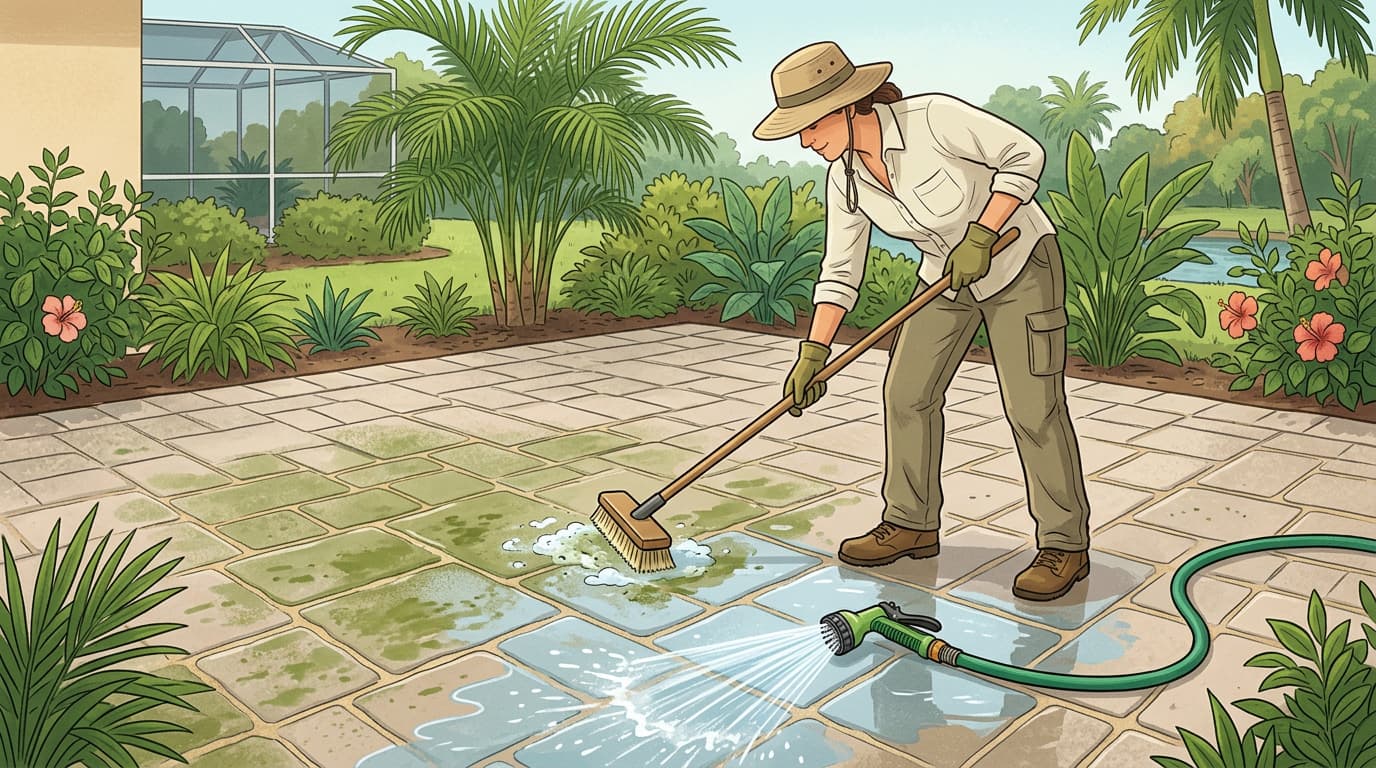
Mix and apply the cleaner according to its label. Work in sections small enough to manage through treatment, brushing, and rinsing without rushing.
For products that require rinsing before they dry, avoid letting the solution bake onto hot pavers. However, don't assume every algae treatment follows that process. Some products use a different application method.
Apply only where needed, rather than flooding the whole patio. Allow the labeled contact period without increasing the concentration to compensate for stubborn growth. Stronger homemade mixtures can create surface, plant, and runoff problems.
4. Brush the paver faces with light pressure
Use gentle, overlapping strokes across the paver faces. Let the cleaner loosen the film while the brush lifts it.
Avoid aggressive scrubbing along the joint lines. Loose sand can move under a stiff brush even without a pressure washer, while damaged polymeric joints can break apart.
If growth remains, finish the treatment as directed and reassess after drying. Another compatible treatment may be appropriate, but don't keep increasing force on a damp surface. Stop if you notice pigment coming off, a roughened finish, or joint material breaking loose.
Rinse Carefully and Limit Pressure Washing
5. Rinse across the surface
For rinse-off cleaners, use a broad, gentle hose spray. Keep the water moving across the paver faces rather than pointing it directly down into joints.
Work toward your planned collection or discharge area without flushing dirty water into the pool, canal, or storm drain. Cleaner disposal requirements still apply, even when the solution looks diluted.
Watch the water as you rinse. Visible trails of sand mean the spray or runoff is disturbing the joints. Reduce the flow, change direction, or stop and reassess.
A gentle nozzle can still wash out sand if runoff concentrates through an already damaged joint.
Leave pressure washing for suitable conditions
Avoid pressure washing when joints are depleted, pavers rock, the surface is deteriorating, or the sealer is peeling. Also skip turbo nozzles and close-range blasting.
Pressure alone doesn't determine damage. Nozzle type, distance, spray angle, and time spent in one spot all matter. Therefore, there's no single setting that guarantees intact joints.
Professional paver cleaning may use controlled pressure or surface-cleaning equipment where appropriate. However, even that work can require re-sanding afterward. For light algae, begin with the gentler brush-and-hose method rather than treating pressure washing as the automatic first step.
Restore Any Joint Sand That Was Displaced
Let the paving and joints dry
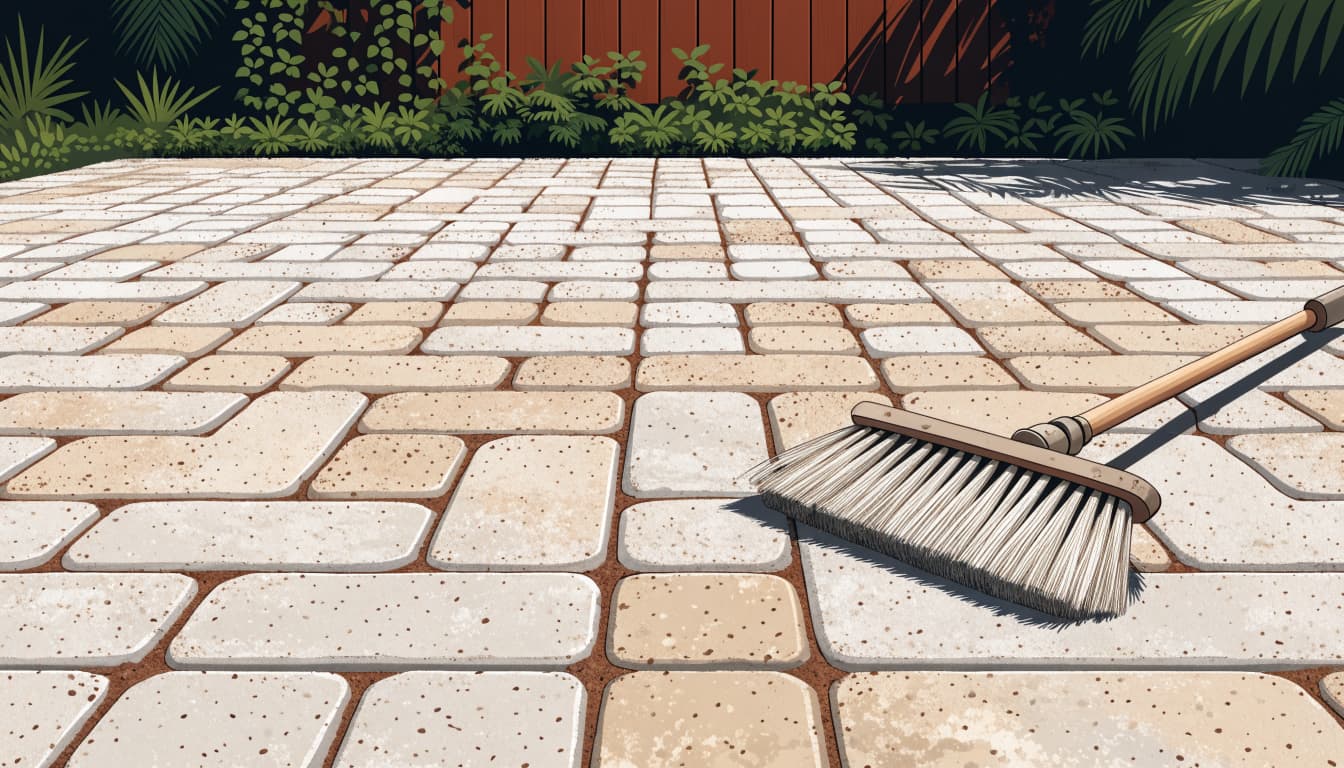
Once the pavers dry, inspect the joints again. Wet sand can hide gaps, so don't judge the final condition immediately after rinsing.
If the joints remain filled and sound, leave them alone. Where material has washed out, determine whether the loss is shallow or reaches deeper into the joint.
Polymeric sand needs the preparation and installation depth its manufacturer specifies. A thin dusting over damaged material may not bond properly. Also, don't pour new sand over algae, debris, or a failed base and expect a lasting repair.
6. Refill using the appropriate joint material
Use joint sand compatible with the pavers, joint dimensions, and installation. Our guide to polymeric sand for Cape Coral pavers covers its benefits and limitations.
For polymeric products, the usual sequence includes dry preparation, filling, compaction where specified, removing surface residue, and controlled water activation. Follow the product's requirements for each stage.
Remove dust from the paver faces before activation to reduce haze. Then protect the installation during its required curing period, including rain exposure.
Polymeric sand can reduce washout, but it won't compensate for moving pavers or concentrated drainage. If sand keeps disappearing along the same line, address the water flow or underlying repair first.
Reduce Algae Growth in Cape Coral's Humidity
Correct repeated moisture exposure
Adjust sprinkler heads that repeatedly wet the patio, driveway, or walkway. Also clear blocked drains and redirect concentrated roof runoff away from vulnerable paver edges.
Watch for puddles after rain. A low section may need resetting, while a concrete apron that directs water toward the paving may need assessment by a concrete company. Adding sand won't correct either problem.
Our guide to common Cape Coral paver problems covers the connection between drainage, settling, and joint damage. Recurring algae in one damp strip is a reason to investigate that strip's water source.
Keep debris down and consider sealing appropriately
Sweep leaves before they break down into the joints. Trim nearby landscaping where dense growth restricts airflow, and keep mulch or wet soil from collecting against the paving.
Pay extra attention to shaded pool paths and north-facing areas. Removing a small patch before it becomes slippery usually requires less aggressive work.
A compatible sealer may make future cleaning easier, but it won't stop spores from landing or solve standing water. Review the benefits of sealing Cape Coral pavers after cleaning and joint restoration, rather than treating sealer as an algae remover.
Frequently Asked Questions
Can I remove algae without losing any sand?
You can reduce sand loss with gentle brushing and controlled rinsing, but already loose joints may still shed material. Inspect before and after cleaning, then restore depleted areas rather than assuming the joints survived unchanged.
Does polymeric sand prevent algae?
No. Polymeric sand helps stabilize suitable joints and can reduce erosion, but damp surfaces can still support algae. Drainage, debris removal, and careful cleaning remain necessary. It also needs proper installation and curing to perform well.
When does a paver problem need professional repair?
Rocking stones, recurring washout, widespread joint failure, or persistent puddles point beyond routine cleaning. Our paver installation and repair services can address uneven surfaces and damaged areas before another cleaning or sanding cycle. A stable base must come before fresh joint material.
Protect the Joints While You Remove the Algae
Effective algae removal starts with compatible products and controlled water. Gentle scrubbing protects the surface, while careful rinsing reduces unnecessary joint-sand loss .
After drying, restore depleted joints and address the moisture that encouraged growth. For Cape Coral pavers, lasting improvement depends on cleaning and water management working together. More pressure won't solve a patio that stays wet or keeps washing out.