Post-Storm Yard Inspection Checklist for Southwest Florida Homes
A storm can leave serious yard damage hidden beneath wet grass, fallen fronds, and standing water. This post-storm yard inspection helps you identify hazards, document visible damage, and decide which repairs can wait.
Safety comes first after both tropical storms and hurricanes. Wait for local emergency officials to say conditions are safe, then inspect from the ground with protective shoes, gloves, and eye protection. Use this checklist to record what happened before cleanup changes the evidence.
Post-Storm Yard Inspection: Start With Safety
Storm debris can hide sharp metal, broken branches, exposed irrigation parts, and unstable surfaces. Do not rush outside because the rain has stopped.
Scan the property from a safe distance
Begin from a doorway, driveway, or another stable area. Look across the yard before walking through it. Check for:
- Downed power lines, damaged utility equipment, or sparking wires
- Large limbs caught in trees or hanging over walkways
- Leaning trees, split trunks, or visibly unstable fences
- Flooded areas near outlets, pumps, lighting, irrigation controls, or pool equipment
- Broken glass, exposed nails, metal fragments, and sharp storm debris
- Damaged screens, sheds, outdoor kitchens, retaining edges, and pool enclosures
Stay away from downed lines and call the appropriate utility or emergency service. Never touch a wire, even if it appears inactive. Electricity and standing water create a dangerous combination.
Do not climb onto the roof to inspect gutters or shingles during wet conditions. From the ground, photograph sagging gutters, missing materials, and visible water stains. Leave roof repairs to a qualified professional.
Use protective gear and follow local guidance
Wear closed-toe, slip-resistant footwear, sturdy gloves, and eye protection. Long pants can help protect your legs from branches, insects, and sharp debris. Keep children and pets out of the yard until you complete the first safety check.
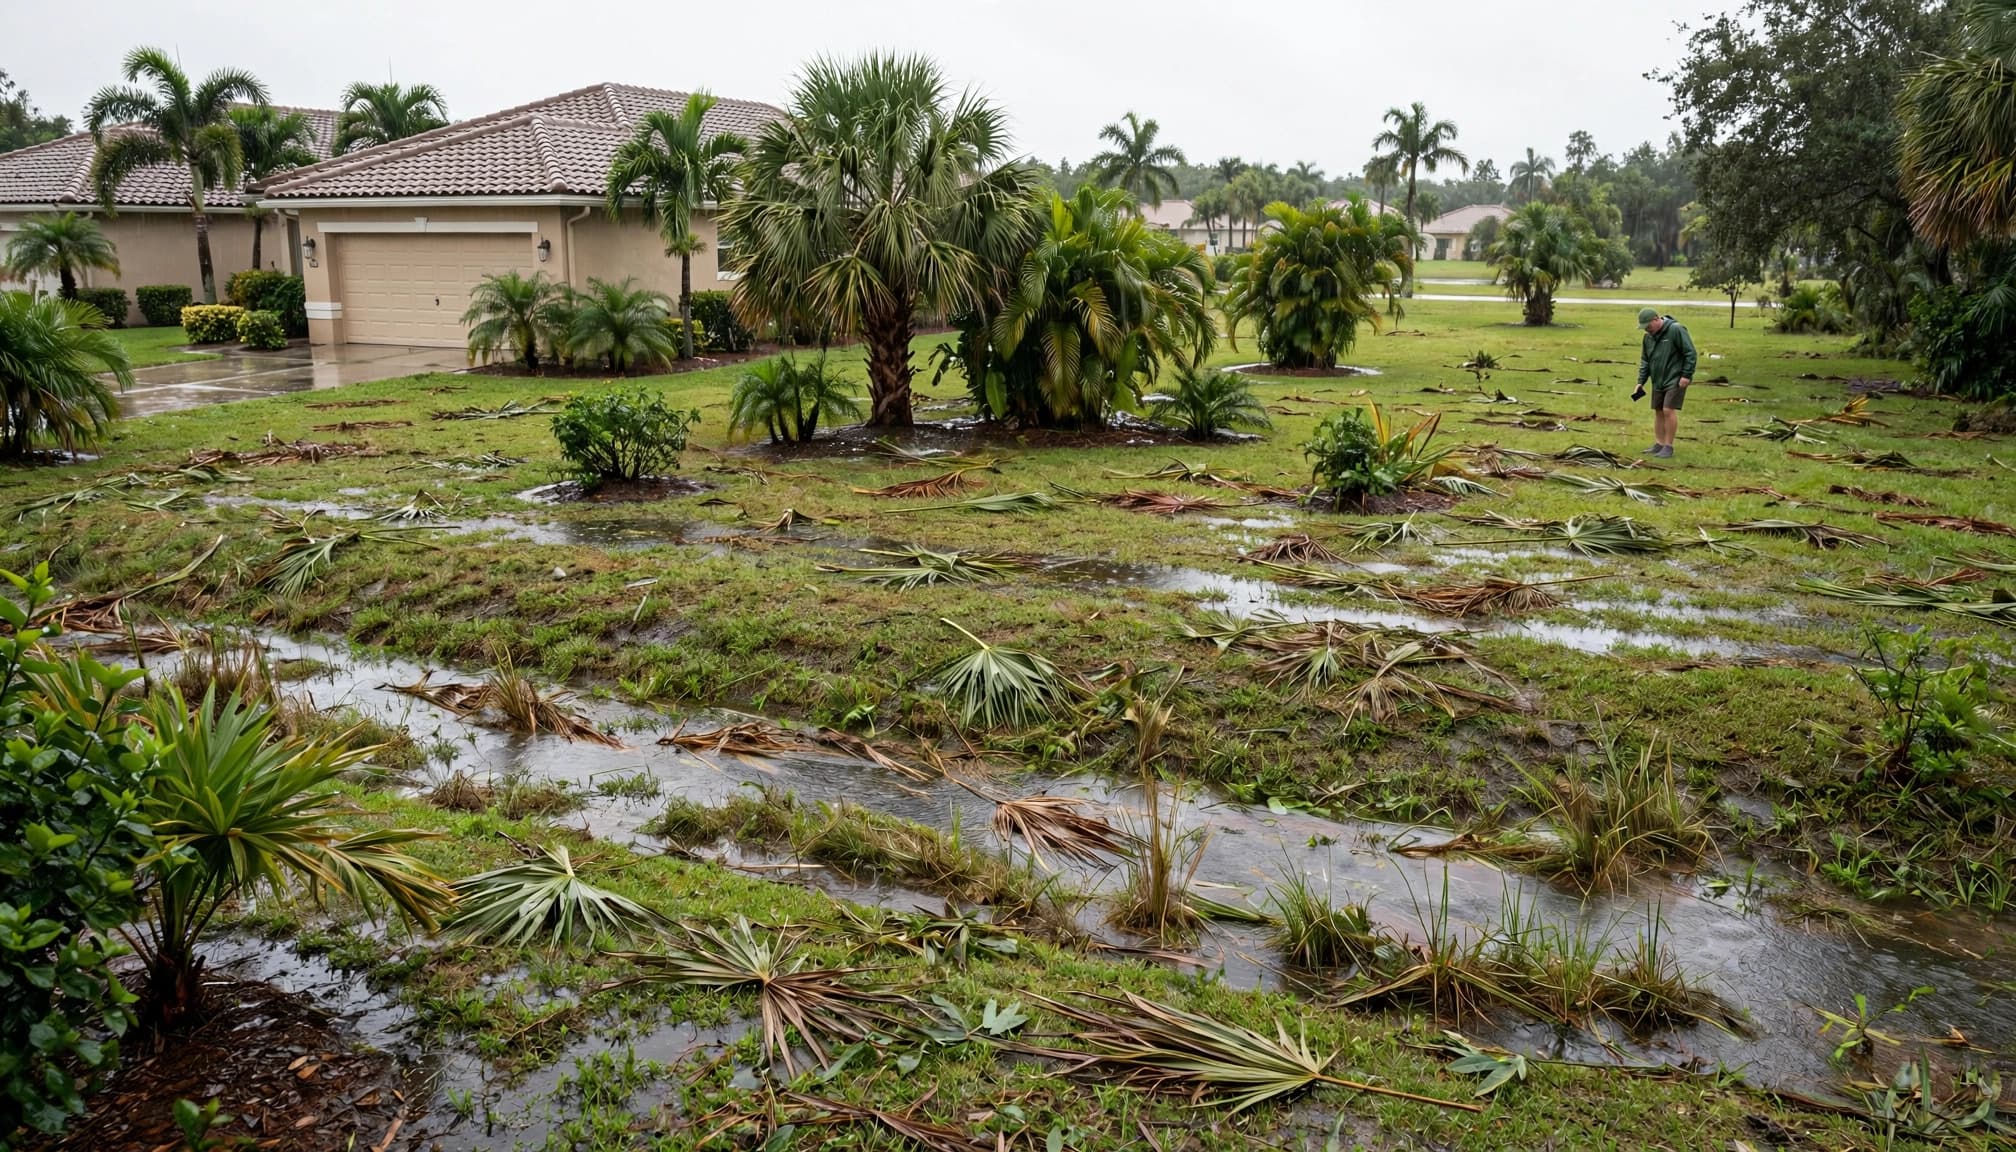
If a tree has fallen, a large limb is suspended overhead, or floodwater covers part of the property, stop the inspection. The Southwest Florida hurricane yard preparation guidance also recommends treating risky trees and electrical areas as situations for professional help.
Standing water near electrical equipment is a reason to stay clear, not an invitation to test or reset the equipment.
Photograph the Yard Before Cleanup
Photos and notes can help you explain the damage to your insurer, property manager, or contractor. Document the condition before moving debris, washing surfaces, cutting plants, or pumping water.
Capture wide views and close details
Start with wide photos from each side of the property. Include the house, driveway, pool deck, fences, landscape beds, and major outdoor features. These images show where each damaged area sits in relation to the rest of the yard.
Then take closer photos of each problem. Photograph cracked concrete, shifted pavers, uprooted plants, washed mulch, damaged irrigation parts, broken lights, and areas where water remains. Take several angles so the depth and position of the damage are clear.
Include a familiar object for scale when it is safe to do so, such as a standard paver or patio edge. Keep people out of the frame unless their presence helps establish scale and they can remain safely away from the damage.
Record what changed and when
Write down the date of the inspection and the storm conditions you observed without guessing at the cause. Note where debris landed, which areas ponded, and whether water flowed toward the home, garage, pool deck, or outdoor kitchen.
For recurring drainage issues, record how long water remains after nearby surfaces begin drying. Also note whether ponding changes after a drain is cleared or a downspout outlet is cleaned. This information gives a contractor a clearer starting point.
For insurance, keep:
- Original photos and videos in a secure folder
- A written list of damaged items and outdoor features
- Receipts, installation records, warranties, and maintenance documents
- Copies of estimates, invoices, and cleanup expenses
- Notes about emergency work completed to prevent additional damage
- Communications with your insurer, utility provider, or contractors
Avoid throwing away damaged materials until your insurer provides instructions, unless they create an immediate safety risk. Photograph them first and keep records of anything removed.
Inspect Pavers, Concrete, and Walkways
Hardscaping often shows storm damage through movement, cracking, washout, or new low spots. Walk slowly and avoid testing unstable areas with your full weight.
Look for displaced or sunken pavers
Check patios, driveways, pool decks, steps, borders, and walkways for:
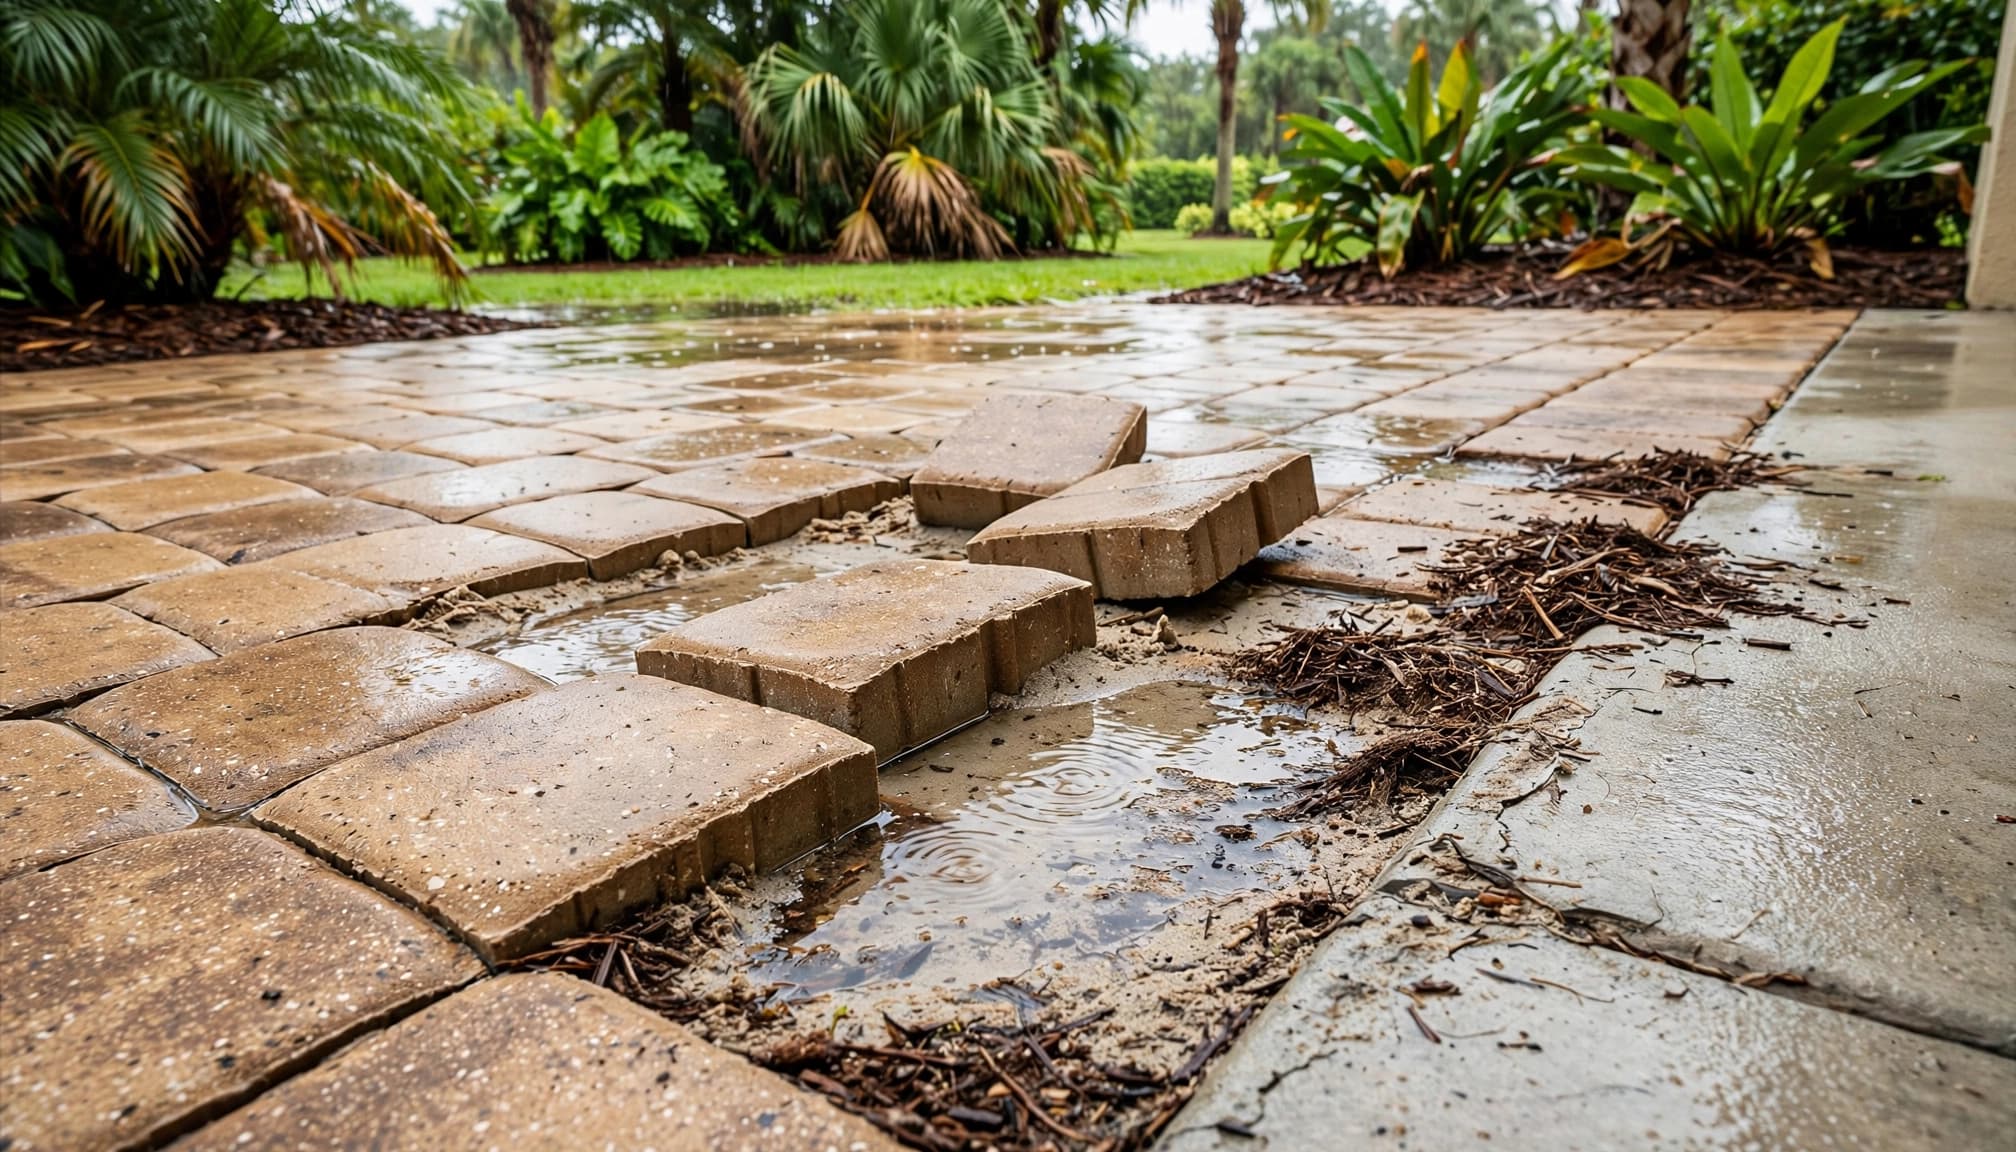
- Pavers that have shifted out of alignment
- Sunken sections that create a trip hazard
- Cracked or broken units
- Open joints where sand or base material has washed away
- Edges that have separated from adjacent soil or concrete
- New puddles forming on surfaces that previously drained
Do not try to force a loose paver back into place while the ground is saturated. That can hide the underlying problem and disturb nearby units. The damage may need cleaning, re-sanding, re-leveling, or drainage correction rather than complete replacement.
A careful paver cleaning job can remove storm sediment, but wait until the surface and surrounding soil are stable. Photograph the area first, and avoid aggressive pressure washing if it could spread sand or worsen joint erosion. Outdoor Life Pros provides professional paver repair services for shifting, cracked, or sunken pavers.
Check concrete for cracks and uneven areas
Inspect driveways, sidewalks, patios, steps, pool decks, and outdoor kitchen slabs. Look for new cracks, lifted edges, uneven transitions, exposed aggregate, spalling, and soil washed out along the sides.
Mark the location of each issue in your notes, but don't paint or seal the surface before documenting it. A small crack may be cosmetic, while a displaced or uneven section can create a trip hazard or point to movement below the slab.
A concrete company can assess whether the surface needs repair, resurfacing, re-leveling, replacement, or better drainage around the edge. The Cape Coral concrete contractor service information also highlights site preparation and grading, both of which matter when water collects beside a slab.
Check Drainage and Landscape Beds
Southwest Florida yards can drain quickly through sandy soil, yet compacted fill, blocked outlets, poor grading, and high groundwater can still create persistent ponding. Storm inspection is the right time to observe how water moves across the property.
Inspect low spots, gutters, and swales
Walk the yard only after the area is safe. Look for water remaining in low spots after nearby areas begin to dry. Pay special attention to water flowing toward the foundation, garage, pool deck, or outdoor kitchen.
Inspect gutters and downspout outlets from the ground. A clogged gutter or blocked outlet can send concentrated water into a bed, against a slab, or beside a walkway. Check swales for debris, erosion, and places where runoff stops moving.
A trench that repeatedly holds water may indicate settled backfill. Record the location and photograph the water path. Recurring ponding may need regrading, a corrected downspout outlet, a catch basin, solid drainage pipe, or another site-specific solution.
Note erosion, washed mulch, and root exposure
Stormwater can wash mulch and soil away from beds, expose plant roots, and leave sediment across grass or paving. Photograph the original bed edge if you have older yard photos. This comparison can show how far soil moved.
Standing water can weaken plant roots, damage turf, stain hard surfaces, attract insects, and keep wet soil against the foundation. Avoid adding fresh mulch before you understand the water path. New material can cover erosion or wash away again during the next heavy rain.
A drainage correction should come before new landscaping, pavers, or concrete work in an affected area. Otherwise, water can cause new materials to settle or stain soon after installation.
Inspect Plants, Turf, Irrigation, and Outdoor Features
Storm damage doesn't stop at trees and palms. Walk the landscape beds, lawn, irrigation zones, lighting, and outdoor structures from a safe distance.
Check plants, lawn, and artificial grass
Look for uprooted shrubs, broken limbs, split stems, exposed roots, leaning palms, and branches resting on roofs or utility lines. Don't climb or cut a large limb yourself. Tall palm work and unstable trees require properly equipped professionals.
Inspect natural turf for torn sections, sediment, prolonged ponding, and areas damaged by hurried cleanup. If you have artificial grass, check for lifted edges, displaced infill, wrinkles, open seams, and washout beneath the surface. The phrase "artifical turf" often appears as a misspelling online, but the inspection concerns the same synthetic lawn material.
Photograph damage before raking or dragging debris across the lawn. A rushed cleanup can tear turf, spread mud, or damage plantings that might recover with proper care. For lawn replacement or synthetic grass concerns, review Southwest Florida lawn solutions.
Check irrigation, lighting, fences, and enclosures
Look for broken sprinkler heads, exposed irrigation lines, leaking valves, tilted light fixtures, damaged control boxes, and soil movement around posts. Don't wade through water to retrieve a cord or reset equipment.
Keep away from flooded areas containing landscape lighting, extension cords, outlets, pumps, pool equipment, or irrigation controls. If water reaches electrical components, stay clear until the area and equipment receive a professional inspection.
Inspect fences and enclosure posts for movement. A leaning fence may reflect soil erosion rather than a loose fastener. Check sheds, patios, outdoor kitchens, retaining edges, and pool screens for visible damage without entering unsafe structures.
Decide What Needs Professional Assessment
A good inspection separates immediate hazards from cosmetic cleanup and repairable damage. That helps you spend money in the right order.
Handle urgent hazards before appearance
Call for professional help when a tree has fallen, a large limb hangs overhead, water reaches the slab, drainage affects a neighboring property, or a roof leak appears. Keep the area clear until the risk is controlled.
After documenting safe-to-remove debris, you can clear small branches and loose leaves from accessible areas. Don't move heavy limbs, climb ladders, enter flooded structures, or operate powered equipment around standing water.
Repair the water path before replacing materials
When hardscape or landscape damage appears near ponding, ask for the cause to be assessed before selecting new materials. Replacing a paver or patching concrete won't solve water movement that continues to wash out the base.
A contractor may recommend paver re-leveling, concrete repair, grading changes, drainage work, irrigation adjustments, or a broader landscaping update. Outdoor Life Pros provides professional landscape installation for projects that combine beds, lawn, drainage, pavers, lighting, and other outdoor features.
Keep your photos and notes after each major storm. Comparing the same low spot, walkway, or bed over time can show whether the issue is isolated or recurring.
Key Takeaways
- Wait for local emergency guidance before entering the yard.
- Stay away from downed power lines, unstable trees, flooded electrical equipment, and unsafe debris.
- Wear protective footwear, gloves, and eye protection.
- Photograph the entire property before cleanup, followed by close images of each damaged area.
- Record ponding, runoff direction, erosion, and how long water remains.
- Inspect pavers, concrete, turf, irrigation, fences, gutters, swales, and outdoor structures.
- Have drainage and unstable hardscape assessed before repairing or replacing materials.
- Keep insurance records, receipts, estimates, and contractor communications together.
FAQ
How soon should I inspect my yard after a storm?
Inspect only when local emergency guidance says conditions are safe. You can begin with a view from indoors or a dry, stable area. Wait longer if power lines are down, trees are unstable, flooding is present, or debris blocks safe access.
What should I photograph for an insurance claim?
Take wide photos showing the yard's layout, then close photos of each damaged item. Include pavers, concrete, plants, turf, fences, irrigation, lighting, gutters, pool features, and outdoor structures. Save the original files and keep written notes about the date, location, and visible condition.
Check your policy and ask your insurer about required documentation, inspection procedures, cleanup limits, and damaged materials. Requirements can vary by policy.
Should I clean pavers or remove mulch before taking pictures?
Photograph the damage first. Afterward, remove only debris that creates an immediate safety hazard and can be handled safely. Delay pressure washing, paver cleaning, new mulch installation, and major landscape work until you document the condition and understand whether drainage contributed to the damage.
A Safer Way to Restore Your Yard
A careful inspection begins with distance, protective gear, and patience. Once hazards are controlled, clear photos and drainage notes can guide insurance conversations and repair decisions.
Storm damage doesn't always require full replacement. Pavers may need re-leveling, concrete may need repair, and a low spot may need a corrected water path. Document the condition first, then choose repairs that restore a stable, functional yard for the next Southwest Florida storm.