Irrigation Pump Won't Prime? Cape Coral Troubleshooting
A running irrigation pump doesn't always mean water is reaching your sprinklers. If your irrigation pump won't prime, repeated restarts can damage equipment while your lawn stays dry.
Start with safe power shutoff , then check the water supply, accessible connections, and your pump's priming requirements. Cape Coral properties use different irrigation sources and equipment, so the right fix depends on your setup.
Follow this troubleshooting sequence before replacing parts or digging through your yard.
Key Takeaways
- Shut off both automatic watering and the pump's electrical supply before inspecting equipment.
- Confirm possible causes, including inadequate priming, air leaks, intake restrictions, low water levels, and faulty valves, with the pump manual or a technician.
- Stop when you encounter electrical hazards, inaccessible components, repeated priming failure, or suspected underground damage.
1. When Your Irrigation Pump Won't Prime, Start Safely
Turn the irrigation controller off first. Then shut off the pump's clearly identified breaker or disconnect. The controller and pump may have separate electrical supplies, so a dark controller display doesn't prove the pump is disconnected.
Keep automatic schedules disabled during troubleshooting. If you can't identify the correct disconnect, stop and arrange professional service.
Let a hot motor cool before approaching it. Also, follow the manufacturer's pressure-release instructions before opening a priming port, strainer housing, or other serviceable component.
Leave electrical covers, pump-start relays, capacitors, and wiring connections alone. Cape Coral's humidity and storm-driven rain make moisture damage worth checking professionally.
Switching off the irrigation controller alone may leave the pump's electrical circuit energized.
Don't approach equipment surrounded by standing water. A burning smell, damaged cable, repeated breaker trips, or a motor that only hums calls for professional diagnosis rather than another restart.
Safe isolation comes before checking whether the pump contains water.
2. Identify Your Water Source and Confirm the Symptom
Before opening anything, determine how your property receives irrigation water. Your system may use a private well, a municipal irrigation connection, or another dedicated supply. Some systems don't have a homeowner-operated pump requiring priming.
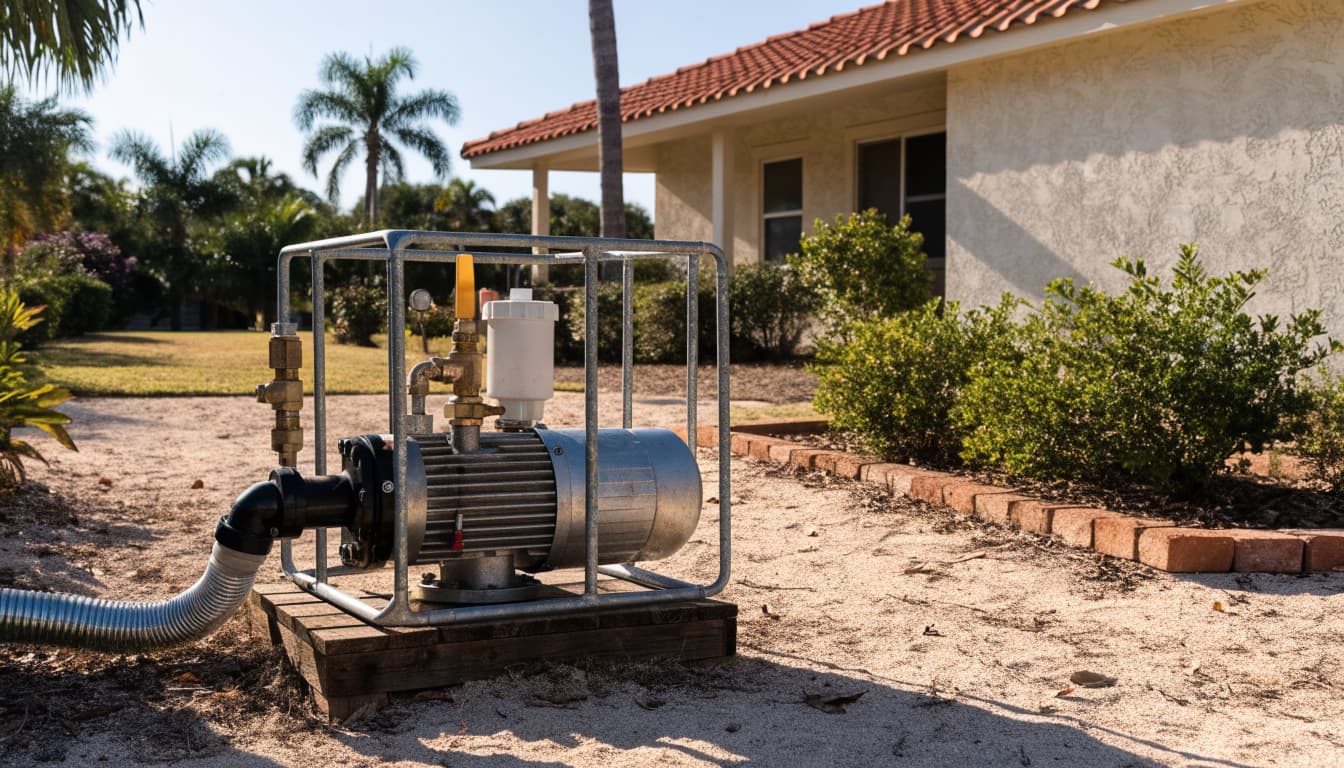
Photograph the pump's model plate and visible piping. Locate the suction line, which carries water toward the pump, using the installation diagram if necessary.
With power isolated, visually check accessible shutoffs. Don't force a stiff handle or change an unfamiliar valve.
Also record what happened during the last watering cycle. Did every zone stay dry? Did water appear briefly? Did the pump previously work and then fail after yard work?
If other zones water normally, start with troubleshooting one weak sprinkler zone. A restricted zone valve, damaged pipe, or blocked head deserves attention before blaming the pump.
For pump-specific checks, use the exact model's manual or a qualified technician to confirm the cause. Similar-looking pumps can have different startup requirements.
3. Check the Manufacturer's Priming Procedure
Inadequate priming is one possible cause to confirm before considering replacement. For pumps that require priming, the manufacturer specifies where water must be present before startup.
Find the manual using the model number rather than relying on a general video. Check its instructions for the filling location, valve positions, seals, and permitted startup duration.
If the manual permits homeowner priming, follow that procedure only after isolating power and releasing pressure as directed. Don't remove an unidentified plug or pour water into an opening you haven't confirmed.
Check whether the system was recently drained, serviced, or left unused. That history can help a technician understand why a previously working installation now needs attention.
A "self-priming" label isn't permission to run the pump dry. Confirm the startup requirements for that model.
If water won't remain where the manual says it should, stop before restarting. Tell the technician what you observed. Repeatedly adding water can conceal a separate problem without correcting it.
4. Inspect Accessible Suction-Side Connections
A suction-side air leak is another possibility for a technician to evaluate. Start with an exterior inspection while the pump remains disconnected.
Look for disturbed fittings and damaged seals
Inspect visible unions, threaded fittings, pipe connections, and any accessible strainer lid. Look for cracks, missing sealing parts, crooked connections, or movement where piping meets the pump.
Pay attention to anything touched during recent maintenance. A seal may have been pinched, or a connection may have shifted.
Photograph suspicious areas rather than tightening every fitting. Excess force can damage plastic threads or stress the pump housing. Don't wrap connections with tape or apply sealant without confirming the approved repair.
Don't rule out air entry because everything looks dry
A dry connection doesn't eliminate a suction-side problem. Ask a technician to test suspect connections rather than relying only on visible water leakage.
Also mention whether the pump loses its water between watering cycles. That timing helps narrow the investigation.
Buried suction piping requires professional assessment. Avoid exploratory digging beside foundations, utilities, patios, or established plants. An exterior inspection is a useful starting point, but it can't confirm the condition of an underground line.
5. Check Water Availability and Intake Restrictions
Low water level and a clogged intake or filter are separate possibilities. Which checks apply depends on where your system draws water.
Confirm that the source can supply water
For an accessible intake, observe the water level from a safe location. Don't enter water, lean over an unstable bank, or pull intake piping yourself.
For a well, ask a qualified technician to check water availability and the installation's pumping conditions. You can't establish the well's operating water level by looking at the pump.
For a municipal irrigation supply, check applicable utility notices. Don't assume a supply interruption requires pump repair.
Inspect only homeowner-serviceable filters
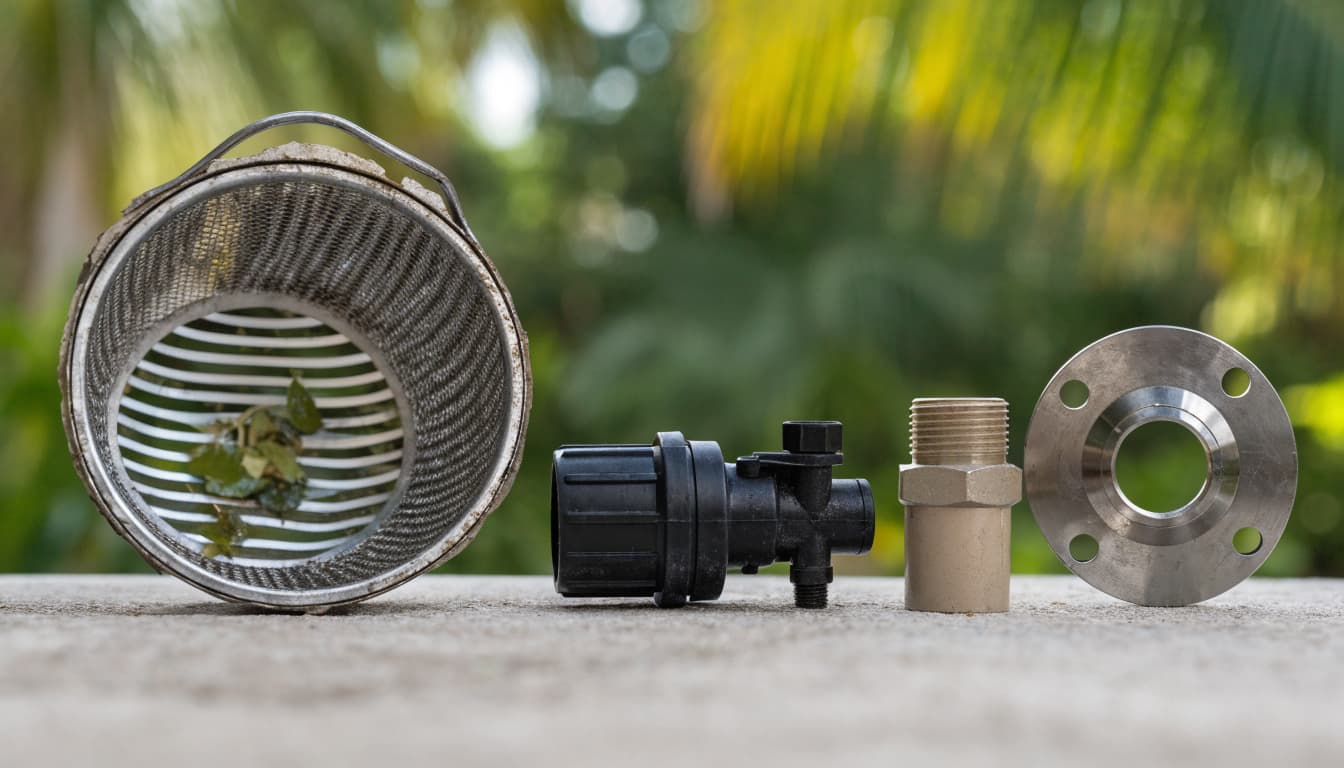
Locate filters or strainers using the system diagram. Service an accessible component only if the manual permits it, with power off and pressure released.
Note leaves, sediment, or damaged screening. Recurring sand or debris deserves investigation rather than repeated cleaning.
Don't bypass filtration to make the system run. Likewise, leave submerged intakes and inaccessible filters to a technician. Cleaning an exposed basket won't resolve every restriction elsewhere in the supply path.
6. Have Foot Valves and Check Valves Evaluated
A faulty foot valve or check valve may be worth investigating when water doesn't remain in the system between cycles. First, confirm which valves your installation actually uses.
Understand what the installed valve should do
On systems equipped with one, a foot valve is generally located at the intake. Check valves may appear elsewhere in the piping.
These components control reverse flow, but their location and service requirements depend on the installation. Use the pump diagram to identify them.
Tell the technician whether trouble begins after a long shutdown or returns after every watering cycle. Don't assume every loss of prime proves a valve has failed.
Leave inaccessible valve work to a professional
Don't pull well piping, dismantle submerged components, or install an extra valve as an experiment.
A technician can assess the installed valve, suction piping, and water source together. That avoids replacing a valve while overlooking another fault.
If an accessible valve needs replacement, confirm the required part and installation method before proceeding. Similar appearance doesn't establish compatibility.
7. Test Once, Then Separate Priming From Pressure Trouble
After completing only the checks and corrections permitted by your manual, restore power for a controlled test. Follow the manufacturer's startup limits and remain nearby.
Stop if water delivery doesn't establish within those limits, or if abnormal noise, overheating, or leakage develops. There isn't a universal safe number of minutes for every pump.
These observations help guide the next decision.
| Observation | Next action |
|---|---|
| No water delivery after correct priming | Stop and request pump-specific diagnosis. |
| Water starts, then stops | Record the timing for the technician. |
| Other zones work normally | Investigate the affected zone first. |
| Water delivery is stable but spray stays weak | Assess pressure and flow. |
The pattern matters more than repeated restarts.
Once the pump delivers water consistently, testing irrigation pressure in Cape Coral can help distinguish remaining supply problems from zone-specific faults.
Don't increase pump settings or adjust a pressure regulator to conceal weak performance. Pressure testing should account for the pump, available flow, piping, and system demand.
When to Call a Qualified Cape Coral Irrigation Technician
Call when the irrigation pump won't prime after the manufacturer-approved procedure, loses prime repeatedly, or needs inaccessible intake or valve work.
Professional service is also appropriate for damaged wiring, recurring sediment, several failed zones, or water that continues flowing after irrigation is switched off. Outdoor Life Pros provides irrigation repair for Cape Coral and nearby Southwest Florida communities.
Prepare the model number, water source, photos, and symptom history. Ask for the diagnosed cause and an itemized estimate. The Cape Coral irrigation repair cost guide provides broader budgeting context, but pump work needs a separate assessment.
Protect nearby improvements while arranging repairs. Cape Coral's sandy soil can carry leaking water away from its source, so visible moisture may not pinpoint a buried break.
Resolve irrigation damage before new landscaping or artificial turf installation. Coordinate pipe routes with your concrete company before a slab covers them, and postpone paver cleaning until excavation and repairs are complete.
Afterward, have each zone tested for pressure, coverage, leakage, and proper shutoff.
Restore Water Delivery Without Risking More Damage
A pump that won't prime needs a controlled investigation. Start with safe isolation, identify the supply, and follow the exact equipment manual.
Treat air leaks, low water levels, restrictions, and valve failures as possibilities to confirm. When safe checks don't restore operation, stop repeated restarts and get qualified help.
A clear diagnosis protects the pump and prevents unnecessary disruption to the rest of your yard.