How to Prune Clusia Hedges Without Bare Patches
A clusia hedge can look full and polished one day, then show thin, brown gaps after a single aggressive trimming. To prune clusia hedges successfully, you need to control the outer shape while protecting the leafy growth beneath it.
The safest method relies on light, regular cuts, clean tools, and the right hedge profile. With a few careful adjustments, you can keep Clusia dense from the soil line to the top without forcing weak new growth.
Why Clusia Hedges Develop Bare Patches
Bare patches usually appear when pruning removes more foliage than the plant can replace. Clusia stores much of its active growth near the branch tips and outer surface. When those green tips disappear, the interior may contain older wood with few leaves.
A hedge can also thin when the top becomes wider than the base. The upper growth shades the lower branches, so sunlight fails to reach the leaves near the ground. Over time, the bottom loses density even if you trim the hedge often.
Other common causes include:
- Cutting into leafless interior branches during a single hard pruning.
- Removing one side more heavily than the other.
- Using dull hedge shears that crush stems instead of making clean cuts.
- Pruning during severe heat or drought stress.
- Allowing a hedge to become badly overgrown before cutting it back.
- Planting too close to a fence, pool cage, or wall, which limits light and airflow.
The type of Clusia also affects the result. Small-leaf Clusia is often chosen for tight privacy screens because it forms a compact surface. Larger-leaf varieties can look attractive but may need more hand pruning to keep the hedge even.
If you're planning a new privacy screen, compare placement, mature width, and maintenance needs before planting. This guide to the best privacy hedges for Cape Coral yards also covers spacing near pool cages and other tight areas.
How to Prune Clusia Hedges Without Bare Patches
The central rule is simple: trim the soft outer growth first, and avoid cutting deep into bare wood . Clusia responds well to shaping when you make small cuts before the hedge becomes unruly.
Start by standing several feet away and viewing the entire hedge. Look for branches that extend beyond the main outline, low spots that need more sunlight, and sections that already look thin. Mark the areas that need only light trimming before you pick up the shears.
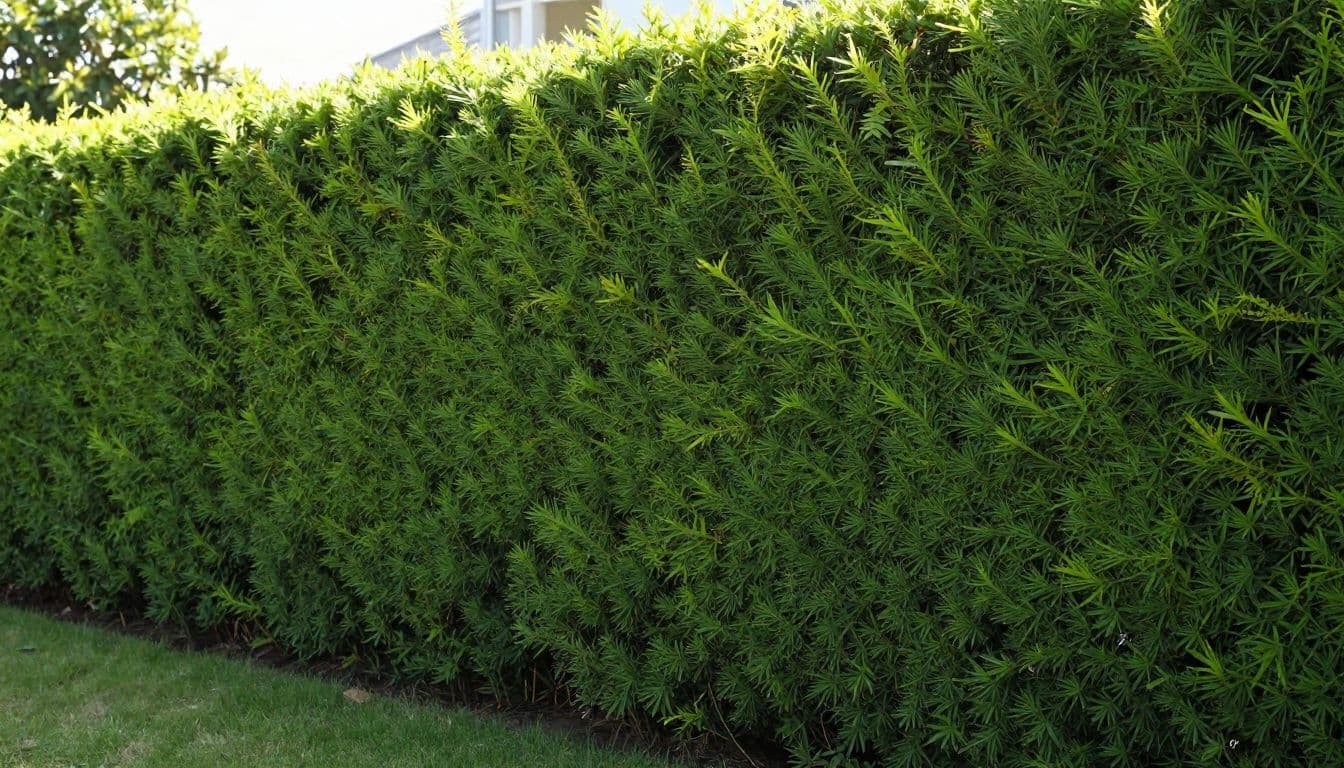
Keep the hedge slightly wider at the bottom than at the top. A gentle taper lets sunlight reach the lower leaves. The shape doesn't need to be dramatic. Even a small difference between the base and upper edge can help maintain coverage.
Make smaller cuts more often
When you prune clusia hedges, remove only the new growth that extends beyond your desired line. Frequent light trimming is safer than cutting several inches off after months of neglect.
For a hedge that has grown too tall or wide, reduce it in stages. Remove a modest amount during the first session, then wait for new growth before making another adjustment. This approach gives the plant time to produce leaves closer to the cut areas.
Use bypass hand pruners for individual branches and hedge shears for soft, uniform tips. Hand pruning takes longer, but it gives you more control around bare areas. Shears work best when the hedge already has a healthy, even surface.
Avoid flat, oversized cuts
A perfectly flat wall can look neat at first, yet it often creates shading problems. Keep the lower section slightly fuller, and don't create a heavy lip along the top.
Cut individual branches just above a healthy leaf pair or side shoot when possible. That directs new growth outward instead of leaving a long, leafless stub. Remove dead or damaged branches back to healthy wood, but don't strip healthy interior branches simply to make the hedge easier to measure.
Clusia can recover from pruning, but recovery is much slower when a cut removes the entire leafy shell and exposes old, bare branches.
Choose the Right Tools and Timing
Clean, sharp tools help prevent torn stems and reduce the chance of spreading plant problems between shrubs. Before trimming, sharpen bypass pruners and hedge shears. Wipe the blades with 70 percent isopropyl alcohol before moving to another plant or hedge section.
Wear gloves, eye protection, long sleeves, and closed-toe shoes. Clusia branches can be stiff, and trimming near a wall or fence can send small pieces back toward you.
Southwest Florida's warm climate allows Clusia to grow for much of the year. Light shaping can happen whenever the plant is actively growing and isn't stressed by dry soil, extreme heat, or recent storm damage. Heavy reduction is usually easier when conditions are mild and the hedge has time to recover before the most demanding summer weather.
Avoid pruning immediately after a storm if branches are split or the plant has suffered root stress. First remove hazards and damaged limbs. Then give the hedge time to stabilize before shaping healthy growth.
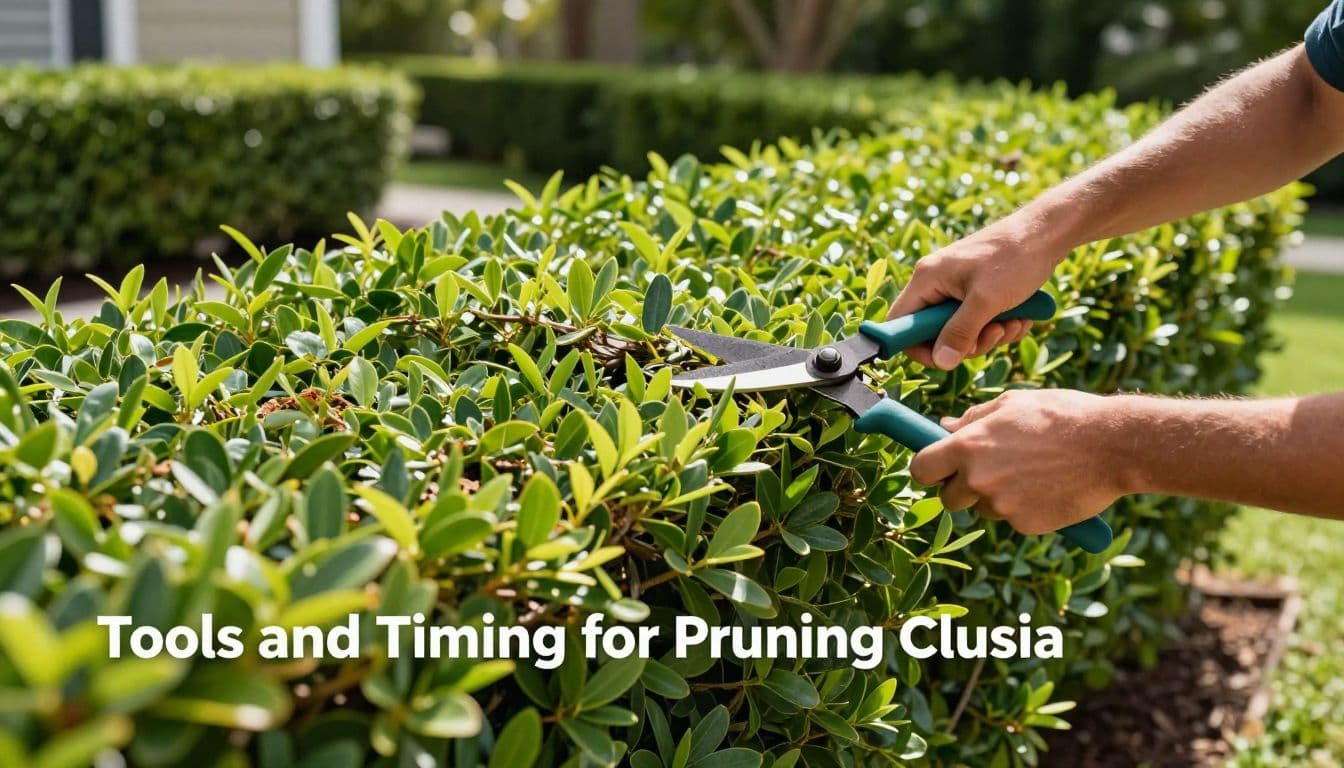
For routine maintenance, inspect the hedge every few weeks during active growth. You may not need to trim each time. Early corrections keep the work light and reduce the temptation to cut too deeply.
A Step-by-Step Clusia Hedge Pruning Routine
Follow this order when you need to shape an established hedge without creating thin sections.
- Inspect the full hedge before cutting. Walk along both sides and identify overgrown tips, dead branches, leaning stems, and existing gaps. Check whether irrigation reaches the root zone evenly.
- Set the finished height and width. Use the fence, pool cage, windows, or property line as visual guides. Leave enough clearance for air movement and future trimming.
- Remove dead and damaged branches first. Cut them back to healthy wood or to their point of origin. Disinfect the blades if you find signs of disease or decay.
- Trim the sides in light passes. Start with the side that receives the most sun. Make a few shallow cuts, step back, and compare the outline before continuing.
- Keep the base wider than the top. Trim the upper side edges slightly farther inward than the lower edges. This prevents the top from shading the base.
- Shape the top last. Remove only the shoots that rise above the target line. Avoid cutting far below the current leafy surface unless you're following a gradual renovation plan.
- Check for accidental holes. Look through the hedge from several angles. If you see a gap, stop cutting around it. Don't try to make the rest of the hedge match a thin section.
- Clean up and water normally. Sweep leaves from nearby walkways and pavers, then return to the usual irrigation schedule. Avoid soaking the hedge excessively after trimming.
Take short breaks to assess the shape. Most uneven hedges become worse when someone keeps cutting to correct one small mistake. A slightly irregular edge will fill in more naturally than a severe cut into bare wood.
Clippings can collect along pool decks and stain light hardscape surfaces. Remove them the same day, especially after wet trimming. If buildup has already developed, schedule paver cleaning before it becomes part of the finished outdoor space.
How to Repair an Existing Bare Spot
First, determine whether the gap comes from shading, physical damage, disease, or over-pruning. Look for dead stems, insect activity, damaged irrigation lines, or a nearby structure that blocks sunlight. Correcting the cause matters more than trimming the surrounding foliage.
Don't cut healthy growth around the gap to make the hedge look symmetrical. That only enlarges the bare area. Instead, leave the nearby leafy branches in place and reduce their length slightly if they block light from reaching the open section.
If a branch can be redirected, use a loose plant tie to guide it toward the gap. Avoid tight ties that cut into the stem. New shoots may gradually fill the opening when the plant has adequate moisture, light, and room to grow.
A large bare section may need staged renovation. Remove only the worst branch or two, wait for new growth, and reassess. If the interior remains leafless, replacing one damaged plant may produce a better result than repeatedly cutting the entire hedge.
Clusia won't instantly refill a deep hole. Recovery depends on the plant's health, the size of the gap, the season, and available light. Keep nearby maintenance gentle while the new growth develops.
When Professional Help Makes Sense
Hire a landscaping professional when the hedge is tall enough to require unstable ladders, has extensive bare wood, or sits beside a pool cage, roofline, power equipment, or other hazard. A professional can shape the hedge while protecting screens, fencing, irrigation, and nearby plants.
Professional help also makes sense when pruning is part of a larger yard project. For example, a new patio, drainage correction, concrete installation, or artificial turf area may change how much clearance the hedge needs. Coordinate the plant work with your concrete company or landscape contractor before hardscape installation begins.
A contractor can also assess whether the hedge is planted too close to a structure. Clusia needs room for future width, access, and maintenance. Tight spacing often causes the repeated hard cuts that create bare patches.
For local budgeting information, review this guide to Clusia hedge cost in Cape Coral. Plant size, access, removal, soil preparation, and the amount of shaping can all affect the final price.
Keep the Hedge Full With Light, Regular Trimming
The best way to prune clusia hedges is to make modest cuts before the hedge loses its shape. Keep the base wider than the top, protect thin sections, remove damaged wood carefully, and avoid deep cuts into leafless branches.
In Southwest Florida, consistent inspection matters more than occasional drastic pruning. When the hedge stays within reach of its intended size, each trimming session becomes smaller, cleaner, and less likely to expose bare patches. A full Clusia screen is built through patience, proper light, and steady maintenance.