How to Find a Broken Irrigation Wire Before Digging
A sprinkler zone that stopped working doesn't always have a bad valve or clogged nozzle. When you need to find broken irrigation wire , testing the circuit first can show whether the fault is in the controller, solenoid, wire, or an underground connection.
Digging without a clear diagnosis can damage roots, pavers, concrete, drainage lines, or other irrigation tubing. A multimeter, a few simple checks, and a wire tracer can often narrow down the break before you disturb the yard.
Key Takeaways
- Confirm the controller and station output before testing underground wiring.
- An open meter reading usually points to a disconnected wire, broken conductor, or failed solenoid.
- A resistance reading near zero can indicate a short circuit.
- Use a wire tracer or sectional testing to locate the suspected area.
- Contact local utility-location services where required, then hand-dig carefully around the marked location.
How to Find Broken Irrigation Wire Without Digging
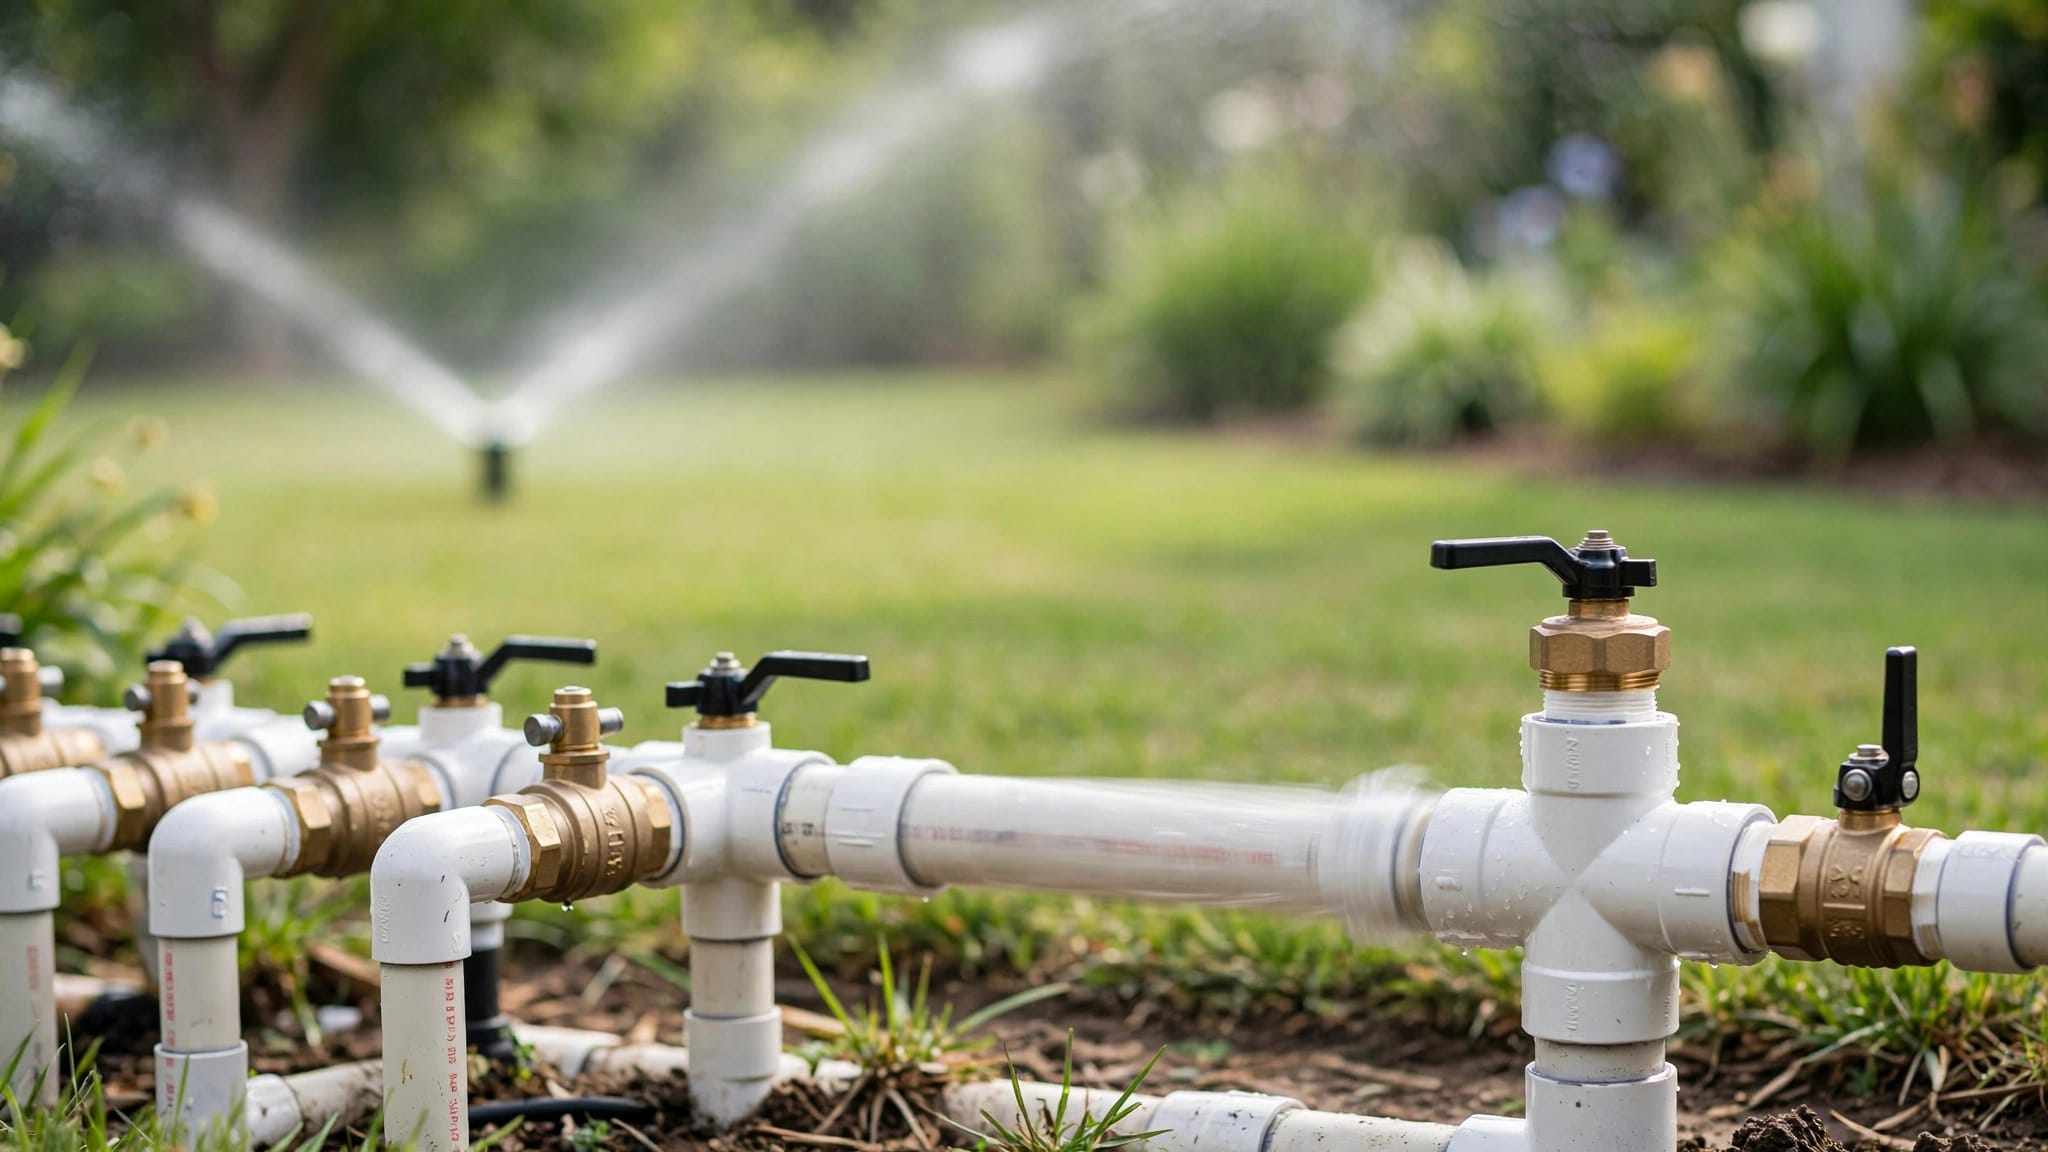
Irrigation control wires usually run from the timer to each valve. Most systems also have a common wire that connects back to every valve. When one station fails, the problem may involve that station's wire, its valve solenoid, a splice, or the controller terminal.
Start at the controller rather than the lawn. Run the affected zone manually and listen for the valve to click. Check whether the controller shows an error, blown fuse, missing station, or other warning. Also test a working zone for comparison. A comparison gives you a known-good circuit and helps separate a controller problem from a field-wire problem.
If the controller activates the working zones but not the affected one, inspect the station terminal and wire connection. Turn off the controller's power before loosening wires. A loose terminal can look like an underground break, especially after landscaping work, moisture exposure, or years of corrosion.
Homeowners in Cape Coral, Fort Myers, Estero, and Bonita Springs may also notice irrigation wiring problems after work near planting beds, pavers, driveways, or drainage improvements. A recent concrete company project, new planting installation, or artificial grass installation can disturb shallow wiring.
Check the Valve Solenoid and Common Wire
The valve solenoid is the small electrical component attached to the irrigation valve. It receives low-voltage power from the controller and opens the valve when the station runs. A failed solenoid can create the same symptom as a broken wire, so test it before searching for an underground fault.
First, locate the valve box for the failed zone. Remove the wire nuts or waterproof connectors from the solenoid wires. Keep the disconnected ends separate from one another and from the soil.
Set a digital multimeter to resistance, often marked with the ohm symbol, which looks like an upside-down horseshoe. Touch one probe to each solenoid wire. The exact resistance range depends on the valve manufacturer, but a working solenoid normally shows a measurable resistance rather than an open circuit.
Use these readings as plain-language clues:
- A steady resistance number means the solenoid coil has electrical continuity. Compare the number with the manufacturer's specifications or a working valve of the same type.
- OL, 1, or infinity means the meter sees no complete path. The solenoid coil may be open, or the wire connection may be damaged.
- A reading close to zero ohms can point to a shorted solenoid coil or a short in the wiring.
- A number that jumps around often indicates a loose probe, corroded connector, wet splice, or unstable contact.
Next, test the common wire. Place one probe on the common wire and the other on the suspected station wire at the valve box. If the solenoid tests normally but the circuit remains open when tested through the field wires, the fault is likely between the controller and valve.
A solenoid test can confirm that a valve coil is healthy, but it can't prove the underground wire is intact until you test the complete circuit.
When you test, write down the readings for the failed zone and one working zone. Similar valves should produce similar results. A major difference gives you a stronger lead than a single number viewed on its own.
Test the Irrigation Wire at the Controller
After checking the solenoid, return to the controller. Turn off power before handling the terminals, then disconnect the suspected station wire and the common wire if needed. Keep track of each wire with a photo or a handwritten label.
Set the meter to resistance. Touch one probe to the suspected station wire and the other to the common wire. The reading measures the entire circuit, including the underground cable, connections, and solenoid.
A normal reading should show continuity through the wire and solenoid. The exact number varies with wire length, wire size, and solenoid type. Therefore, compare the affected station with a working station when possible.
If the meter shows OL or infinity at the controller but the solenoid itself tests within its normal range, the wire or a splice is the likely problem. If both the controller-side test and solenoid test show an open circuit, inspect the valve-box connection first. The problem may be a failed solenoid rather than a buried cable.
You can also test the station wire against the common wire with the solenoid disconnected. This removes the solenoid from the measurement. A meter should show a complete path only when the conductors and test setup create one. Follow your multimeter instructions, because some systems require a shorting loop or a specialized irrigation wire tester for an accurate cable test.
Avoid using the controller's voltage setting to identify a break by itself. Voltage can appear at the timer even when the wire has a poor connection farther along the run. Resistance and continuity testing provide better evidence for a broken conductor.
Use a Wire Tracer to Locate the Suspected Break
When the controller and solenoid tests point to the buried cable, a wire tracer can help locate the damaged section. These tools usually include a transmitter and receiver. The transmitter sends a signal through the irrigation wire, while the receiver detects the signal above ground.
Connect the transmitter to the suspected station wire and the common wire, following the tool's instructions. Keep the system power off during the tracing process. Walk slowly along the expected wire route while holding the receiver close to the soil.
The signal often remains strong while the wire is intact. It may weaken, disappear, or change sharply near a break. Mark the ground with removable paint, flags, or small stakes as you trace. Don't assume the first weak signal is the exact break. Soil moisture, wire depth, nearby metal, electrical interference, and a poor connection can affect the reading.
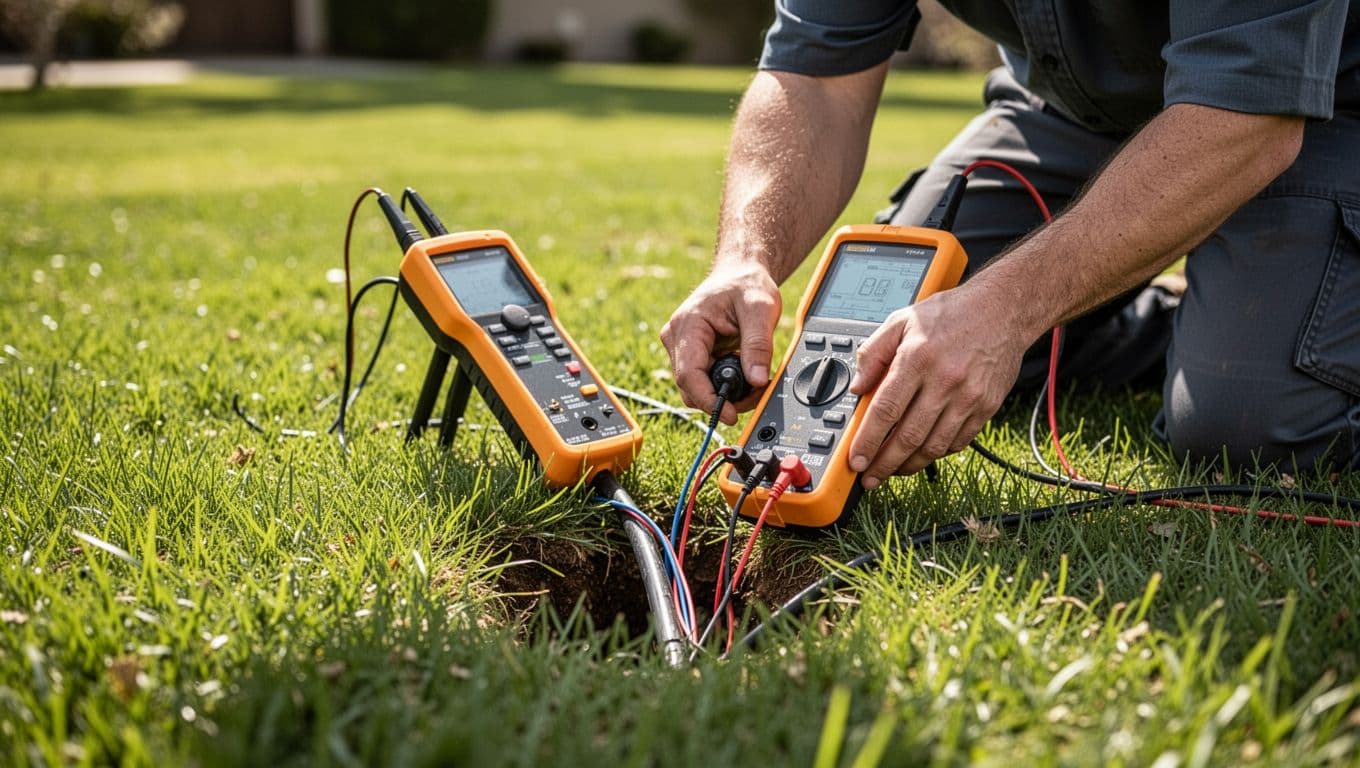
If you don't have a tracer, you can narrow the location by testing sections of the wire. Open the valve box, expose an accessible splice, and separate the cable into sections. Test each section for continuity. This method takes more time and may require access to additional valve boxes, but it reduces the area you need to inspect.
Some irrigation contractors use dedicated fault-finding equipment that can detect shorts and estimate distance to the fault. That service can cost less than repairing damaged hardscape after random digging. For local cost context, review this Cape Coral irrigation repair cost guide before deciding whether to troubleshoot the circuit yourself.
Troubleshooting Table for Irrigation Wire Problems
These common symptoms can help you choose the next test.
| Symptom | Likely cause | Best first check |
|---|---|---|
| One zone won't run, other zones work | Broken station wire, failed solenoid, loose terminal | Test the solenoid and station-to-common resistance |
| Several zones fail together | Broken common wire or controller issue | Test the common wire and run a working station |
| Controller shows an open-circuit warning | Disconnected wire, open solenoid, damaged splice | Inspect terminals and measure resistance |
| Valve clicks but sprinklers stay dry | Water supply, valve diaphragm, clogged line, or pipe issue | Check valve operation and water flow |
| Zone runs continuously | Stuck valve, crossed wires, or controller fault | Shut off water, then inspect valve and station wiring |
| Meter reads near zero ohms | Shorted wire or solenoid coil | Disconnect the solenoid and retest the cable |
| Meter reading changes when wires move | Loose or corroded splice | Open and replace the waterproof connector |
The table helps separate electrical faults from water-flow problems. A valve that clicks but delivers no water may have intact wiring, while a silent valve with an open circuit points toward the electrical side.
You can also review these signs of an irrigation leak, since wet areas and dry patches sometimes appear alongside electrical failures. A damaged pipe and a broken wire can share the same work area, especially after roots, settling soil, or construction.
Confirm the Break Before You Dig
Before putting a shovel into the lawn, repeat the test. Confirm the same fault at both ends of the suspected wire when possible. Then trace the cable again and mark the area where the signal changes.
A second test protects you from chasing the wrong problem. For example, a failed solenoid can produce an open reading that looks like a broken cable. A loose controller terminal can also make a good underground wire appear defective.
Check the route against your property records, irrigation sketches, and visible valve boxes. Wire paths don't always run in a straight line, especially around trees, garden beds, sidewalks, driveways, and outdoor structures. Older systems may also have undocumented splices.
Before excavation, contact your local utility-location service if required in your area. Utility markings may not identify private irrigation lines, low-voltage cables, or homeowner-installed wiring, so ask what the service covers. Keep marked utilities visible and follow the required waiting period.
Then expose the suspected section by hand. Use a narrow hand trowel instead of a powered auger or digging machine. Remove soil in shallow layers, work beside the marked route, and avoid driving the tool directly into the cable. Irrigation wire may sit only a few inches below the surface.
If you recently installed landscaping, pavers, concrete, or artificial turf, check the project area first. The wire may have been cut, pinched, or buried under a new edge. The same care applies around paver cleaning or sealing work, where access points and joints can conceal valve boxes.
Repair the Wire Safely
Once you find the damaged section, cut away corroded or crushed wire until you reach clean copper. Use a direct-burial irrigation connector rated for wet locations. Standard indoor wire nuts often fail underground because water enters the connection and corrodes the conductor.
Leave enough slack for a future repair, but don't coil a large bundle in the valve box. Place the connector where it remains accessible and protected from standing water. If the cable has several damaged areas, replace the run instead of adding multiple splices.
After repairing the wire, restore power and run the zone manually. Confirm that the valve opens, the sprinklers operate, and the controller no longer reports a fault. Check the repair again after the next irrigation cycle.
If the wire route crosses concrete, pavers, mature planting, or synthetic turf, professional repair may prevent unnecessary surface damage. A qualified irrigation technician can test the circuit, locate the fault, and coordinate careful excavation with the rest of the property work.
Conclusion
To find broken irrigation wire before digging, begin at the controller, compare the failed zone with a working zone, and test the solenoid separately. A steady resistance reading suggests continuity, an open reading points to a break or failed coil, and a near-zero reading suggests a short.
Confirm the suspected fault with more than one test, then use a wire tracer to narrow the location. After checking local utility-location requirements, hand-dig slowly around the marked area. That process gives you a better chance of fixing the wire without damaging the landscaping, concrete, pavers, or turf around it.