

Polymeric Sand for Pavers in Cape Coral: Pros And Cons
If your pavers look great for a few months, then the joints start washing out, growing weeds, or turning into ant highways, you're not alone. In Cape Coral, heat, humidity, irrigation overspray, and summer downpours can punish paver joints fast.
That's where polymeric sand pavers come in. When installed right, polymeric sand firms up inside the joints, helping lock pavers together and slow down weed and ant activity. Still, it's not a "set it and forget it" fix, and it can fail if the timing or prep is off.
Below is a clear look at the pros and cons, plus how to choose and install it for Cape Coral conditions.
Why polymeric sand behaves differently in Cape Coral
Polymeric sand is a blend of fine sand plus binders that activate with water. Once it cures, it becomes more resistant to erosion than plain joint sand. That matters here because heavy rain can move regular sand like sugar in a coffee spill.
Cape Coral adds a few twists:
- Afternoon storms can hit before the joints set, which can cause washout or pitting.
- High humidity slows drying, so the surface can look "ready" while the joints still cure.
- Pool decks and waterfront air bring salt and chemicals that stress surfaces over time.
- Shade and moisture invite algae and joint debris that hold water longer.
Polymeric sand also helps with common local headaches like weeds and shifting joints, but it won't fix deeper issues like a failing base or poor drainage. If you're seeing low spots or recurring puddles, start with the underlying problem first. This breakdown of common paver problems in Cape Coral explains what joint sand can't solve on its own.
For a simple comparison of joint material options, this overview of polymeric sand vs regular sand is helpful.
Quick recommendations for typical Cape Coral paver areas
Use this as a quick shortcut if you're deciding where polymeric sand makes sense on your property.
| Cape Coral scenario | Recommendation | Extra tip that helps |
|---|---|---|
| Pool deck | Use polymeric sand if joints are stable and you can keep the area dry during cure | Plan around pool use, keep rinse water off joints for a couple days |
| Driveway | Polymeric sand works well, choose a stronger grade if you get frequent turning tires | Keep joints full, low joints let water and grit chew them up |
| Waterfront or salt exposure | Polymeric sand can help, but drainage and edge restraints matter more near seawalls | Rinse salt spray often, consider sealing for easier rinsing |
| Shaded areas (north side, screened lanai edge) | Polymeric sand helps reduce washout, but algae control and paver cleaning still matter | Clean, let dry fully, then re-sand so joints cure properly |
If you're already planning a repair or a full reset, it's often easier to handle sanding as part of a bigger paver scope. Here's what to expect with paver installation Cape Coral projects and repairs.
Pros and cons of polymeric sand for pavers
Here's the tradeoff in plain terms.
| Pros | Cons |
|---|---|
| Helps reduce joint erosion during heavy rain | Can wash out if it gets hit by a storm too soon |
| Limits weeds by making joints less hospitable | Doesn't stop every weed, wind-blown seeds still sprout on top |
| Deters ants by reducing loose sand for tunneling | Ants can return if joints crack or stay damp |
| Improves joint stability, less paver wiggle | Can leave haze if dust isn't removed before wetting |
| Cleaner look than loose sand in many joints | Needs careful watering, too much water weakens the binders |
The biggest "pro" only shows up after a boring part: the surface must be clean, dry, and dust-free before you add water.
If you want a quick read on common errors that cause haze and weak joints, see the biggest polymeric sand mistakes. Even if you don't follow every detail, the pattern is clear: most failures come from rushed prep.
Step-by-step installation best practices (Cape Coral-friendly)
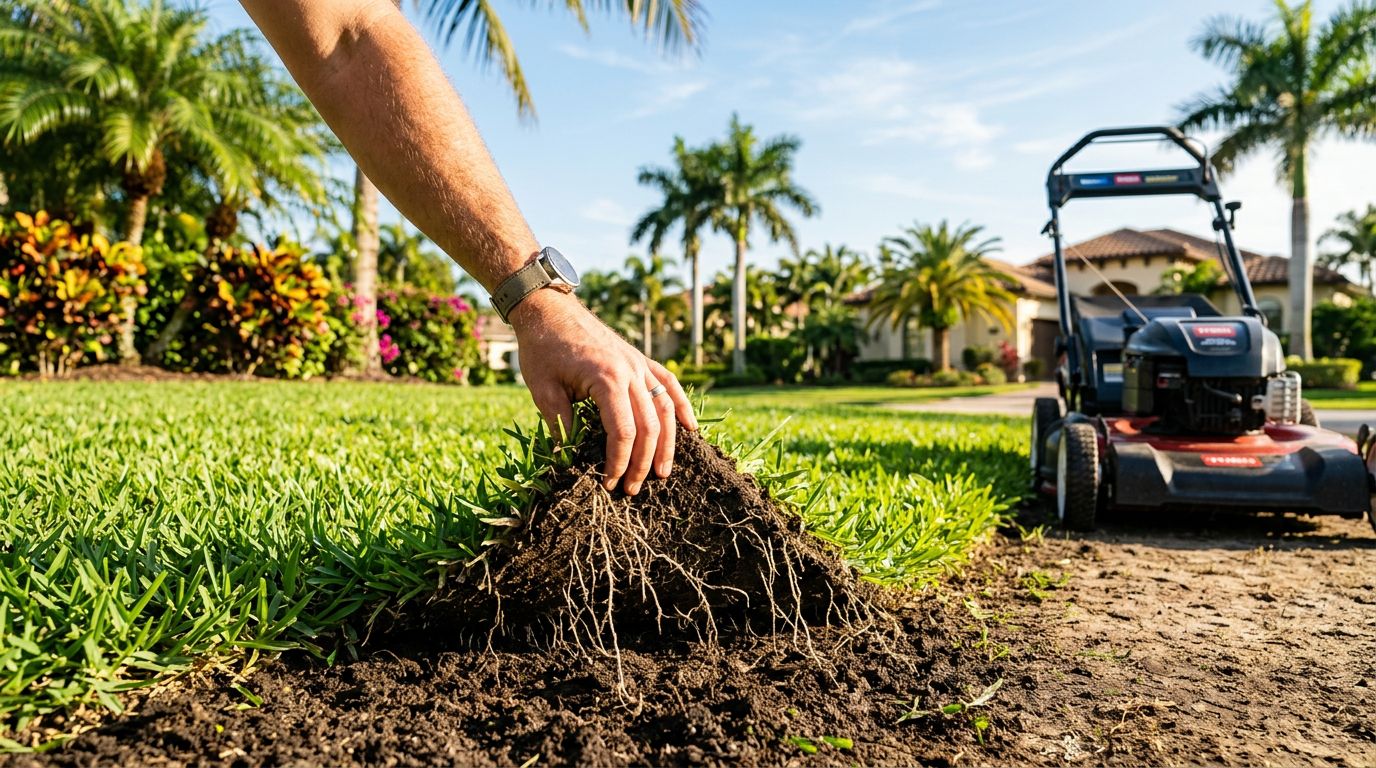
You can get a solid result as a DIYer, but you need the right weather window and patience. If the pavers are loose, sunken, or rocking, fix that first, or the joints will crack later.
A practical install sequence
- Pick a dry window. Aim for a morning start and a forecast with no rain for at least 24 hours.
- Deep clean the joints. Remove weeds, old sand, and debris. Let everything dry fully.
- Re-seat problem pavers first. Level any low spots and confirm edge restraints are firm.
- Sweep in polymeric sand. Work it diagonally across the pavers so joints pack evenly.
- Compact and top off. A plate compactor (with a mat) helps settle sand. Add more sand and repeat until joints are full.
- Blow off all dust. Use a leaf blower at an angle. The paver faces should look clean, not "powdery."
- Mist water in short passes. Light mist, pause, then repeat. You want the joints to set, not flood.
- Keep traffic off while it cures. Avoid washing the area or running sprinklers on it during cure.
For stricter technical do's and don'ts, these polymeric sand installation guidelines are a solid reference.
Avoid these Cape Coral mistakes
- Starting too late in the day: Afternoon storms and high humidity don't mix with fresh joints.
- Overwatering: A hard spray can flush binders out of the joint.
- Not blowing off dust: Dust plus water equals haze that can stick.
- Installing on a damp base: Damp joints slow curing and raise the risk of washout.
If you're coordinating this with other work, like a driveway pour or footer repairs, schedule smart. A concrete company working next door can kick up dust that lands right in your joints.
Choosing the right polymeric sand type (without guessing)
Not all polymeric sand is the same, and the "right" one depends on your pavers and joint size.
Start with these decision points:
- Joint width: Match the product to your typical joint spacing. Very tight joints often need a finer grade, wider joints need a sand designed to bridge and lock without shrinking.
- Color: Pick a color that fits your paver tone and hides normal debris. Light colors can show stains sooner, especially near landscaping beds.
- Standard vs commercial strength: Driveways, turning areas, and high-traffic walkways often do better with a heavier-duty blend designed for tougher use.
- Base type: Pavers over a concrete slab or other less-permeable base may need extra care with watering and drainage, since trapped moisture can slow curing.
If you want a deeper explanation of how it works and where problems start, this polymeric sand guide lays out the basics clearly.
Also, consider what surrounds the hardscape. For example, artifical turf next to pavers can reduce mud and blown-in soil, which helps joints stay cleaner.
FAQ for Cape Coral homeowners
Will polymeric sand stop weeds and ants for good?
It helps a lot, but it's not permanent. Weeds often start from wind-blown seeds on top of the joint. Ants usually return where joints loosen or stay damp.
Why did my polymeric sand wash out after a heavy rain?
Most washout happens when rain hits before the sand cures, or when the joints were damp during install. Low joints and poor drainage also speed up erosion.
How do I remove polymeric sand haze?
Start gently, because harsh cleaning can etch some pavers. Many haze issues come from leftover dust that bonded to the surface. This guide on identifying and removing poly sand haze
explains the usual process and what to watch for.
If you see haze, don't seal over it. Sealer can lock the film in place and make removal harder.
Do I need to seal pavers after polymeric sand?
Not always, but sealing can help with stain resistance and makes routine paver cleaning easier. It can also help stabilize joints depending on the sealer type. If you're weighing the timing, this overview of sealing after polymeric sand
outlines common considerations.
Conclusion: Is polymeric sand worth it in Cape Coral?
For many Cape Coral homes, polymeric sand is worth it when your base is stable and you can install it in the right conditions. It can reduce washout, improve joint strength, and cut down on weeds and ants. The downsides are real though, especially haze and rain-related failure when the prep gets rushed.
If you're already investing in landscaping upgrades, take the extra time to do the joints right. Your pavers will look better, feel tighter underfoot, and stay easier to maintain season after season.