


How to Identify Bermudagrass in St. Augustine Lawns
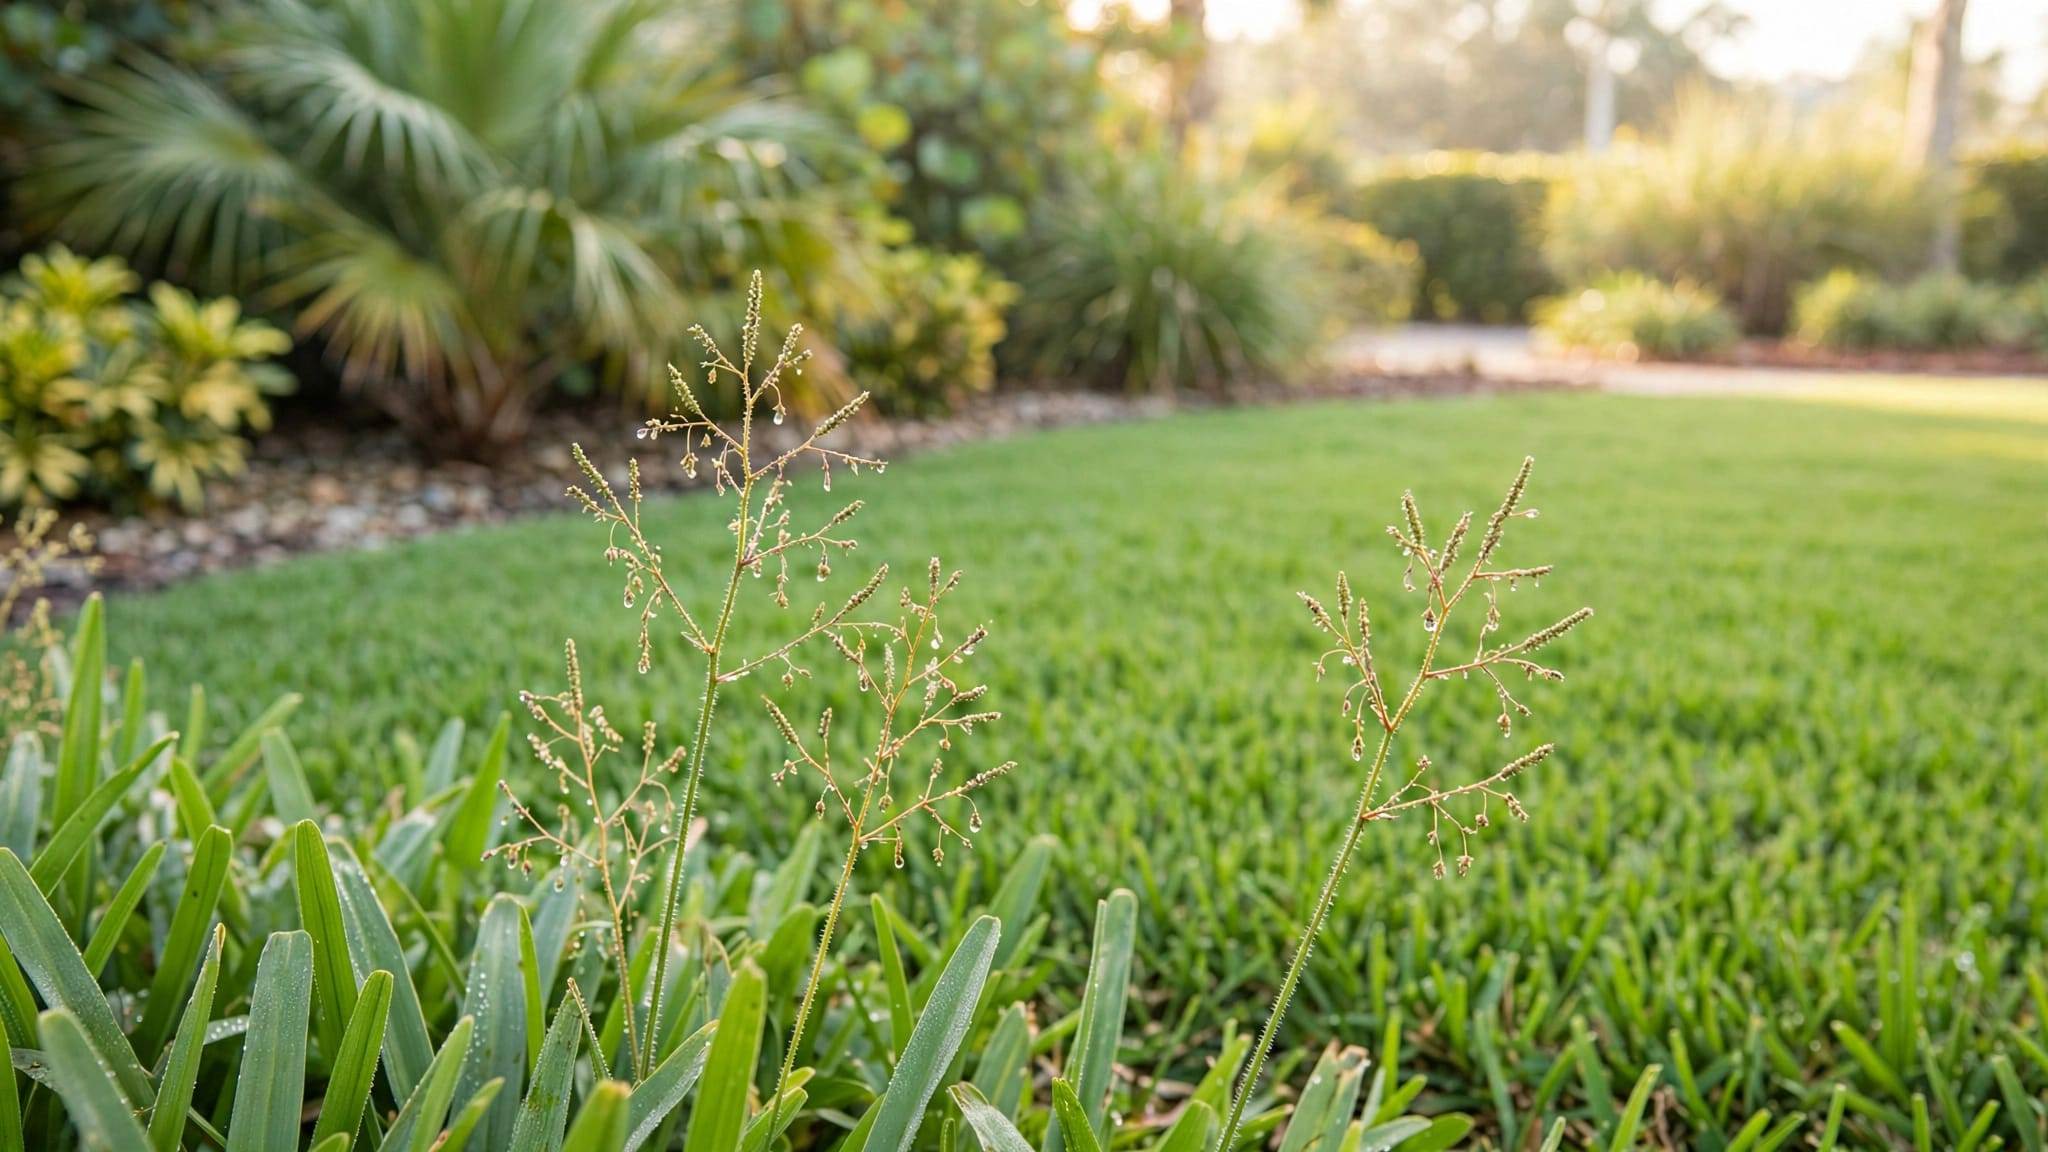
Bermudagrass in St. Augustine lawns can be difficult to identify from a patch's color alone. Start by comparing the leaves and runners in the suspicious area with those in healthy St. Augustine nearby.
A different texture may point to another grass, but drought, mowing damage, and disease can also change a lawn's appearance. A close inspection helps you describe what you see and decide when a plant identification is needed.
Start With a Side-by-Side Lawn Comparison
Choose a healthy-looking area of St. Augustine near the suspicious patch. Comparing grass in the same yard gives you a more useful reference than comparing your lawn with a neighbor's, where mowing and irrigation may differ.
Look at the patch while standing up, then kneel at its edge. Notice whether the change is limited to color or whether the leaves and growth pattern look different, too. A patch can contain more than one grass, so inspect several spots rather than relying on a single handful.
Compare Leaf Shape and Width
St. Augustine grass has broad, flat blades. Part the turf and compare intact leaves in the patch with those in the surrounding lawn. Look at the full blade, including its base and tip, rather than judging only the ends left after mowing.
A difference in width or shape is worth recording. However, a narrow-looking leaf alone doesn't identify the plant. Young growth, damaged blades, and a mix of grasses can complicate the comparison.
Look at Texture Across the Patch
View the area in daylight and notice whether its surface looks finer, coarser, or less uniform than the lawn around it. Move to another side of the patch as well. Shadows and the direction of the leaves can change how the grass looks.
If you find a distinct texture, follow it toward the patch boundary. Note whether the change has a clear edge or whether the different-looking plants are mixed throughout the surrounding turf.
Examine Runners Near the Soil
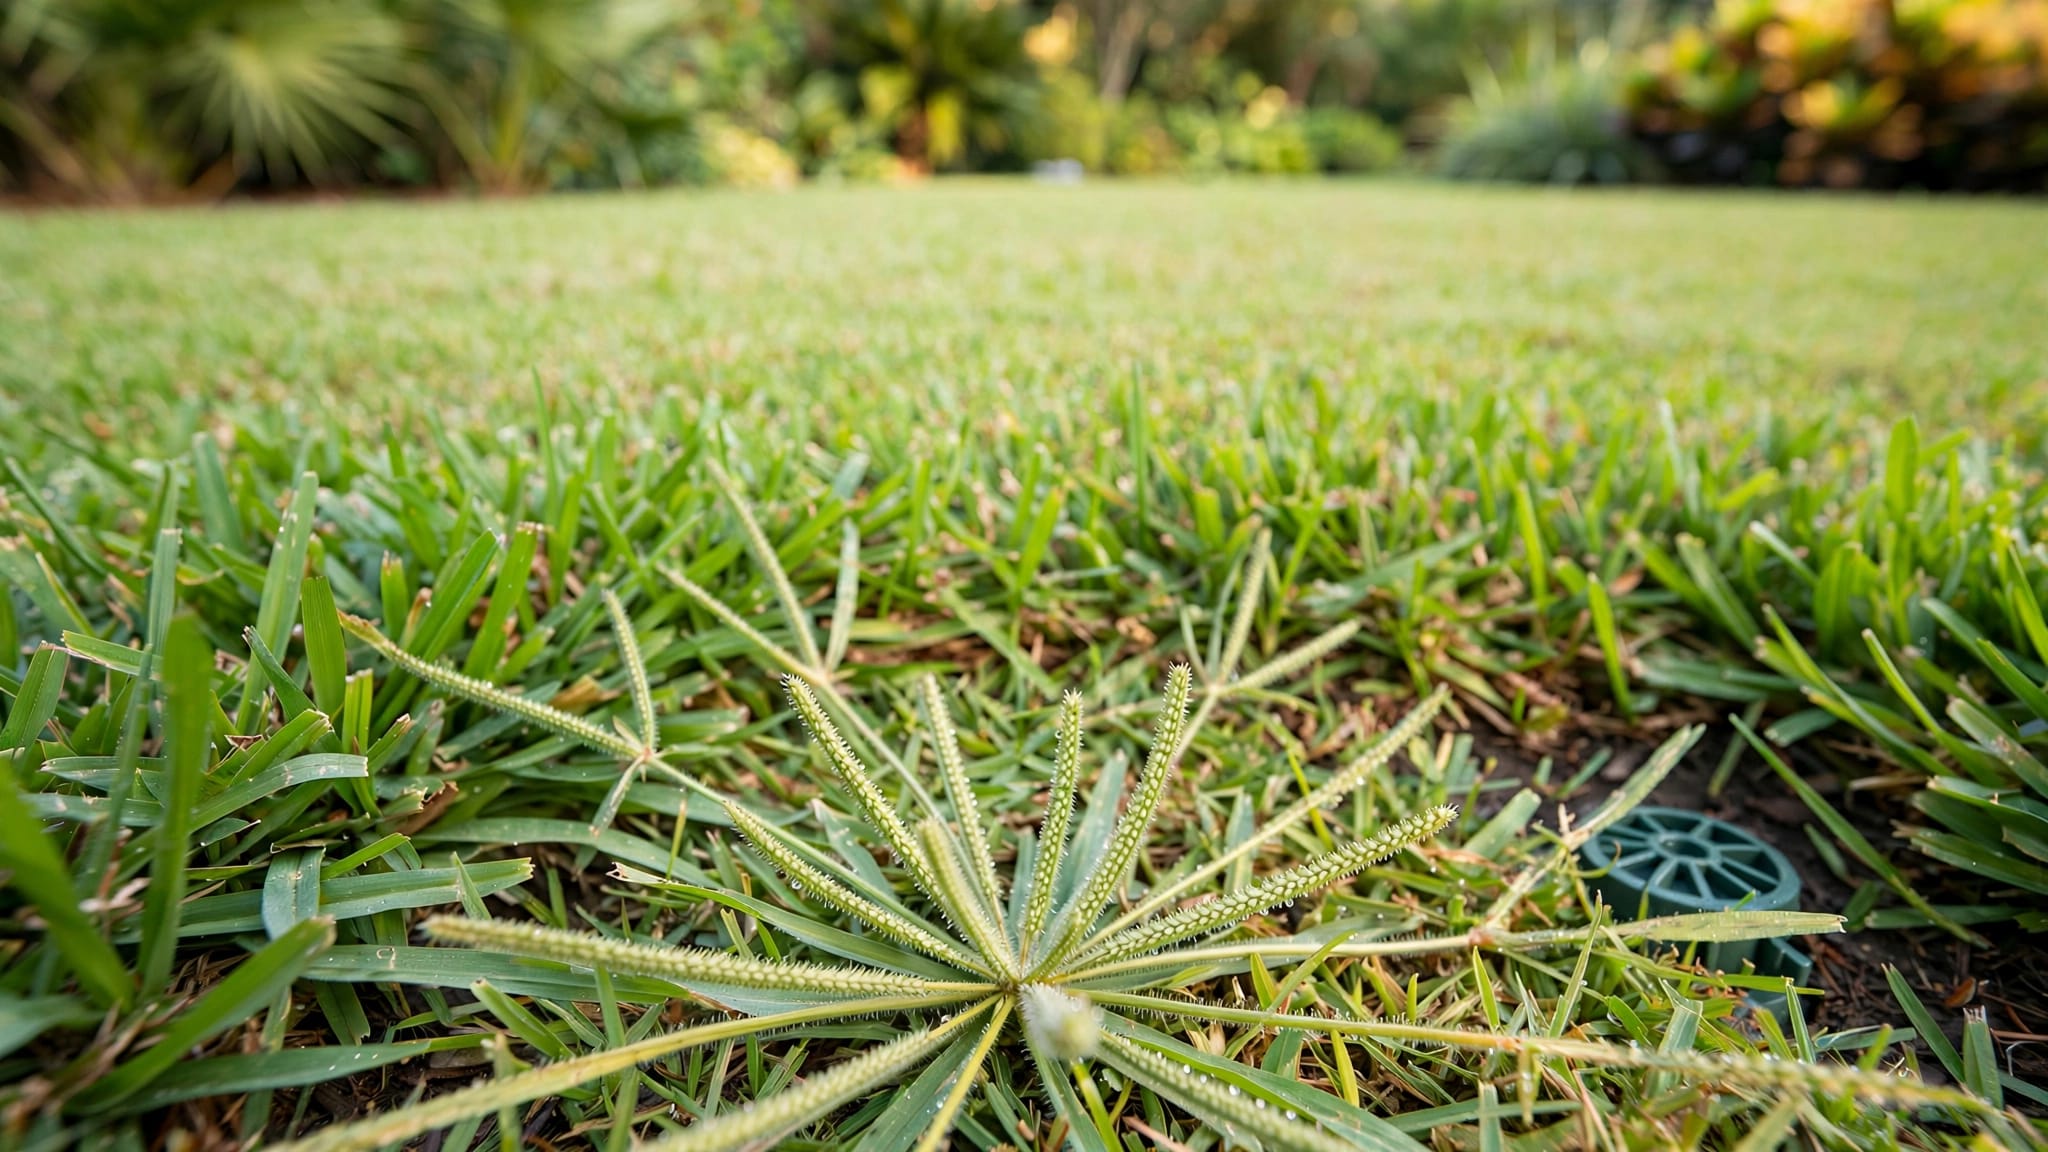
St. Augustine spreads through above-ground runners called stolons . These stems grow across the soil and produce new growth along their length. You can often find them by gently separating the leaves near the base of the lawn.
Examine the suspicious area and a healthy comparison spot. You're looking for differences you can describe, rather than pulling out a large section of turf.
Part the Grass at the Edge
Begin where the unusual patch meets healthy-looking St. Augustine. Use your fingers to move the leaves aside until you can see the stems near the soil surface. A small hand lens can help if the turf is dense.
Notice whether the stems you see connect to the leaves you're examining. Mixed turf can make this difficult: one plant's leaves may grow through another plant's runners. Follow each stem carefully before drawing a conclusion about which plant it belongs to.
Note the Connections Along Each Stem
Look for places where leaves or roots emerge along a runner. These connection points are called nodes. Record whether the visible stems appear similar to those in the healthy comparison area.
Avoid judging the entire patch by a loose clipping. A piece of grass on the surface may have come from elsewhere in the yard. An attached plant gives a lawn professional more useful information than a blade with no visible base.
Watch the Patch's Shape and Location
The outline of a suspicious area can help you track change, although its shape alone won't identify the grass. Some patches have a distinct boundary, while others blend gradually into the lawn.
Look for different-looking plants near a driveway, walkway, planting bed, or another lawn. Also check open areas where the turf appears thin. Record the location and the surrounding conditions so you can return to the same place later.
Pay attention to whether you can see individual plants beyond the main patch. If you find them, note their distance and direction relative to a fixed feature. A patio corner or sprinkler head makes a useful reference point.
Don't assume that a patch beside pavement has a different grass species. Heat, foot traffic, mower turns, and irrigation coverage can all affect how turf looks along an edge.
Check the Lawn in Different Seasons
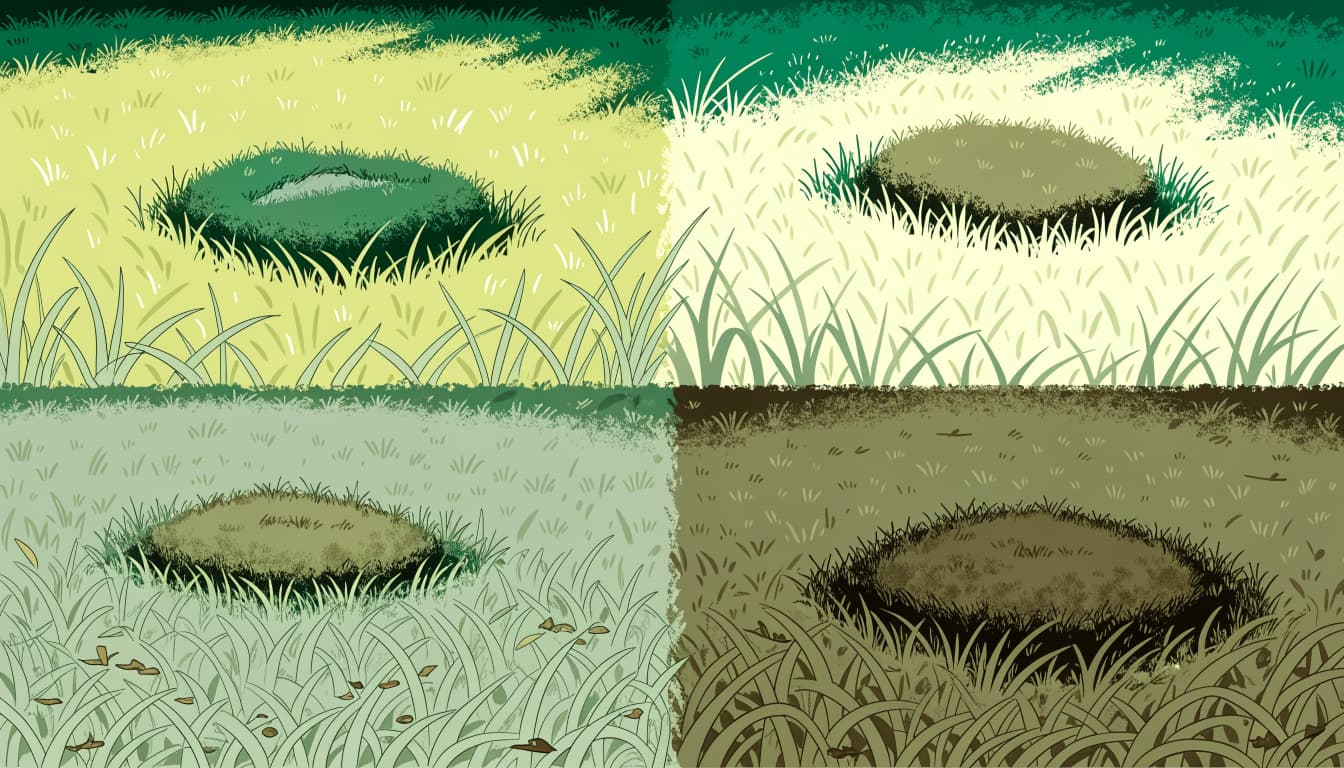
Seasonal observations can make a mixed-looking lawn easier to inspect. Growth rates and color can change with temperature, rainfall, and the amount of light a yard receives. In Southwest Florida, winter conditions may vary considerably, so a calendar date alone won't explain what you see.
Inspect New Growth in Spring and Summer
During active growth, look for fresh leaves within the patch and compare them with new growth nearby. Inspect both before and after mowing if you can. A close cut can make different grasses appear more alike or hide the shape of intact blades.
Summer rain can also affect how the lawn looks. Record whether the soil is moist or saturated and whether the patch has changed after heavy rainfall. Those observations give context to the plant inspection without treating wet weather as proof of a particular problem.
Revisit the Same Spot in Fall and Winter
As growth slows, return to the same reference point and look for changes in color, texture, and the patch boundary. Include the surrounding St. Augustine in your observations.
Cooler weather can make a contrast more noticeable, but color by itself isn't a reliable species identification. If growth is sparse, look for attached leaves and stems that remain intact. Save your notes so you can compare them with the lawn when growth picks up again.
Document What You Find
A clear record is useful when changes happen gradually. It also helps a lawn professional understand what the area looked like before a visit.
Take an overall photo that shows the patch and a fixed feature, such as a walkway. Then take a closer photo of the transition between the patch and healthy grass. Include a view near the soil surface if the stems are visible.
Return to the same position for later photos. Similar framing makes it easier to see whether the outline has changed or whether the apparent difference came from lighting.
Keep a short note with each observation. Record recent mowing, rainfall, irrigation, and any visible damage. If the patch looks different only after a cut, that detail may matter. If it stays distinct through several inspections, note that as well.
A photograph can support an identification, but a close image of a leaf or runner doesn't always show enough of the plant. Keep the location available for an in-person inspection when the answer remains uncertain.
Consider Other Causes of an Unusual Patch
A lawn can look uneven even when the grass species hasn't changed. Before labeling an area as Bermudagrass, look for signs that the existing St. Augustine is stressed or damaged.
Check for Dryness and Irrigation Gaps
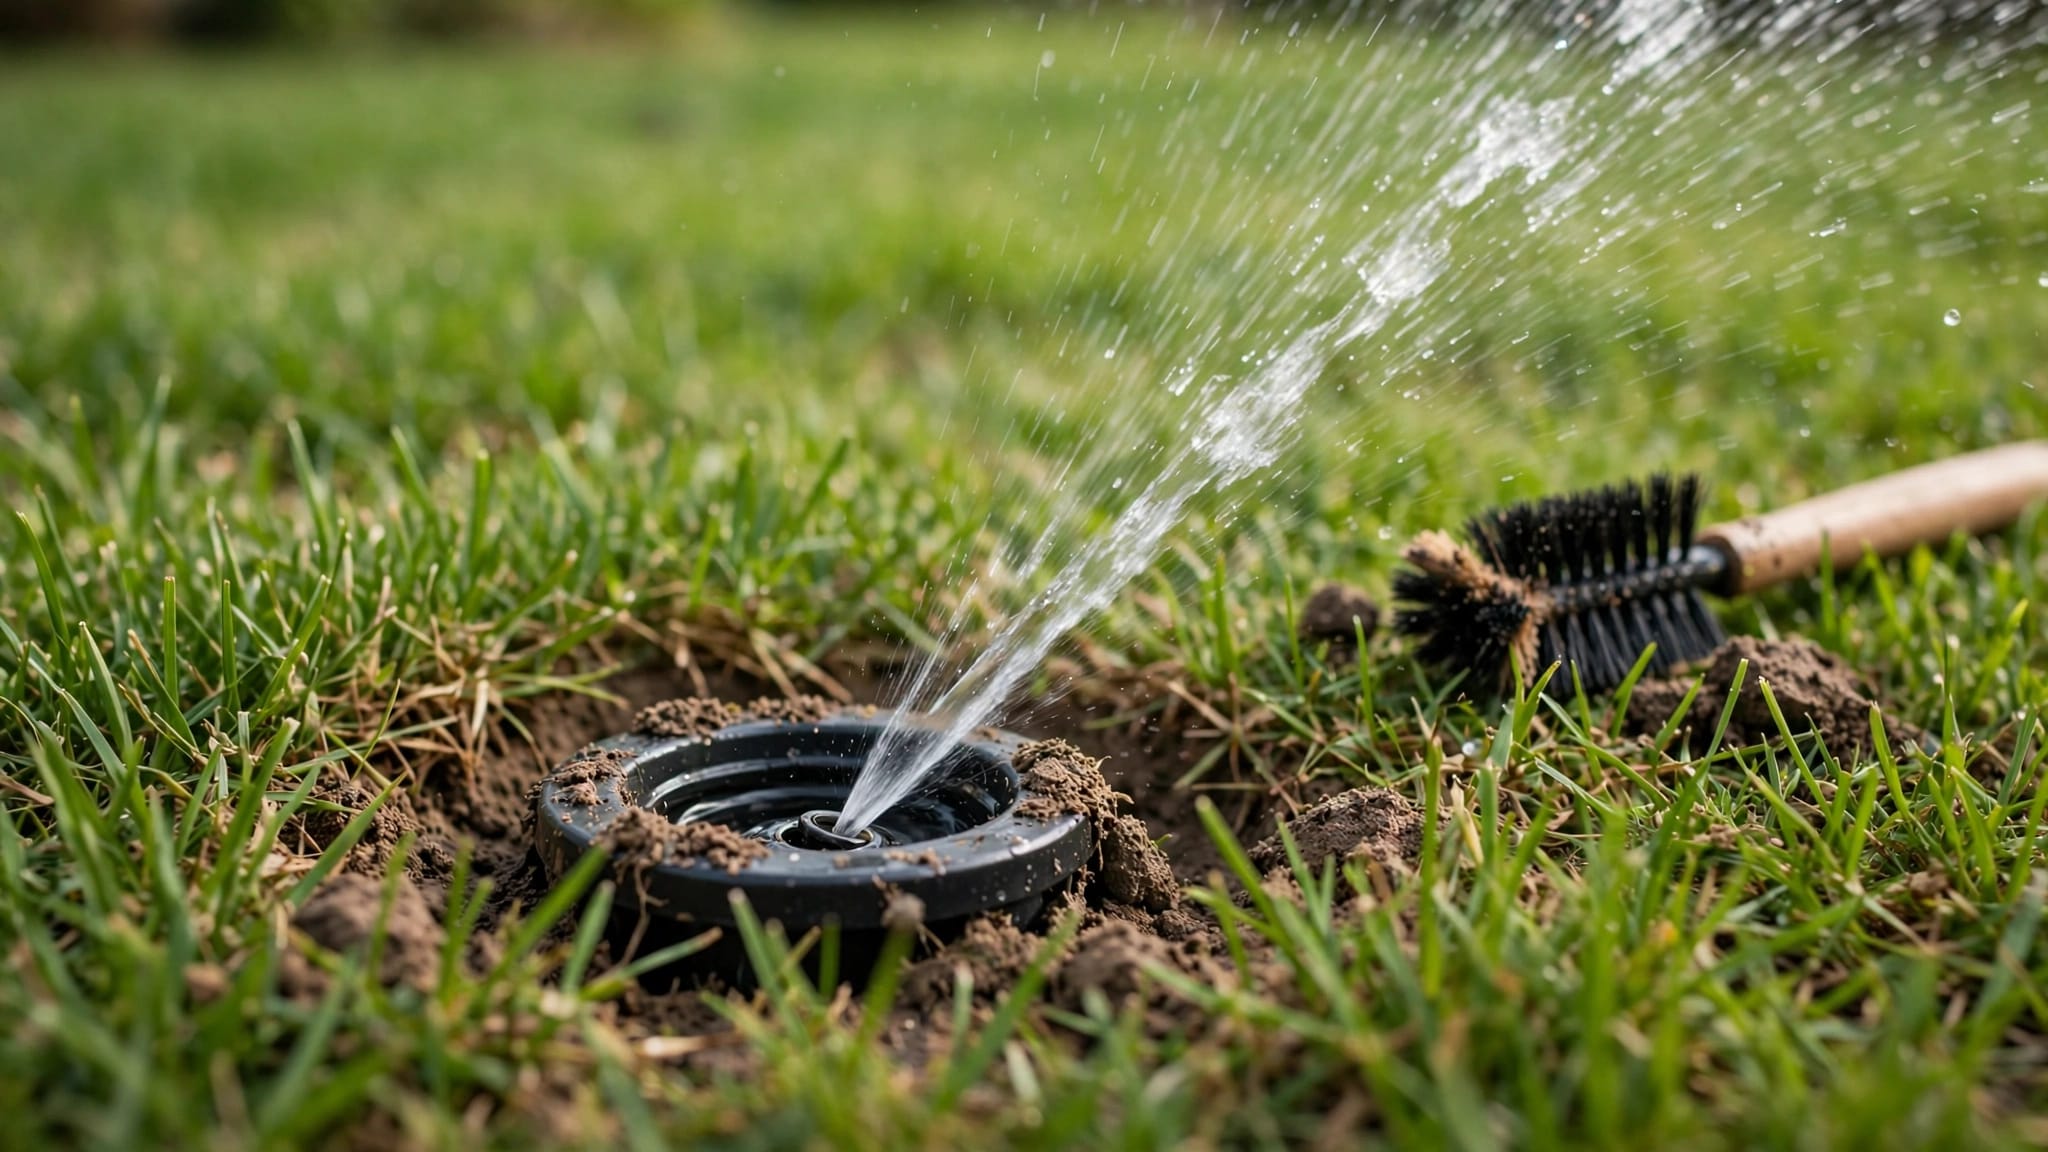
Drought-stressed St. Augustine may look dull or blue-gray, and its blades may fold. Footprints can also remain visible after someone walks across the lawn. Check the soil beneath the surface and observe whether the affected area follows an irrigation boundary.
Nearby pavement or a wall can create different growing conditions within the same yard. A dry strip beside a driveway deserves a closer look at sprinkler coverage, even if the rest of the lawn appears green.
Look for Damage Rather Than Different Plants
Disease and insects can cause yellowing, thinning, or brown areas. Large patch, for example, can appear as an expanding area of discolored St. Augustine. Our guide to signs of large patch disease explains what to look for at the boundary of affected turf.
Check individual blades for spots, ragged edges, or discoloration. Then look near the base for weak growth or visible insects. Those observations don't establish a diagnosis on their own, but they help distinguish plant damage from a difference in grass texture.
Get a Useful Identification From Your Sample
If the patch remains uncertain, an intact sample can give a lawn professional more to examine than a photograph alone. Choose a small area at the boundary where the suspicious growth is visible beside the surrounding St. Augustine.
Keep the plant parts together so leaves, stems, and any attached roots can be viewed in context. Also bring your wider photos and notes. They show where the sample came from and whether the patch has changed over time.
Mention any recent lawn work that could affect the inspection. New sod, soil disturbance, changes in irrigation, and construction near the lawn can all provide context. Describe what you observed without assuming that a particular project caused the patch.
If you also see upright, grasslike plants that look different from the surrounding turf, our guide to identifying nutgrass in Cape Coral lawns covers another plant that can appear in Southwest Florida yards.
Plan Lawn and Landscaping Work Around the Site
Identification is useful when you're considering a larger lawn or landscaping project. The right choice for an open lawn may differ from the choice for a narrow, shaded, or frequently walked area.
For a yard that needs new turf, compare the site's sunlight, drainage, and intended use before choosing a grass. Our guide to St. Augustine, Zoysia, and Bahia sod covers options for Cape Coral properties.
Hardscape conditions matter, too. If a lawn sits beside a patio or driveway, note where water collects and where sprinklers reach the pavement. Paver cleaning may address surface stains, while the irrigation pattern and grading remain separate parts of the landscape plan.
Artificial turf is another option for selected areas, with different drainage and base requirements than living grass. At Outdoor Life Pros, we offer sod, artificial grass, irrigation, and other landscape services for Southwest Florida properties.
Know What Your Lawn Is Showing You
A suspicious patch is a reason to look closely, not a conclusion by itself. Compare intact leaves with healthy St. Augustine, examine attached runners, and record how the area changes through the seasons.
Those observations give you a clearer picture of the lawn. They also provide useful information if you need help identifying the plants before planning work on the yard.