Irrigation Filter Cleaning for Florida Well Water
Well water can carry fine sand, iron particles, and other sediment into a yard irrigation system. Over time, that material can restrict spray heads, clog drip emitters, reduce pressure, and leave some plants dry while nearby soil stays wet.
Irrigation filter cleaning helps protect sprinklers and tubing, but it must be done with the pump, pressure tank, electrical parts, and stored water pressure in mind. The safest approach is to identify the filter, shut down the system correctly, clean only removable parts, and restart one zone at a time.
Why well-water irrigation filters need regular attention
A private well system usually includes a pump, pressure tank, pressure switch, electrical disconnect or breaker, and an irrigation branch line. The filter may sit near the pump, pressure tank, irrigation shutoff, or the point where water enters the sprinkler system.
Well conditions vary from property to property. A clean-looking filter does not prove that the well has no sediment, and orange staining should not be used alone to decide whether the system needs treatment.
Sediment can affect more than sprinkler heads
Fine material may collect in the filter first. If it passes through, it can settle in valves, lateral pipes, spray nozzles, rotors, and drip tubing. Drip emitters are especially sensitive because their openings are small.
A clogged filter can also reduce pressure. The first heads in a zone may appear normal while heads at the far end barely rise or produce a weak stream. If the filter keeps filling with sand after cleaning, the source may involve the well screen, pump intake, damaged pipe, or another component.
Watch the yard while the system runs
Run each zone during daylight and walk the property. Look for:
- Dry plants or weak spray at the end of a zone
- Water bubbling around a sprinkler head
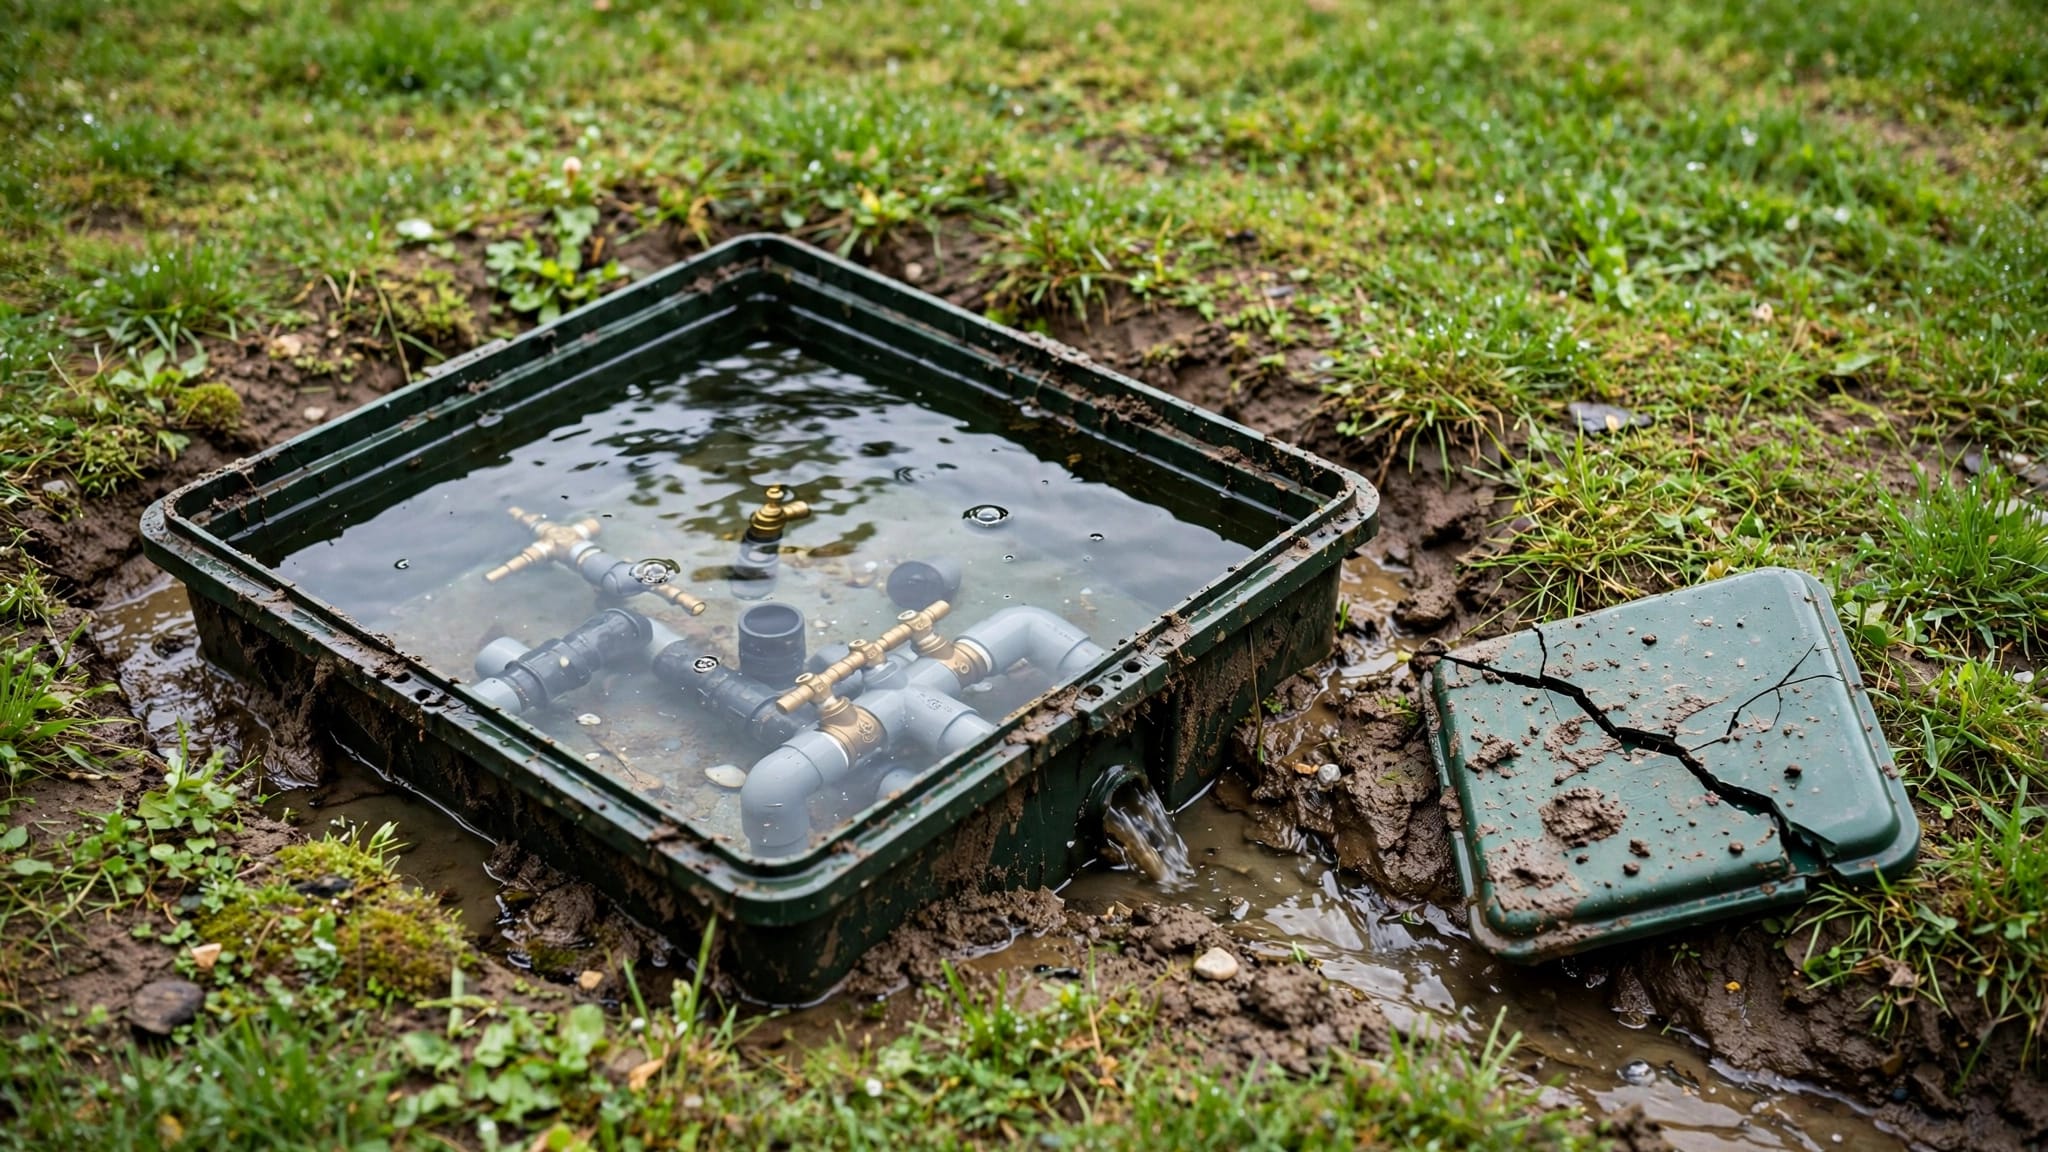
- Pooling near valve boxes
- Muddy turf, algae on hardscape, or eroded mulch
- Spray reaching stucco, fences, sidewalks, pavers, or vehicles
- Brown turf beside saturated soil
Poor coverage often causes dry areas, even when the controller runs normally. Adding more minutes can worsen runoff and wet spots without fixing the blocked head, leaking pipe, or pressure problem.
How to prepare for irrigation filter cleaning
Before touching the filter, find the installed components and identify how water and power reach them. Take a photo of the setup before removing anything. The photo can help you return the valves, bowl, screen, and fittings to their original positions.
Shut off power before working near the well equipment
Set the irrigation controller to OFF so no zone starts while you work. Then shut off power at the breaker before opening or servicing a pump, filter near the pump, pressure tank connection, pressure switch, wiring compartment, or other electrical part.
Closing a water valve does not make electrical equipment safe. If you don't know which breaker controls the pump, stop and have a qualified professional identify it.
Next, close the irrigation branch valve or dedicated irrigation shutoff. If your system has a separate pressure-relief or drain procedure, follow the pump or filter manufacturer's instructions. Never loosen a filter bowl, cap, or pressurized fitting while pressure remains in the line.
Confirm the filter design before removing it
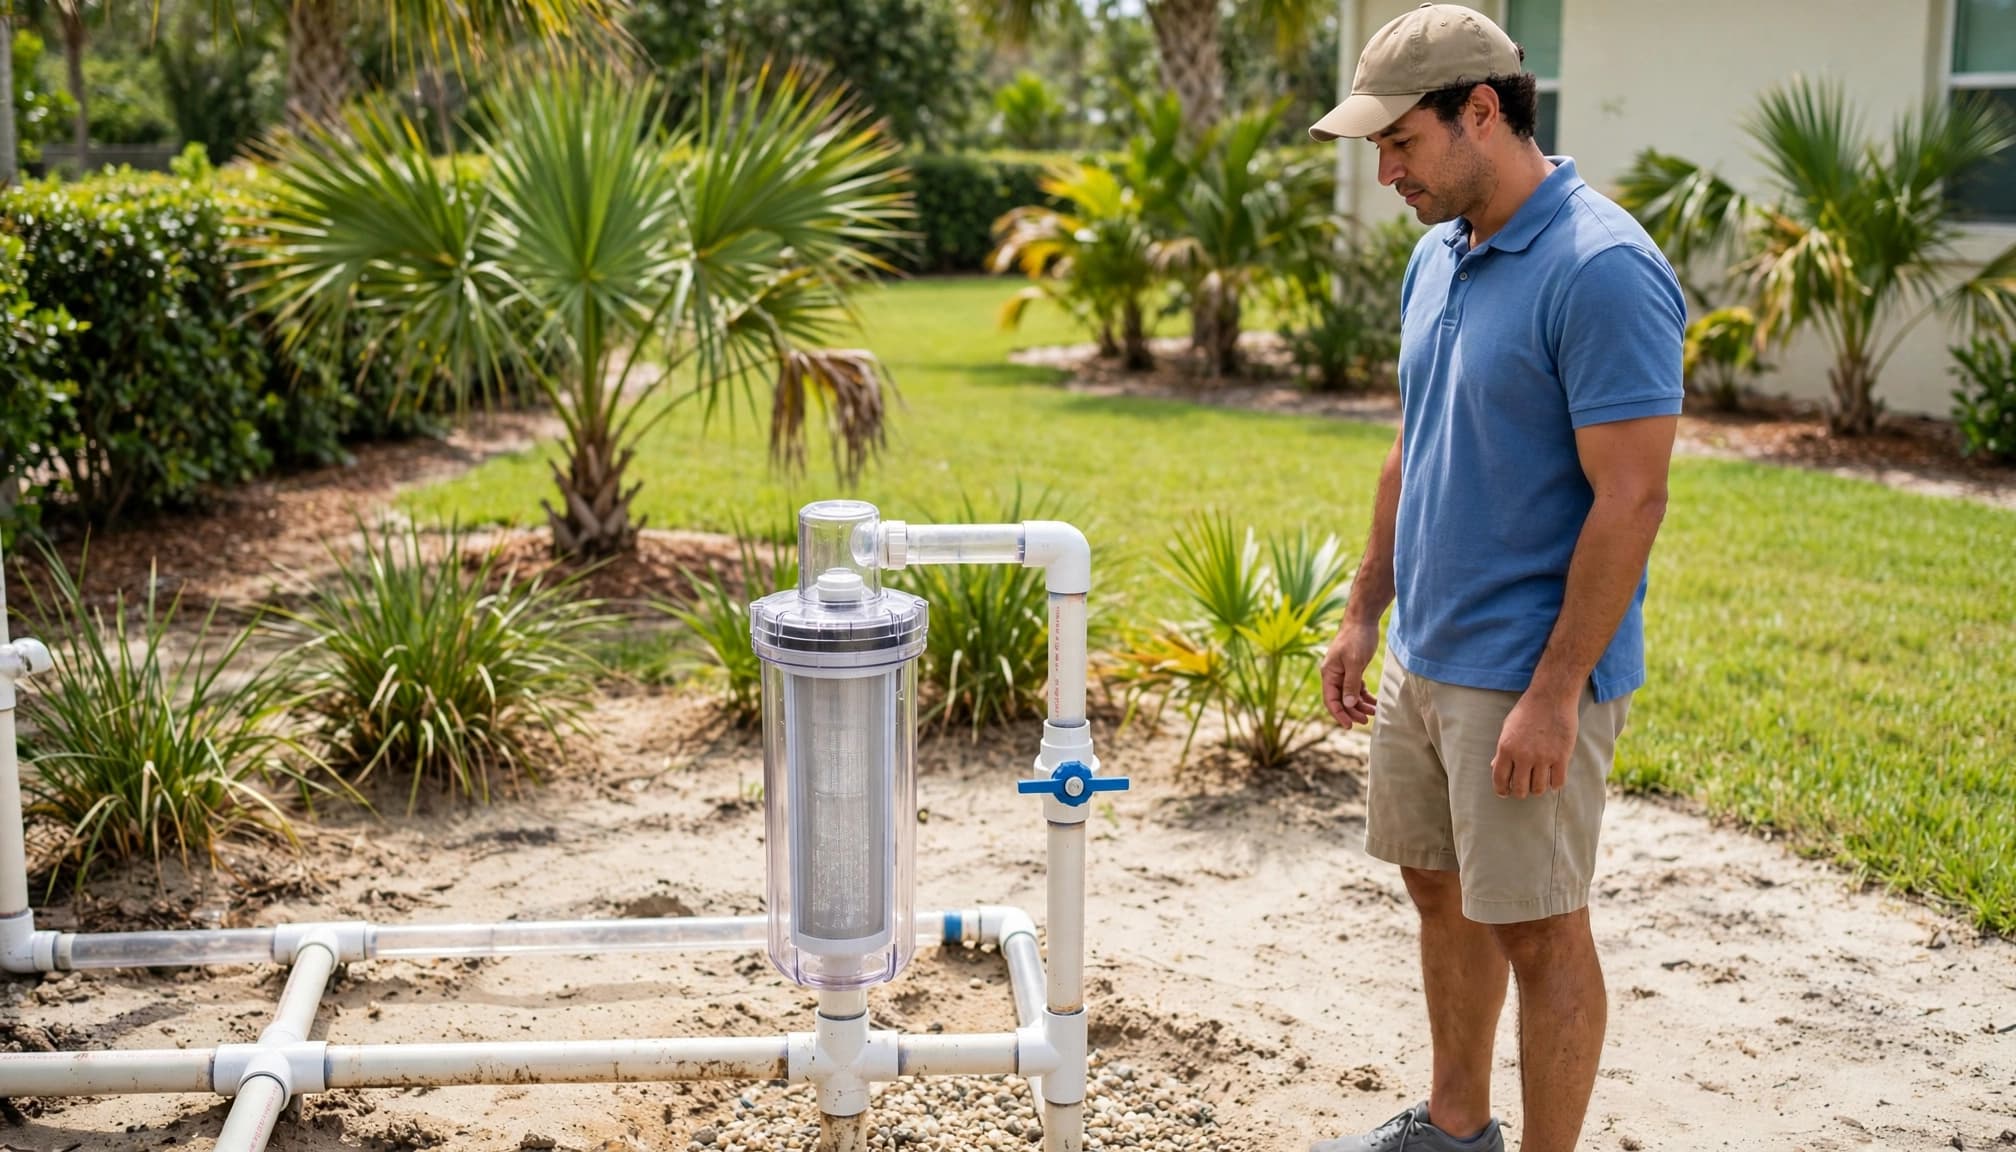
Common residential filters include spin-down sediment filters, mesh-screen filters, disc filters, and replaceable cartridge housings. They don't all open or clean in the same way.
Look for a flush valve, drain point, removable bowl, end cap, or manufacturer instructions. If the filter is a cartridge model, check whether the cartridge is washable or disposable. Some cartridges should be replaced rather than rinsed.
Keep children and pets away from the work area. If the filter sits near exposed wiring, a pump control box, or a pressure tank, professional service is the safer choice.
How to remove and rinse common irrigation filters
Once power, water, and pressure are safely isolated, place a bucket or shallow pan below the filter. Keep towels nearby, because a small amount of trapped water may remain inside the housing.
Clean the screen, disc, or bowl gently
A spin-down filter may have a flush port that allows sediment to leave without removing the housing. Open that port only after following the manufacturer's shutdown instructions. Direct the discharge to a safe area where muddy water won't reach a foundation, pool deck, drain, or finished pavers.
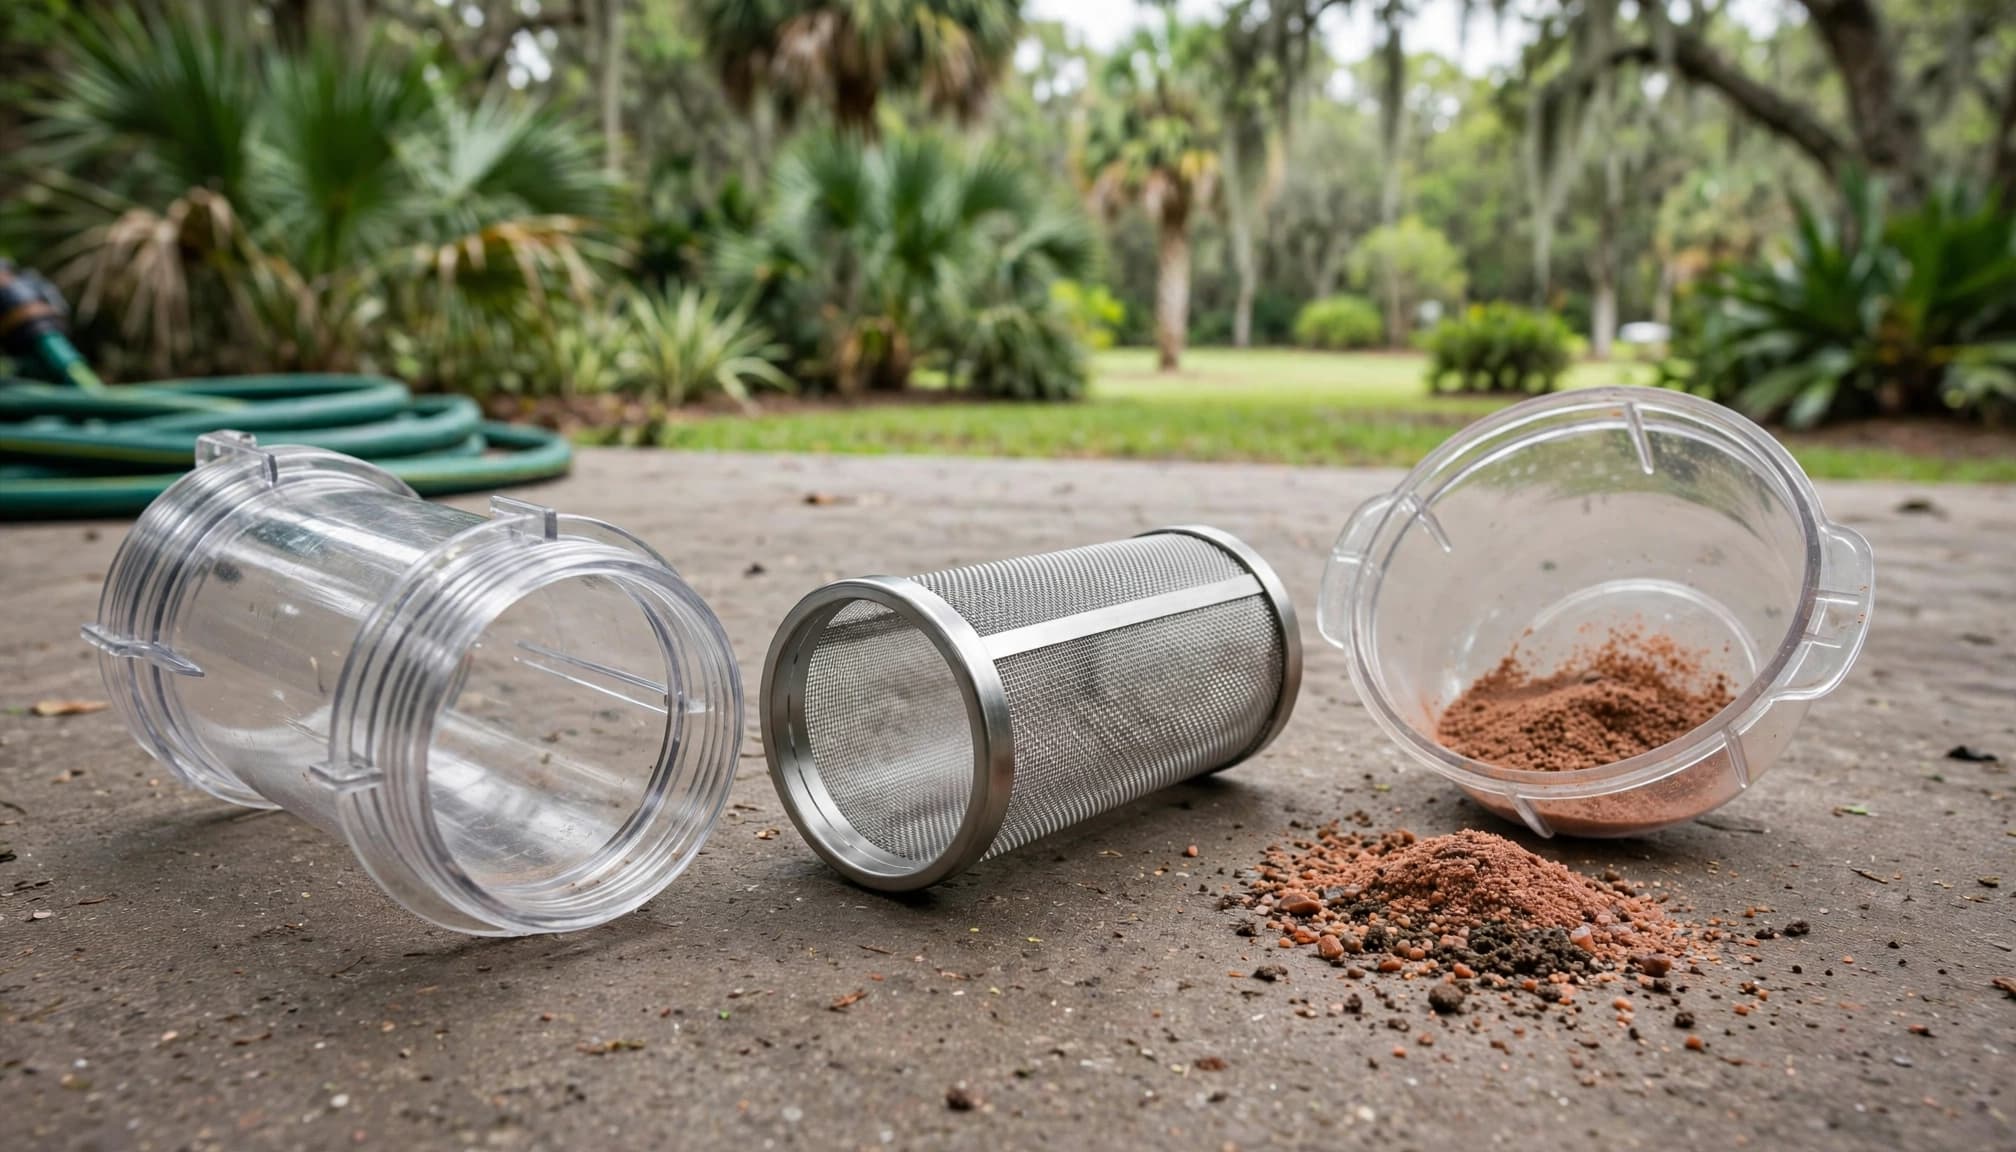
For a removable screen or disc filter, loosen the housing by hand or with the correct filter wrench. Avoid pipe wrenches that can crush plastic. Remove the screen or disc stack carefully, then rinse it with clean water until loose sediment is gone.
Do not poke blocked openings with wire, scrape the mesh with a sharp tool, or use a stiff metal brush. Those actions can enlarge openings or tear the filter material. Don't use solvents or household cleaners unless the manufacturer approves them.
Inspect seals and replace damaged parts
Check the bowl, cap, screen, discs, threads, and O-ring before reassembly. A cracked bowl, flattened seal, cross-threaded cap, or damaged screen can leak or allow sediment to bypass the filter.
Rinse the housing and remove dirt from the sealing surfaces. Reinstall the parts in the same order. Tighten the housing firmly by hand unless the instructions specify a torque value. Over-tightening plastic can cause cracks that may not appear until the pump starts.
Use only the lubricant recommended for the seal. If the O-ring is brittle, cut, swollen, or missing, replace it with the correct part. A temporary substitute can create a leak or prevent the housing from sealing.
Maintenance intervals depend on well conditions, sediment levels, irrigation demand, and filter capacity. A property with recurring sand may need inspection much sooner than a property with clear well water. Record how much sediment you find and whether pressure improves after cleaning.
Restart the system slowly and check every zone
Keep the controller OFF while restoring the water supply. Open the irrigation branch valve slowly, allowing the filter housing and downstream line to fill without a sudden pressure surge.
Check for leaks before restoring power
Inspect the bowl, cap, threaded connections, drain port, and nearby pipe joints. Look for active drips, seepage, or water collecting beneath the housing. If a connection leaks, shut the water back off before tightening or disassembling it.
Once the water side is stable, restore power to the pump or control equipment. Watch for unusual pump cycling, loud operation, or a pressure drop while no zone is running. Those signs can point to a leak, pressure-tank problem, or pump issue.
Run one zone at a time
Start with one zone and observe it for several minutes. Check whether the heads rise, rotate, shut off, and cover the intended area. Watch the last head in the zone closely, because weak end coverage can indicate restricted flow or low operating pressure.
If the system has drip tubing, open a designated flush end or manifold when the design allows it. Don't force sediment through small emitters. After flushing or cleaning, replace the end cap and check for leaks.
A clean filter won't correct a broken valve, crushed pipe, damaged backflow device, or controller fault. For local context on leaks, valves, stuck zones, and controller problems, review these Cape Coral irrigation repair costs.
When filter cleaning is not enough
Repeated cleaning can treat the symptom while the source continues to send sediment into the system. If sand returns quickly, appears in every zone, or keeps reducing pressure, stop repeating the same rinse cycle.
Recurring sand needs a source inspection
Sand in all zones may point toward the main filter, well condition, pump intake, or well screen. Sand in only one zone may indicate a dirty valve, open fitting, damaged lateral line, or contamination near that zone.
A professional evaluation can measure static pressure, operating pressure, available flow, and pump recovery. It can also check the pressure tank, electrical components, valves, filters, well casing, and buried lines.
Water treatment should not be selected by smell or appearance alone. A water test can help determine whether the property needs sediment control, iron treatment, additional filtration, or no treatment at all.
Call for help around electrical and pressure equipment
Arrange professional service if you cannot identify the pump breaker or irrigation shutoff. The same applies when the pump cycles repeatedly, runs continuously, loses pressure, or makes unusual sounds.
Call promptly when water remains around a valve box, the soil stays wet between cycles, a sprinkler keeps running after the controller stops, or a wet area appears beside a patio, paver surface, pool deck, or foundation.
Coordinate filter access with other yard projects
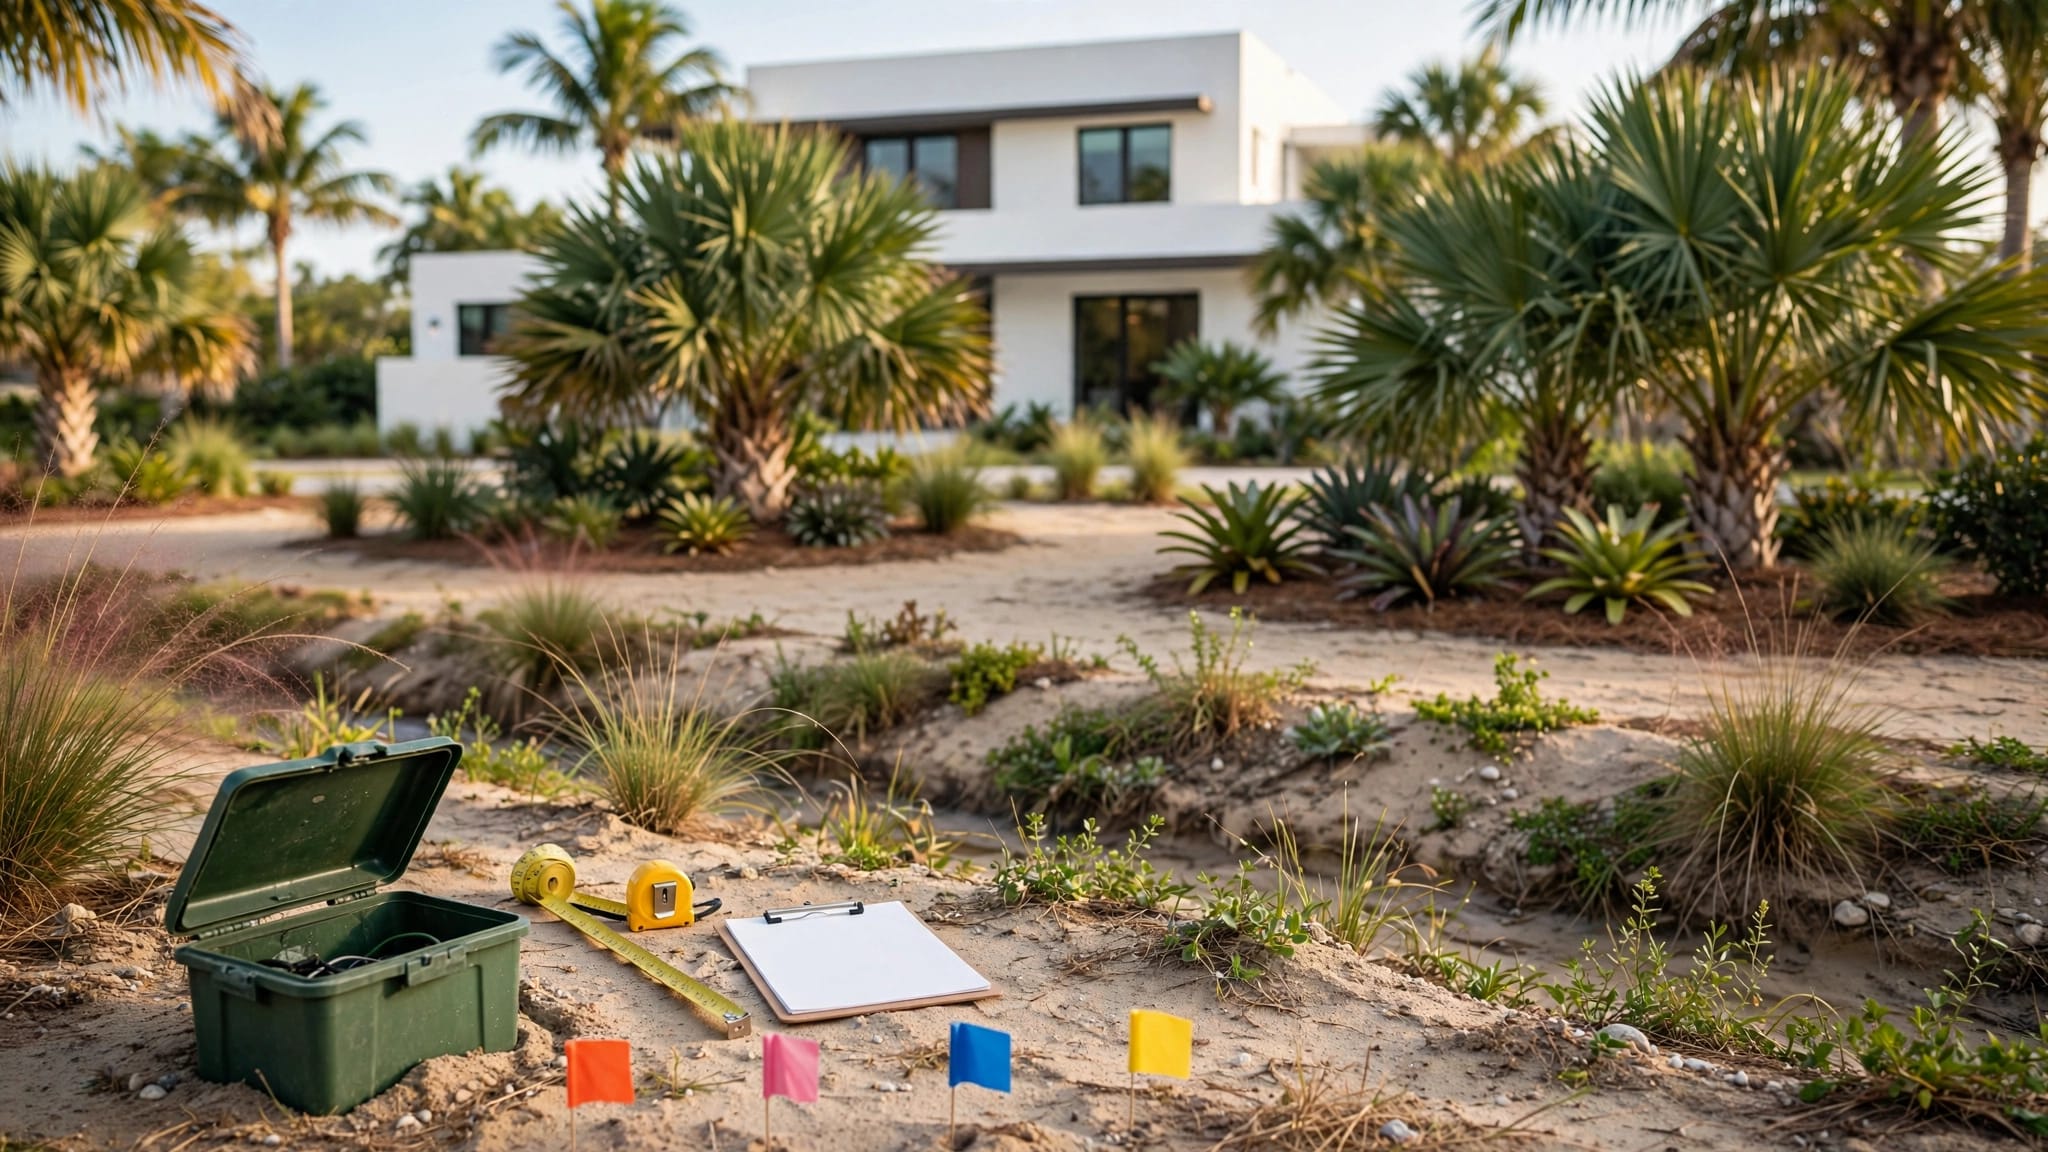
Irrigation repairs are easier before new landscaping, grading, concrete, pavers, sod, or drainage work begins. Mark valve boxes, sprinkler heads, filters, buried lines, and the irrigation shutoff before crews start digging.
When planning Cape Coral landscape design, leave practical access around filters and valve boxes. Avoid placing dense planting directly over components that may need service.
Before a concrete company pours a driveway, patio, or walkway, identify irrigation crossings and install sleeves where appropriate. The same planning matters for paver installation in Cape Coral. Complete pipe and valve work before paver cleaning or sealing so repairs don't disturb finished surfaces.
If a small lawn area has recurring irrigation problems, fix the leak or coverage issue before changing the surface. A water-saving option such as artificial grass installation can reduce irrigation demand, but it shouldn't hide a wet spot or unresolved pipe leak.
Key Takeaways
- Shut off the controller, pump breaker, irrigation water, and stored pressure before opening a filter.
- Use the filter's design and manufacturer instructions to choose between flushing, rinsing, or replacing the filter element.
- Never force a bowl, cap, screen, disc stack, or pressurized fitting.
- Inspect seals, threads, and housing parts before putting the system back together.
- Restart gradually, check for leaks, and run one zone at a time.
- Treat recurring sand, low pressure, pump cycling, and persistent wet areas as possible system problems rather than simple filter dirt.
- Filter-cleaning frequency depends on well conditions and sediment levels, not a universal calendar.
FAQ about cleaning irrigation filters on well water
How often should a Florida irrigation filter be cleaned?
There is no reliable interval for every well. Inspect the filter based on sediment buildup, pressure changes, irrigation demand, and the system's operating history. A monthly yard walkthrough can reveal weak coverage, wet spots, or recurring debris, but the filter itself may need attention more or less often.
Can I clean the filter while the pump is running?
No. Turn the controller off, shut off the pump breaker before working near electrical or well equipment, close the irrigation water supply, and relieve pressure according to the equipment instructions. Never open a pressurized housing.
What if the filter looks clean but the sprinklers remain weak?
Check the far end of the zone, valves, nozzles, emitters, buried lines, and pump performance. A clean filter cannot restore flow lost through a leaking pipe, stuck valve, failing pump, or pressure-tank problem.
Should I use a chemical cleaner on the filter?
Use plain clean water unless the filter manufacturer approves another method. Avoid solvents, sharp tools, and aggressive brushes that can damage the screen, discs, housing, or seals.
Conclusion
Cleaning a well-water irrigation filter can restore flow and protect sprinkler components, but safe shutdown matters as much as the rinse itself. Work around the system slowly, protect electrical and pressure equipment, and restart each zone under observation.
When sediment keeps returning or the pump, pressure tank, wiring, valves, or water quality seems involved, professional diagnosis is the better next step. A clean filter should support a healthy yard, not conceal a larger irrigation problem.