


Hibiscus Bud Drop: What to Check in Southwest Florida
Hibiscus bud drop doesn't point to one cause, so inspect the plant and root zone before changing its care. Tropical hibiscus needs regular moisture, good drainage, and suitable sun exposure, but those conditions vary across Southwest Florida yards.
A shrub beside a Cape Coral driveway has a different setting than one in a sheltered Fort Myers garden. Start with the root zone , then compare the fallen buds, irrigation coverage, and surrounding site conditions.
Key Takeaways
- Inspect unopened buds and leaves before deciding what needs attention.
- Feel the soil beneath the mulch, because a wet surface doesn't describe the whole root zone.
- Give hibiscus regular moisture without leaving its roots in standing water.
- Compare irrigation coverage, drainage, and exposure at the individual plant.
- Keep fertilizer and pesticide decisions separate from assumptions about fallen buds.
A useful assessment connects observations across the plant and planting bed. One fallen bud, one yellow leaf, or one wet patch rarely provides that complete picture.
Read the Hibiscus Bud Drop Pattern
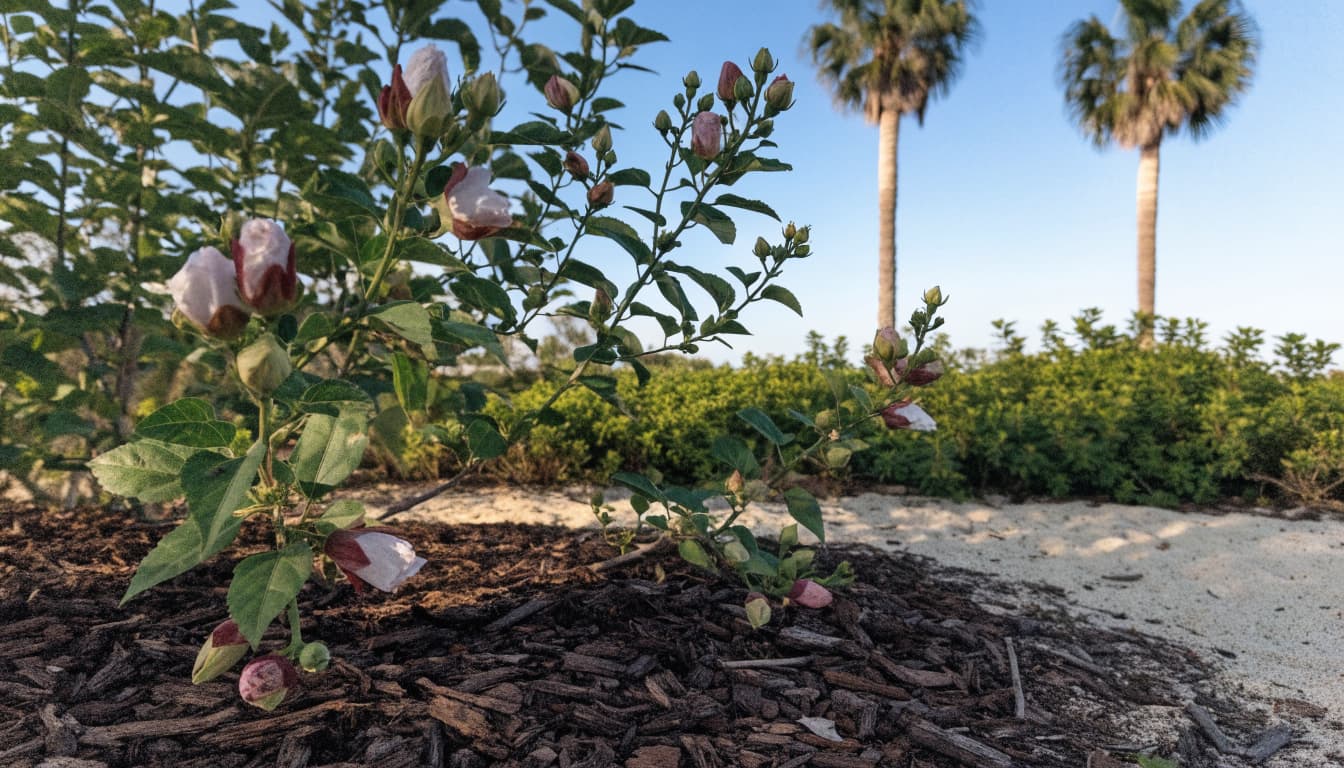
Separate unopened buds from spent flowers
First, examine what actually fell. A bud that never opened is different from a flower that finished blooming.
Look at buds still attached to the shrub, too. Record whether they remain green and firm, change color, or show visible damage. Take a close photo beside a wider photo of the entire plant.
Then compare branches. Note whether the pattern covers the whole shrub or appears on one side. That distinction gives you something concrete to compare with irrigation coverage and the surrounding yard.
Compare the rest of the plant
Look beyond the flowers. Record leaf color, new growth, bare stems, and any visible insects without assigning a diagnosis immediately.
Nearby plants provide useful context, although different species have different needs. A healthy lantana doesn't prove that a neighboring hibiscus receives suitable care.
Our guide to flowering shrubs for Cape Coral describes hibiscus as a sun-loving shrub that needs regular moisture. Compare it with plants that share those preferences rather than treating every flowering shrub alike.
Check Moisture Below the Mulch
Examine the root ball and surrounding soil
Move mulch aside and feel the soil about 2 inches below the surface. For a recently planted hibiscus, examine both the original root ball and the surrounding ground.
Those areas don't always hold moisture equally. Nursery growing media and sandy landscape soil can feel different even after the same watering.
Don't judge by mulch color alone. A brief shower can wet the surface without thoroughly moistening the root ball. Likewise, a dry-looking surface can cover damp soil below.
Use a hand trowel carefully near the outer root ball, avoiding major roots.
Aim for moisture without standing water
Hibiscus needs regular moisture, but well-drained soil must also allow excess water to move away.
When watering is needed, direct it toward the soil around the roots. Apply water slowly enough to soak in rather than running across the bed.
After rainfall or irrigation, observe where water travels. Standing water, runoff toward the house, or a persistently saturated planting pocket needs drainage attention.
A damp surface doesn't prove the root ball received water, and sandy soil doesn't guarantee every planting pocket drains well.
Avoid copying a neighbor's schedule. Plant size, establishment, exposure, and irrigation equipment all affect how your bed receives water.
Match Irrigation to the Hibiscus Bed
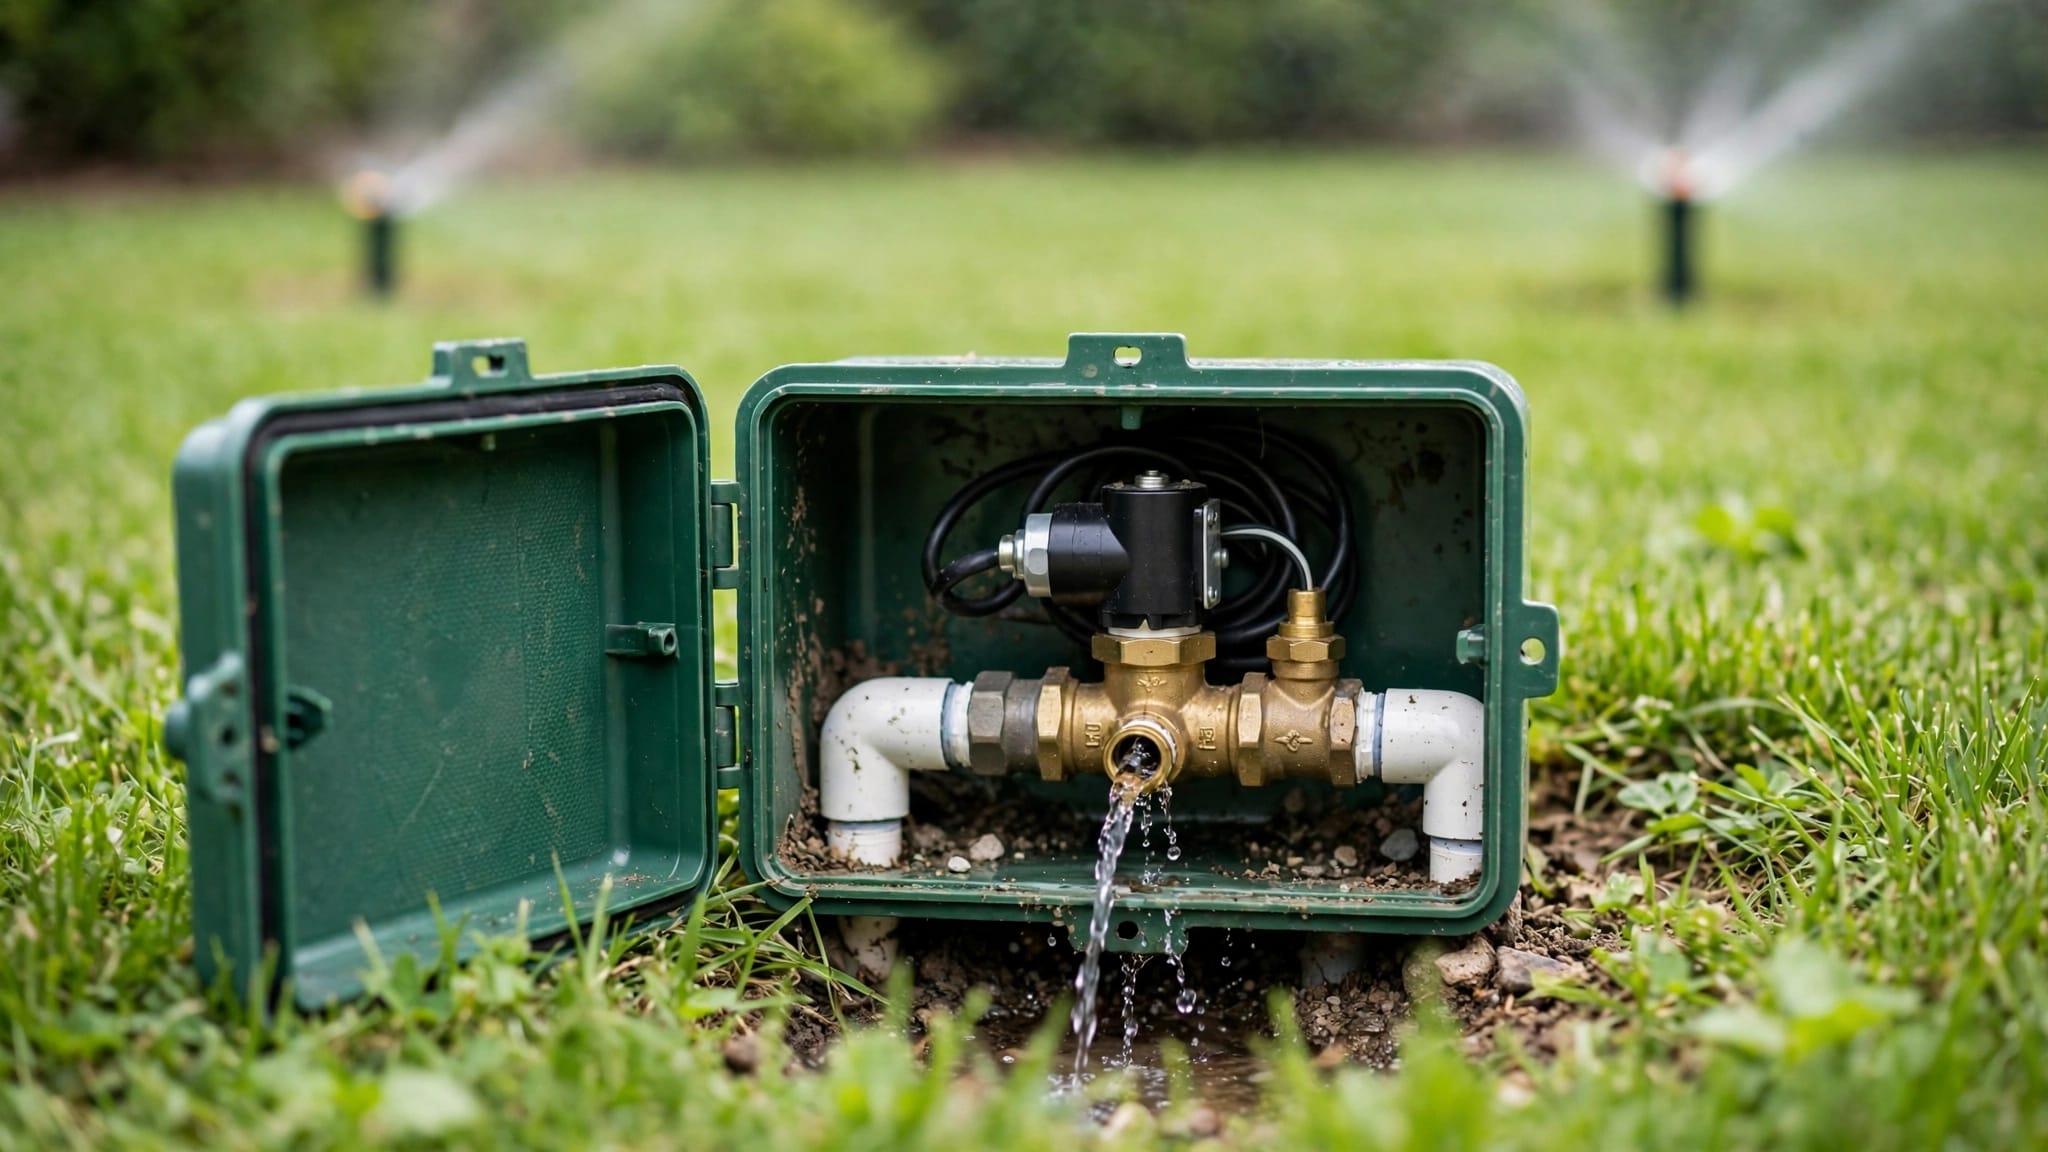
Run the irrigation system while you watch the shrub's planting area. Observe where water lands, rather than relying only on the controller's programmed minutes.
A sprinkler can operate normally while missing part of a bed. Dense foliage can also interrupt spray before it reaches the soil.
These differences help when comparing irrigation methods.
| Feature | Drip irrigation | Spray heads |
|---|---|---|
| Water placement | Targets the root zone | Covers a broader area |
| Wind exposure | Little drift | More potential drift |
| Leaf wetting | Usually limited | More frequent |
| Bed coverage | Depends on emitter placement | Depends on spray pattern |
The useful choice is the system that delivers water to the intended planting area. Our comparison of drip irrigation and spray heads explains those differences for Cape Coral beds.
With drip irrigation, inspect emitter placement as well as flow. An emitter should serve the plant's root area, not an empty section of mulch.
Where reclaimed water supplies irrigation, keep spray off foliage when practical. Our reclaimed-water landscaping guidance discusses root-zone watering and signs such as crusty soil or burned leaf tips. Record those observations separately rather than treating them as proof of why buds fell.
Look at Sun Exposure and Drainage Together
Map the plant's actual setting
Tropical hibiscus generally prefers full sun, but "sunny" doesn't describe every part of a Southwest Florida yard.
Notice when direct sunlight reaches the plant and whether a west-facing wall, pool deck, or driveway borders the bed. Reflected heat belongs in the site assessment.
Also note recent changes. A removed tree, relocated container, or new hardscape can change the setting around a shrub.
These observations don't establish the reason for bud loss. They help you compare the plant's current location with its basic growing needs.
Follow the water after rain
Drainage deserves its own inspection, even in sandy neighborhoods. Compacted fill and low planting pockets can behave differently from the surrounding ground.
After a substantial rain, look for water collecting beside edging, downspouts, patios, or walkways. Photograph the puddle and note whether it remains for hours.
If a patio directs runoff into the planting bed, the bed and hardscape need a coordinated solution. A concrete company can address surface slope while landscape work addresses the receiving area.
Don't keep extending irrigation simply because a plant looks unhappy. First establish whether its root zone is dry, moist, or saturated.
Inspect Buds and Leaves Before Choosing Products
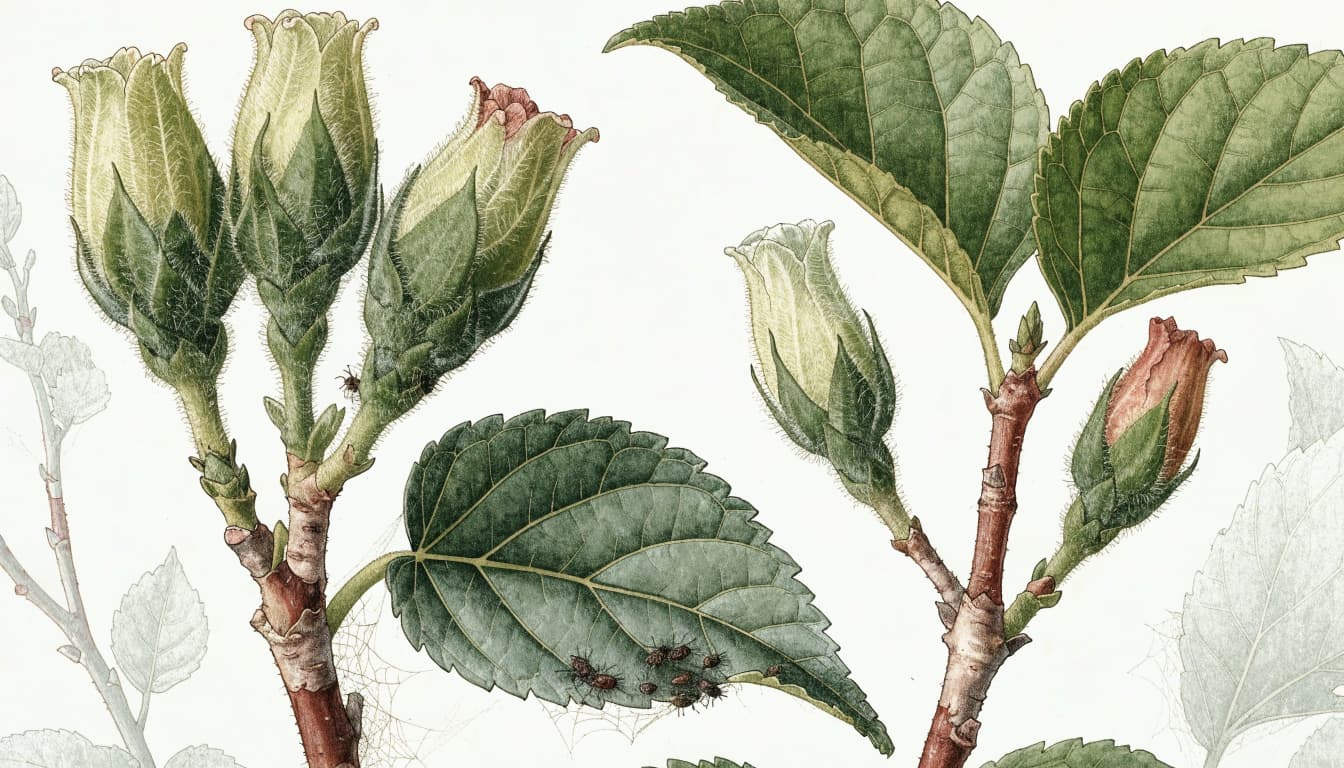
Inspect several attached buds and both sides of nearby leaves. A magnifying glass can help you see small details that a full-shrub photo misses.
Record visible insects, webbing, sticky material, discoloration, or damaged tissue as separate observations. Finding an insect on a plant doesn't automatically establish responsibility for every symptom.
Also gather the names and application dates of fertilizer or pest products already used. Keep the packaging information with your photos so the record is specific.
Bud drop alone doesn't tell you which fertilizer or pesticide, if any, belongs in the care plan. Avoid buying several products at once or changing everything simultaneously.
Continue documenting attached buds and new growth. A consistent record is more useful than repeatedly switching products based on the latest fallen bud.
If you seek help identifying visible damage, include clear photos of the whole shrub, individual buds, leaf undersides, and the planting area. That gives the assessment context beyond the flowers.
Keep Landscape Projects Connected to Plant Care
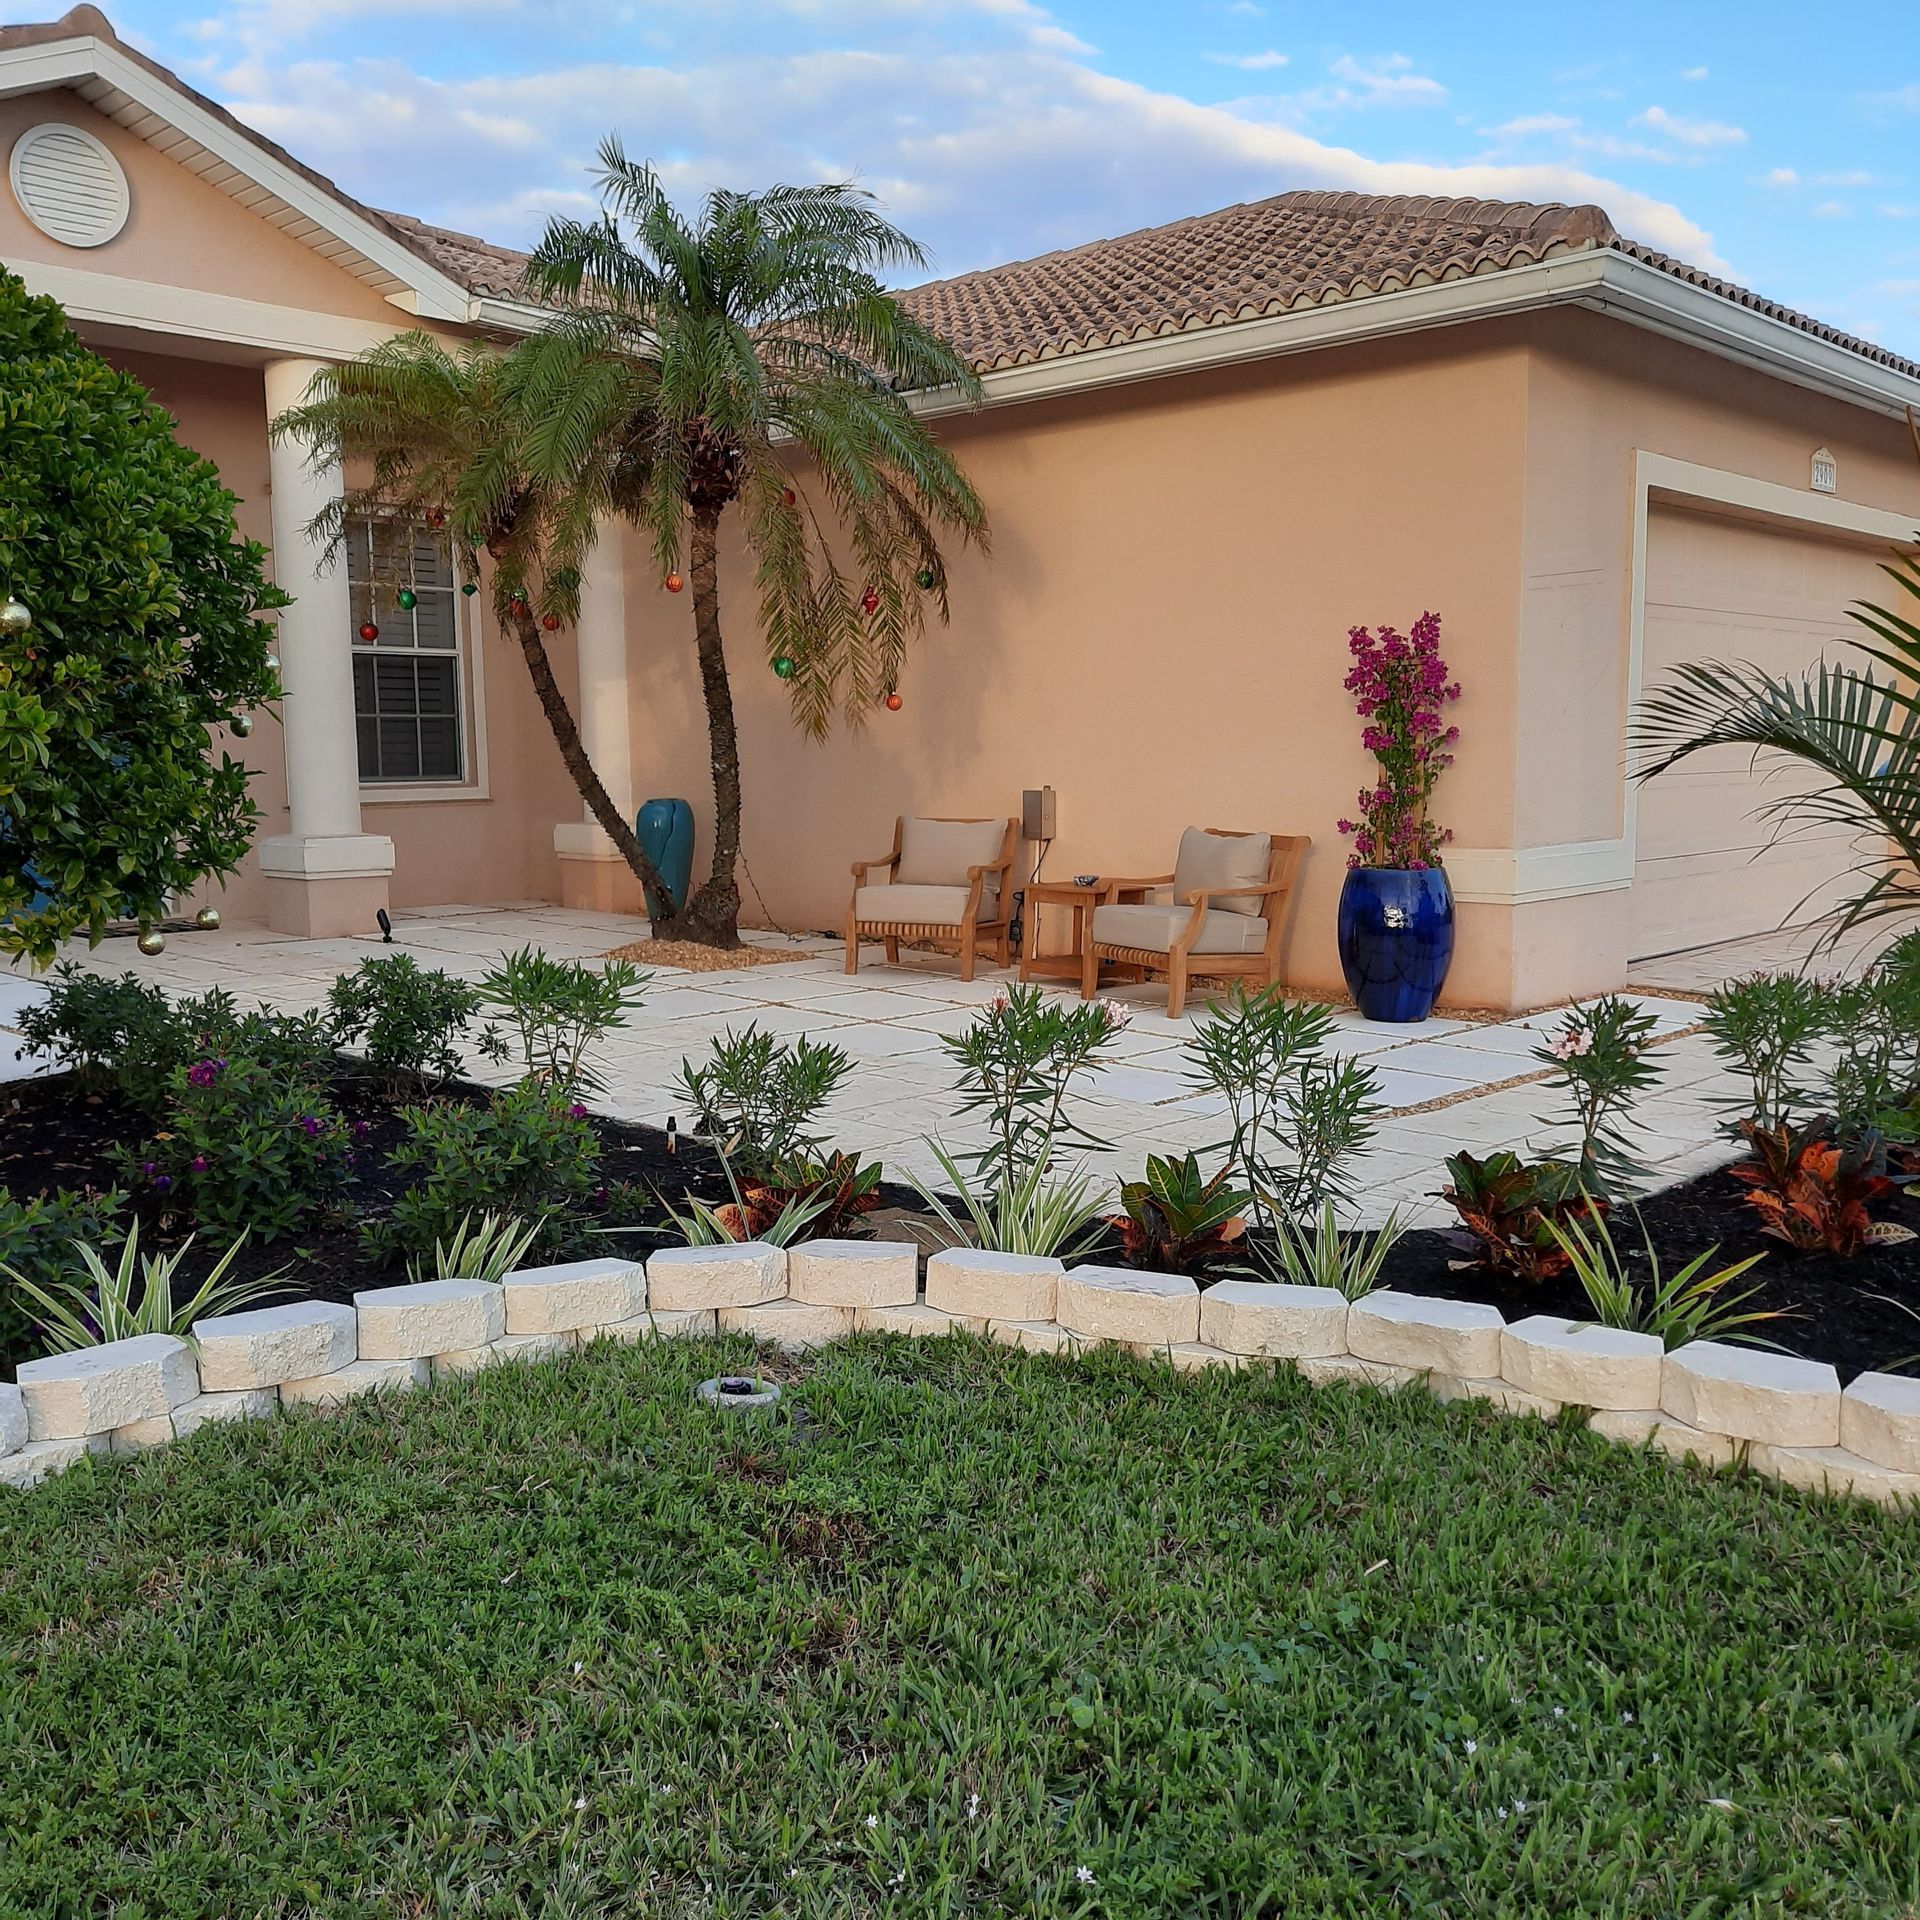
Good landscaping accounts for irrigation and hardscape together. Hibiscus beds shouldn't become an afterthought when nearby outdoor surfaces change.
Before construction, identify the irrigation lines and outlets serving the bed. Afterward, observe coverage again, particularly where equipment moved soil or edging changed.
The same practical coordination matters during paver cleaning. Keep cleaning runoff out of planting beds, and inspect nearby irrigation outlets when the work finishes.
Replacing adjacent lawn with artificial turf also changes how that area functions. The hibiscus still needs its own suitable watering arrangement, even when the former lawn no longer needs irrigation.
We offer landscape installation and irrigation repair across Fort Myers, Cape Coral, Estero, and Bonita Springs. When a planting bed and its irrigation need attention together, planning them as one project keeps the scope clear.
For a shrub that stays in place, preserve access to its root zone for future inspection and maintenance.
Frequently Asked Questions About Hibiscus Bud Drop
Should I water whenever a bud falls?
Use soil moisture to guide watering rather than the number of fallen buds. Examine the root ball and surrounding soil before adding water.
If the area remains damp, another cycle may be unnecessary. If water stands around the plant, address drainage instead of increasing irrigation.
Does summer rain replace irrigation?
Sometimes rainfall provides enough water, but storm totals don't describe every root zone. Foliage, edging, and runoff patterns affect where water goes.
Inspect below the mulch after rain. Then adjust irrigation to the moisture already present rather than letting the system repeat an unchanged schedule.
Should I add fertilizer immediately?
Fallen buds alone don't establish a nutrient need. Keep fertilizer records and assess the whole plant instead of treating bud loss as an automatic feeding instruction.
Also avoid combining fertilizer changes with several other adjustments. Keeping a clear record makes later observations easier to interpret.
Should I move the hibiscus?
Assess its existing location before relocating it. Compare sun exposure, drainage, space, and irrigation access with the plant's needs.
A different location needs those same basics. Moving the shrub without understanding either site leaves the care questions unresolved.
Build Care Around the Plant's Actual Conditions
Hibiscus bud drop calls for a careful assessment of the whole plant and its setting. Start with root-zone moisture , then examine irrigation coverage, drainage, and the condition of attached buds.
Keep observations separate from assumptions, and make care decisions around what you can see and measure. The goal is a suitable, consistently managed growing environment rather than a different product for every fallen bud.