


Inspecting Cape Coral Shrubs for Scale Insects
To investigate suspected scale insects on Cape Coral shrubs, inspect the leaves and branches closely, then separate visible findings from plant symptoms. Yellowing, thinning, or a dirty-looking canopy alone doesn't establish the cause.
The most useful starting point is evidence on the plant , including clear photographs and the location of anything unusual. That keeps your landscaping decisions grounded in what you found rather than a guess based on leaf color.
Begin with one shrub and work through its canopy before drawing conclusions about the whole hedge.
Key Takeaways
- Inspect both leaf surfaces, leaf stalks, and branches, including the interior of the shrub.
- Record unusual material separately from yellowing, leaf loss, or other changes in plant condition.
- Compare affected and unaffected growth, but don't treat a single photograph or symptom as a complete identification.
- Leave enough room around mature shrubs to reach their sides and inspect the growth behind them.
Where to Inspect for Scale Insects
A glance across a hedge won't give you the same information as examining individual leaves and branches. Choose a shrub you can reach comfortably, and inspect it without breaking or stripping its growth.
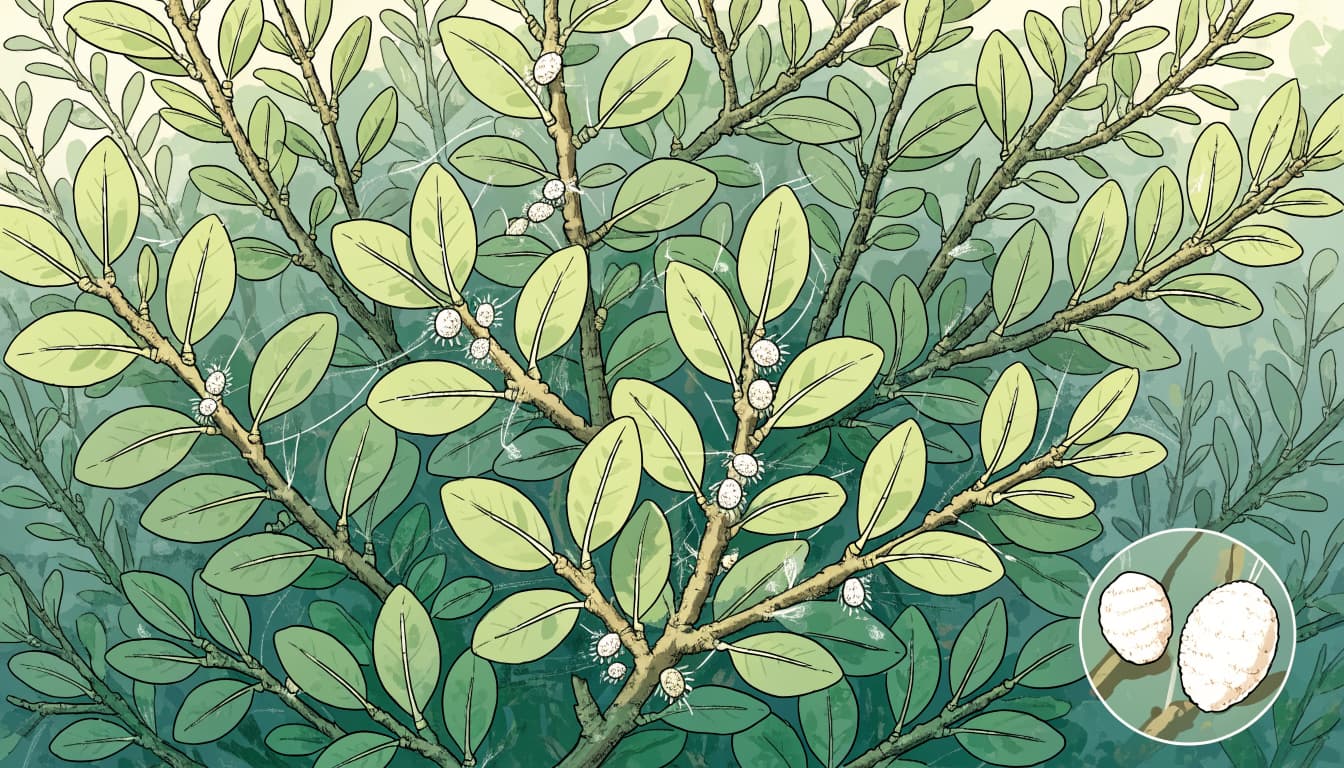
Examine leaves on both sides
Start with an accessible branch. Look at the upper leaf surface, then turn the leaf gently to view its underside. Include the leaf stalk and the point where it meets the branch.
On broad-leaved shrubs such as hibiscus, gardenia, and clusia, examine individual leaves rather than judging the entire canopy. For finer foliage, move slowly through a short section of growth. A hand lens can help you examine details that a phone camera doesn't capture clearly.
Look beyond the hedge's outer surface
Next, part the foliage carefully and inspect branches inside the shrub. Include branch junctions, older sections of growth, and the side facing a wall or neighboring plant.
Compare the top, middle, and lower canopy. Then move to another side of the shrub rather than examining only the most convenient face. This gives you a more complete picture of where the unusual material occurs. Keep your footing on an accessible surface instead of reaching across a deep bed.
What to Record Before Naming the Pest
Useful observations describe what you can see without turning that description into a diagnosis. Write down the shrub's name if you know it, its location, and the date of your inspection.
Describe the material and its location
Record the color, outline, and distribution of anything unusual. Note whether you found it on a leaf surface, beside a vein, along a leaf stalk, or on a branch.
Also describe the pattern. Is it limited to one twig, scattered across several leaves, or visible throughout the shrub? These details are more useful than a general description such as "the hedge looks sick." Keep observations separate from assumptions about which insect, disease, or environmental condition caused them.
Photograph the same finding at different distances
Take one photograph showing the entire shrub and another showing the affected branch. Finally, capture a close view of the material you want to identify.
Keep the close-up in focus and avoid heavy digital zoom. If the image blurs, move back slightly and crop it later. Photograph a nearby leaf or branch that looks unaffected, too. That comparison preserves details you might overlook when looking only at the most damaged growth.
Plant Damage Is a Clue, Not a Diagnosis
Record yellow leaves, sparse growth, dead twigs, or changes in the canopy, but don't use those observations alone to identify scale insects. Plant condition and insect identification are separate questions.
First, describe the extent of the change. One yellow leaf tells a different story from a shrub with widespread discoloration. Likewise, a bare section facing a walkway deserves its own photograph rather than getting lost in an overall hedge picture.
Then consider the layout. Is the change limited to one plant, one section of a bed, or several unrelated plants? Include visible irrigation coverage and nearby drainage conditions in your notes without assuming they explain the problem.
A symptom photograph documents the shrub's condition. A close-up of the suspected insect documents a different part of the investigation.
Keep both kinds of evidence. Otherwise, it's easy to notice damaged foliage, find unrelated material nearby, and connect the two without enough information. The strongest inspection record preserves what you saw without assigning a cause prematurely.
Comparing Suspected Scale With Lookalikes
Bark features, surface residue, debris, and other insects can all complicate a close inspection. Keep those possibilities separate until the visible evidence supports a more precise identification.
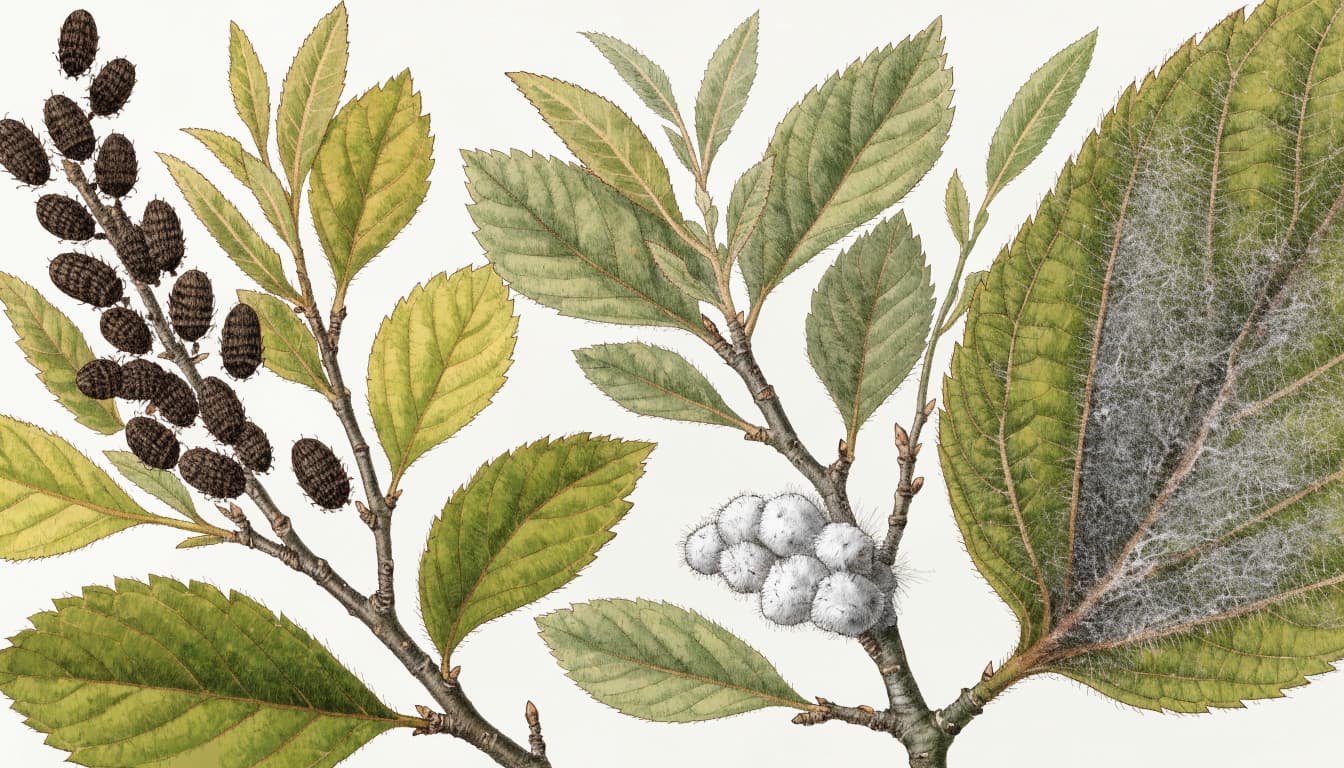
Compare with normal growth on the same shrub
Examine nearby branches and leaves that appear healthy. Look for the same surface features in comparable places, including similar-aged branches.
This comparison helps you describe whether a feature is widespread or restricted to the area of concern. However, a repeated feature doesn't settle its identity. Keep the comparison specific: the same shrub, similar growth, and the same part of the plant. Comparing an old woody stem with a new leaf introduces differences unrelated to the suspected pest.
Keep different findings separate
If you notice several kinds of unusual material, photograph each one separately. Don't group every white patch, dark mark, or raised feature under a single pest name.
Also distinguish material on the plant from marks within the leaf tissue. Describe what you observe without scraping away the evidence or damaging the leaf. When possible, retain an untouched example for a later close look. A clear record of separate findings is more useful than one photograph containing several unexplained marks.
A Repeatable Shrub Inspection Route
A consistent route helps you compare plants without relying on memory. Use the same sequence for an ixora border, a hibiscus planting, or a longer privacy hedge.
- Start with an overall view. Photograph the shrub and note which side or section looks different.
- Inspect a manageable branch. Examine both leaf surfaces, leaf stalks, and the supporting stem.
- Compare nearby growth. Look at a similar branch on the same shrub, then an adjacent plant of the same kind.
- Record the findings. Save close-ups with the date and a simple location description, such as "front bed, second shrub from driveway."
Finish one plant before moving to the next. Otherwise, photos of several similar shrubs can become difficult to sort.
If you return for another inspection, photograph the same branch and viewpoint. That makes changes easier to describe. Keep the original images rather than replacing them with newer pictures, so the sequence remains clear.
Keep Cape Coral Shrub Beds Accessible
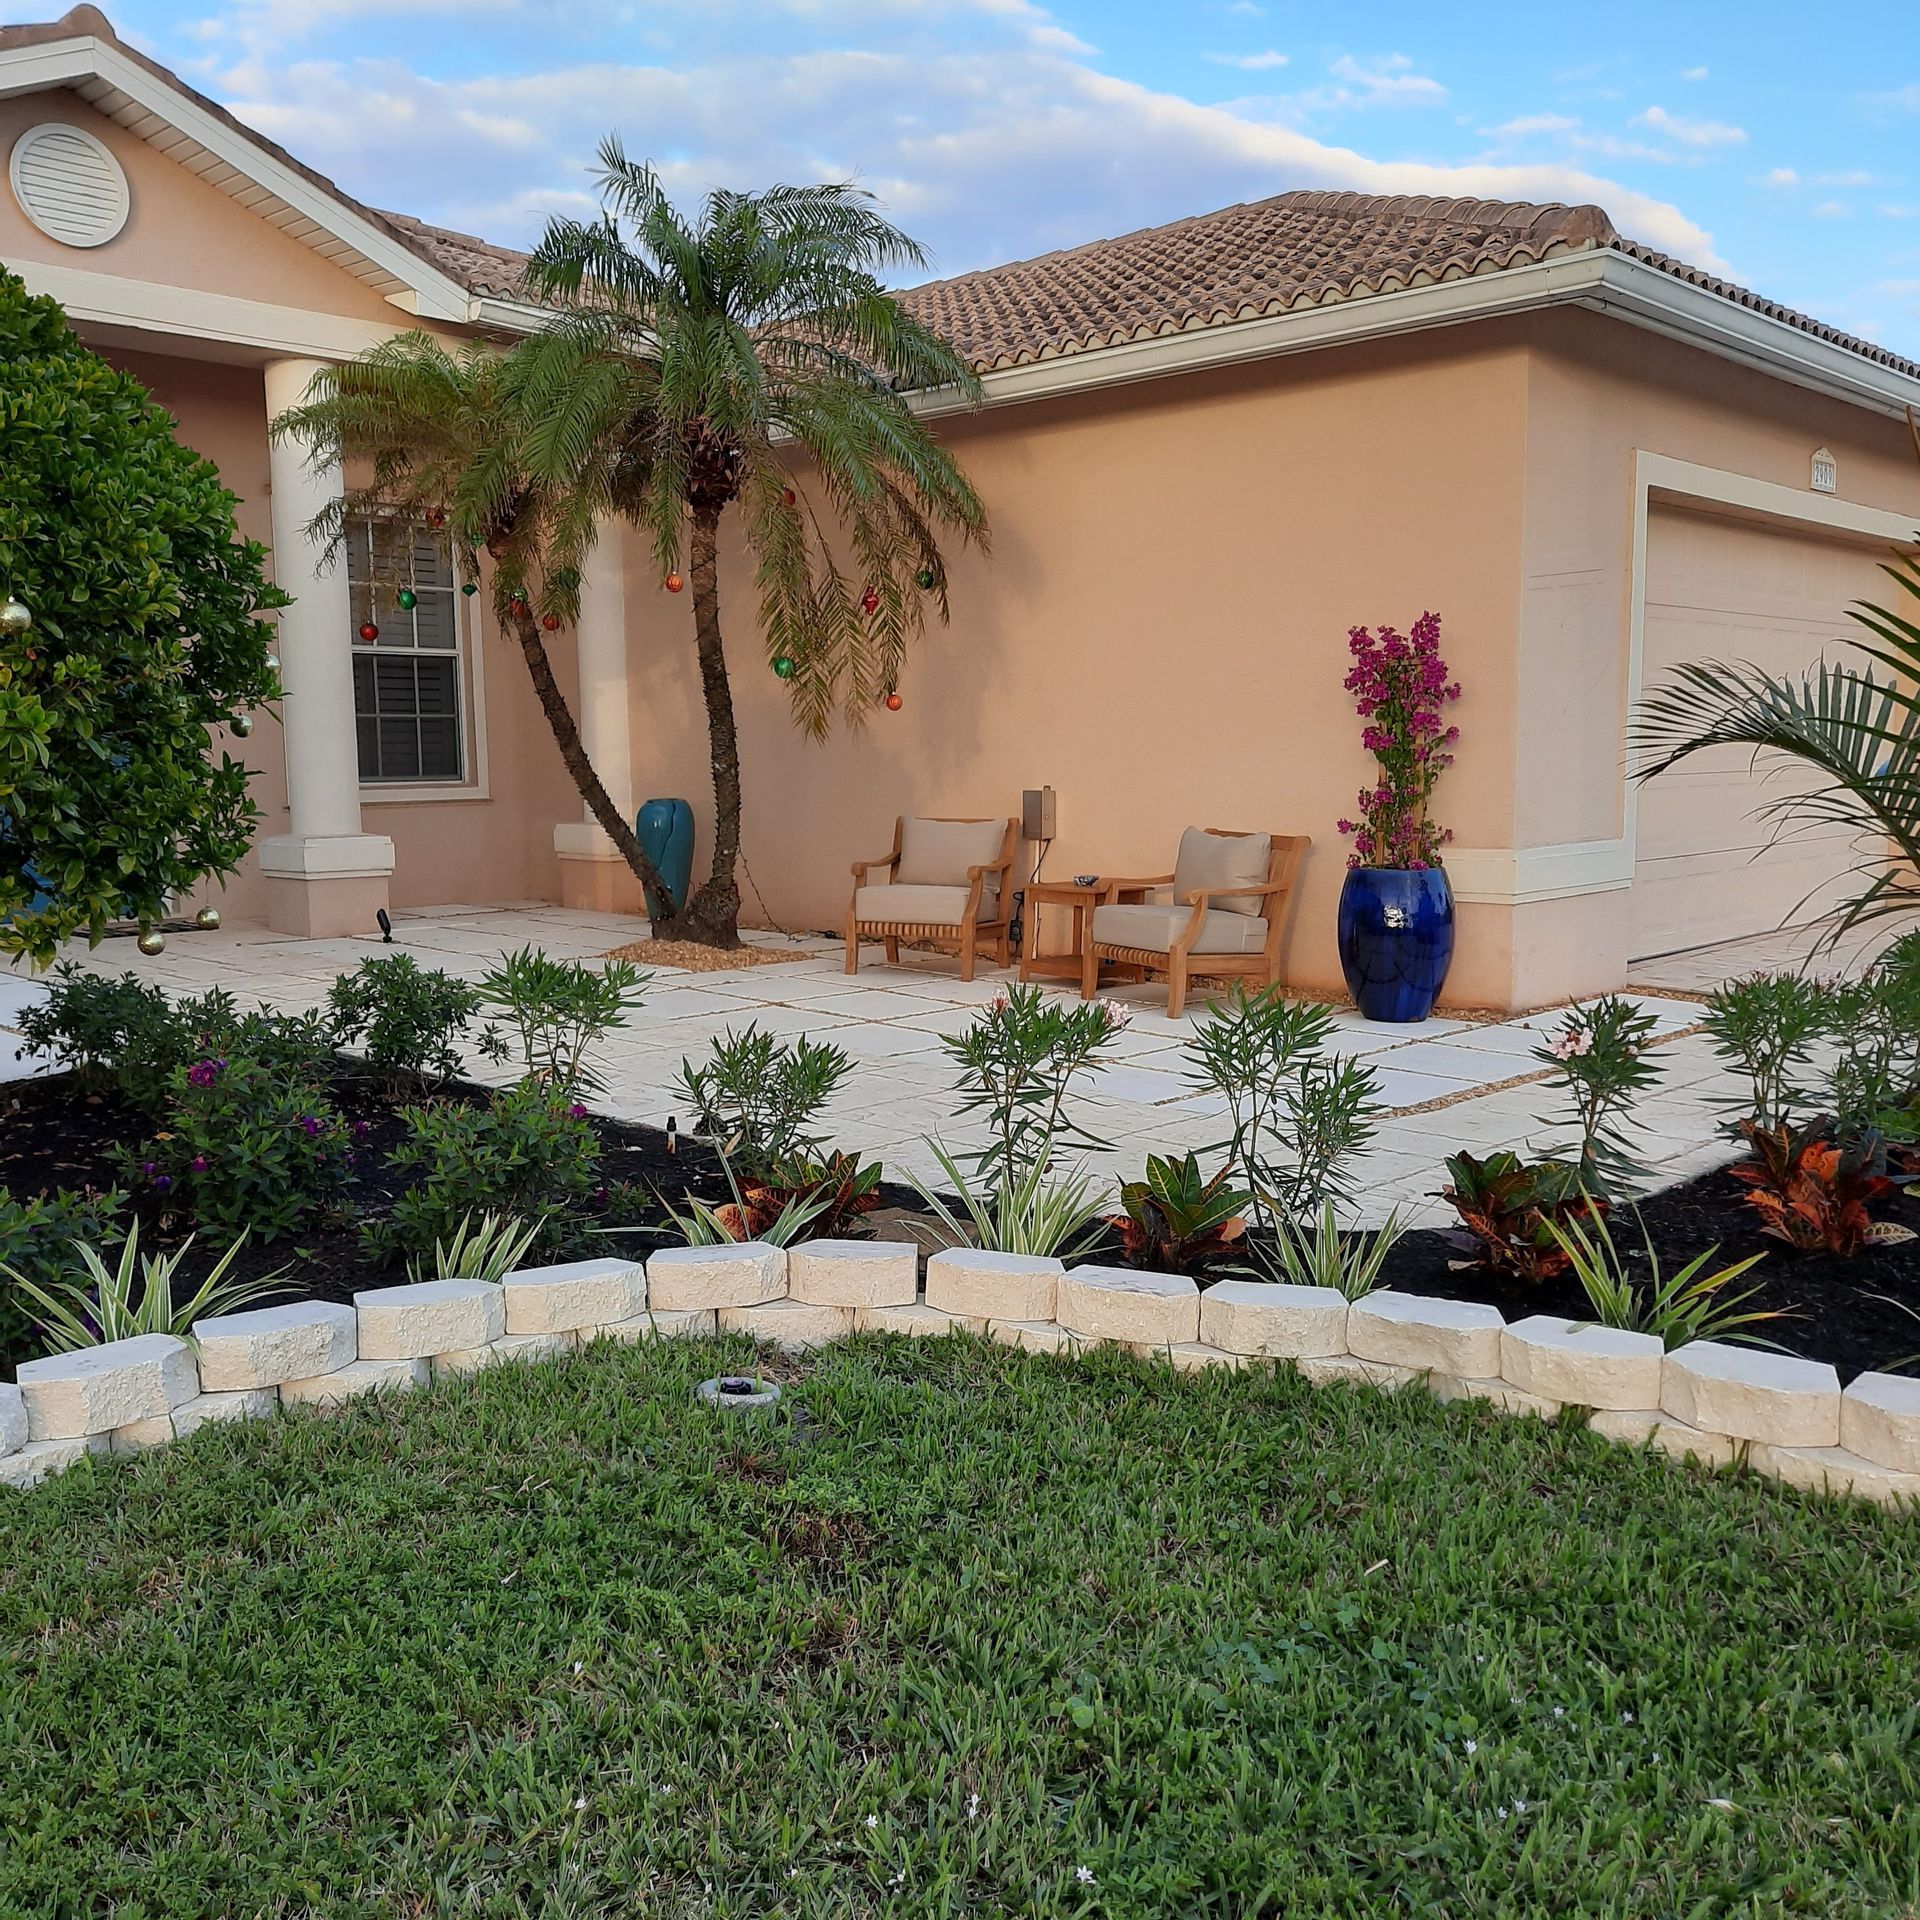
Inspection becomes harder when shrubs press against walls or merge into an uninterrupted mass. A planting can look tidy from the street while leaving its rear branches difficult to reach.
In Cape Coral, humidity and summer rainfall can keep densely planted beds wet longer. Plan around the shrub's mature size rather than its nursery dimensions, and leave access near walls, pavers, and concrete.
Our guide to proper spacing for landscape shrubs explains how mature growth and surrounding surfaces affect placement. That space matters during a close inspection because you need to see more than the hedge's front face.
For an existing bed, identify the sections you can inspect safely and note any you couldn't reach. Don't assume an inaccessible section has the same condition as the visible foliage.
When planning replacement plants or a redesigned border, include inspection access in the layout. Choose a mature width that fits the bed instead of depending on repeated cutting to preserve a narrow gap. Access supports routine observation without turning every inspection into a pruning project.
Frequently Asked Questions About Scale Identification
Can I identify scale insects from yellow leaves?
Yellow leaves alone don't identify the insect responsible, or establish that an insect caused the change. Use them to locate the area that deserves a closer inspection.
Photograph the discoloration, then examine the leaves and branches in that area. Keep the plant-condition photos separate from close-ups of suspected insects. This preserves both observations without implying that one proves the other. Also include a comparable section of healthier-looking growth so the record doesn't show only the worst leaves.
Is a phone photograph enough for identification?
A phone photograph is useful when it captures the relevant detail clearly. However, a distant image of a hedge won't show the same information as a focused close-up.
Save several views: the entire shrub, the affected branch, and the individual finding. Keep color filters off, and avoid editing that changes the appearance of the material. If the close-up lacks detail, describe only what the image supports rather than assigning a pest name with confidence. Keep the original file, too, so later cropping doesn't replace the wider view.
Conclusion: Start With What You Can See
A useful scale-insect inspection begins with close observation of the shrub, not a diagnosis based on yellow foliage. Examine leaves and branches, compare similar growth, and keep clear records of separate findings.
The most important distinction is between what you observed and what you believe caused it. Maintaining that distinction helps you avoid labeling normal plant features, residue, or unrelated damage as a confirmed pest problem.
Start with one accessible shrub and preserve the evidence before changing the planting.