


Can You Lay New Sod Over an Existing Lawn?
You can lay new sod over an existing lawn, but it's a poor shortcut for lasting results. Removing the old turf and preparing the soil gives new roots a much better foundation.
Even healthy grass creates a barrier between fresh sod and the ground beneath it. Direct soil contact matters more than an instantly green surface, so start by correcting what's underneath.
Key Takeaways
- Remove existing grass and thick thatch before installing replacement sod.
- Correct drainage, uneven ground, and irrigation problems before covering the area.
- Keep new sod moist without leaving the soil waterlogged.
- Wait for firm root attachment before mowing or allowing regular traffic.
Why Sod Over an Existing Lawn Often Fails
Laying sod on healthy grass differs from installing it on prepared soil. The existing lawn adds living vegetation and an uneven organic layer where new roots need firm contact.
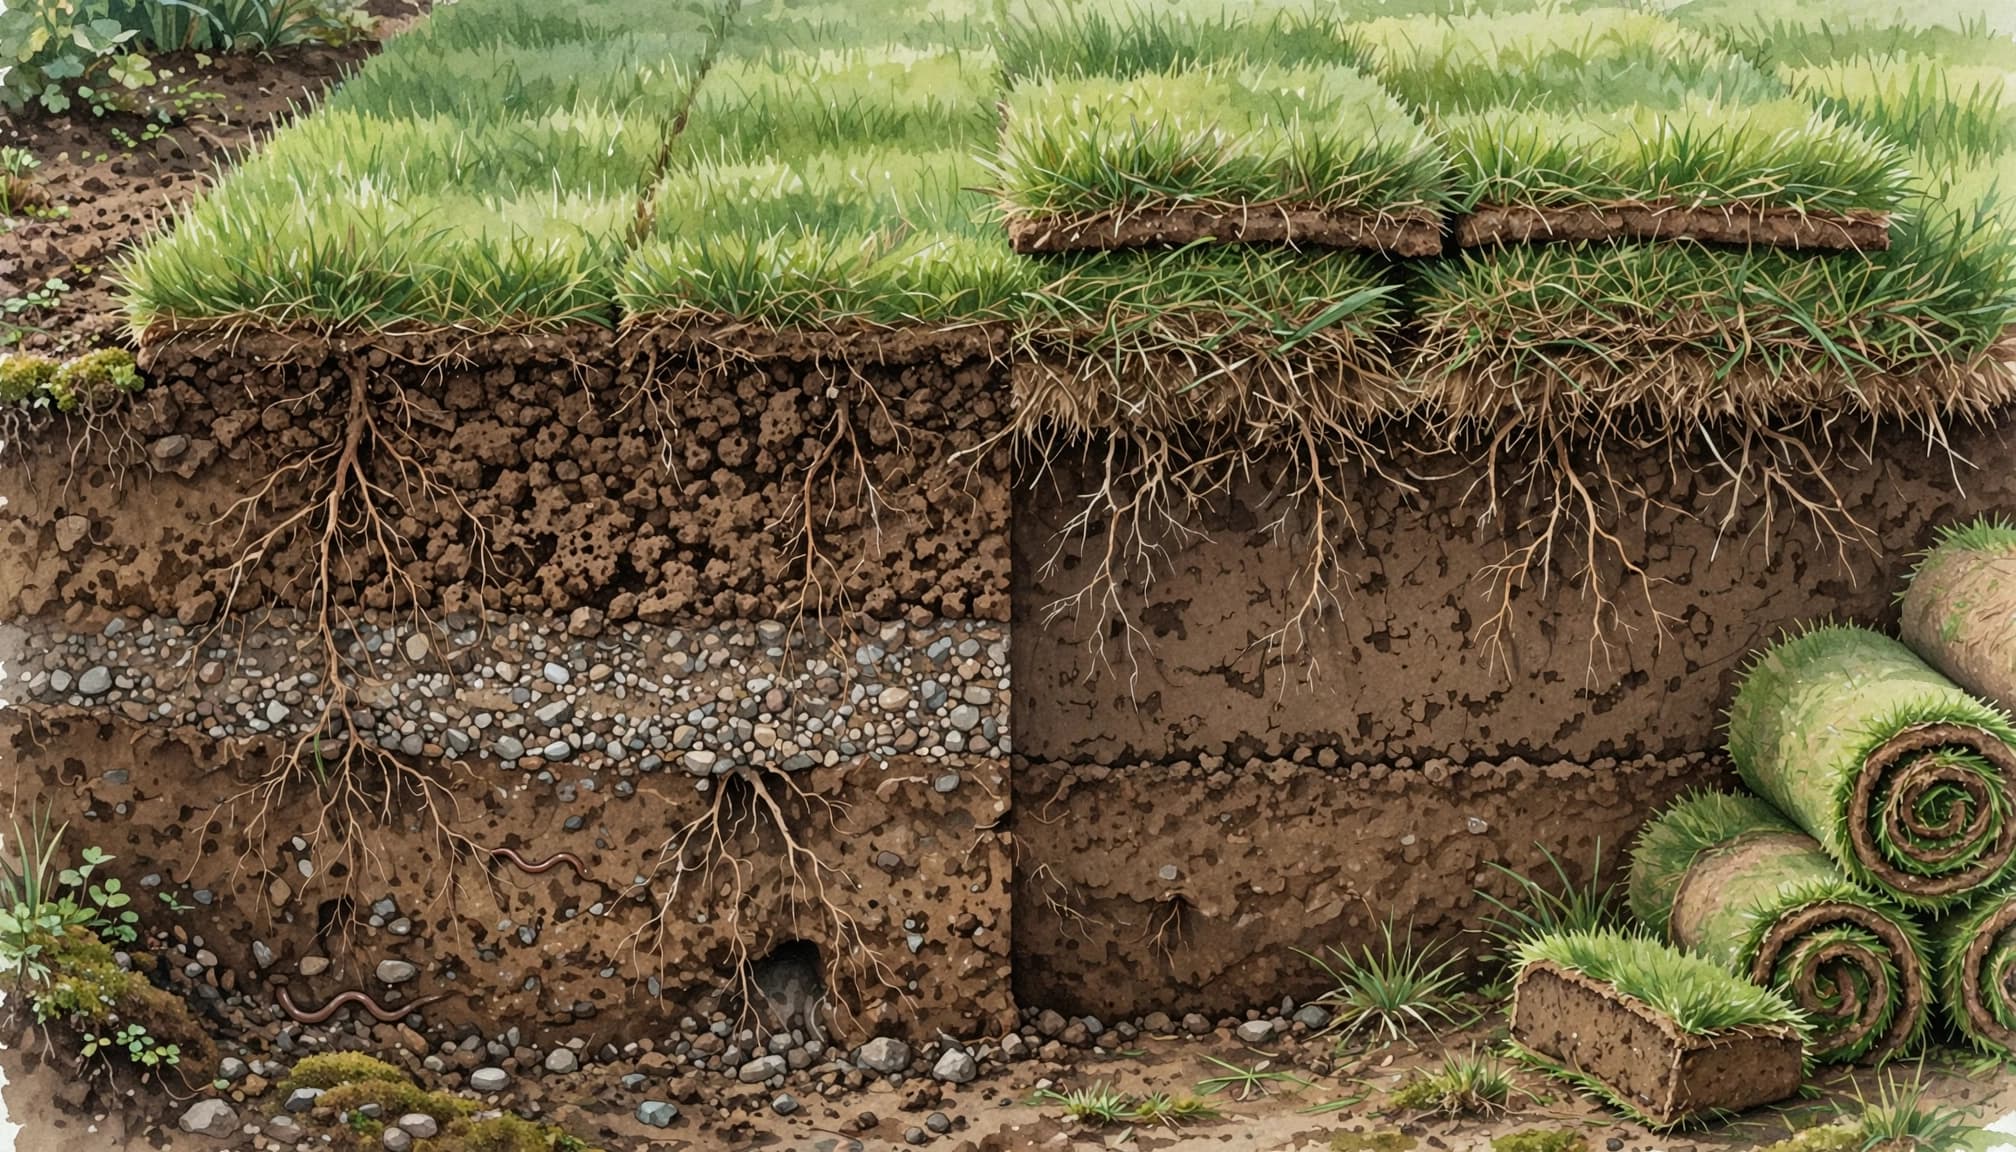
Old grass interferes with rooting
Grass blades and thatch can hold fresh sod above the soil. Those gaps allow roots and exposed edges to dry before they establish.
Meanwhile, surviving grass and weeds can compete with the replacement lawn. As buried vegetation decomposes, the supporting layer can settle unevenly. Mowing the old lawn extremely short doesn't remove its root mat or create a clean planting surface.
Added height creates grading problems
An extra layer raises the lawn beside sidewalks, patios, and sprinkler heads. This can leave awkward edges and interfere with irrigation coverage.
Existing low spots also remain beneath the new grass. Water may collect there, while raised sections dry faster. Adding sod doesn't correct compacted soil, a blocked drainage route, or runoff moving toward the house. Those problems need attention before installation.
How to Prepare an Existing Lawn for New Sod
Good landscaping starts with the reason the current grass needs replacing. Shade, irrigation failures, pests, and chemical injury can damage replacement turf too.
For chemically injured lawns, repairing herbicide-damaged grass starts with addressing the injury before replacing dead sections. Healthy areas may need repair rather than complete removal.
Follow this preparation sequence:
- Remove the existing turf. Use a sod cutter or suitable hand tools to lift the grass and dense root mat. Remove weeds and loose debris rather than burying them under the replacement lawn.
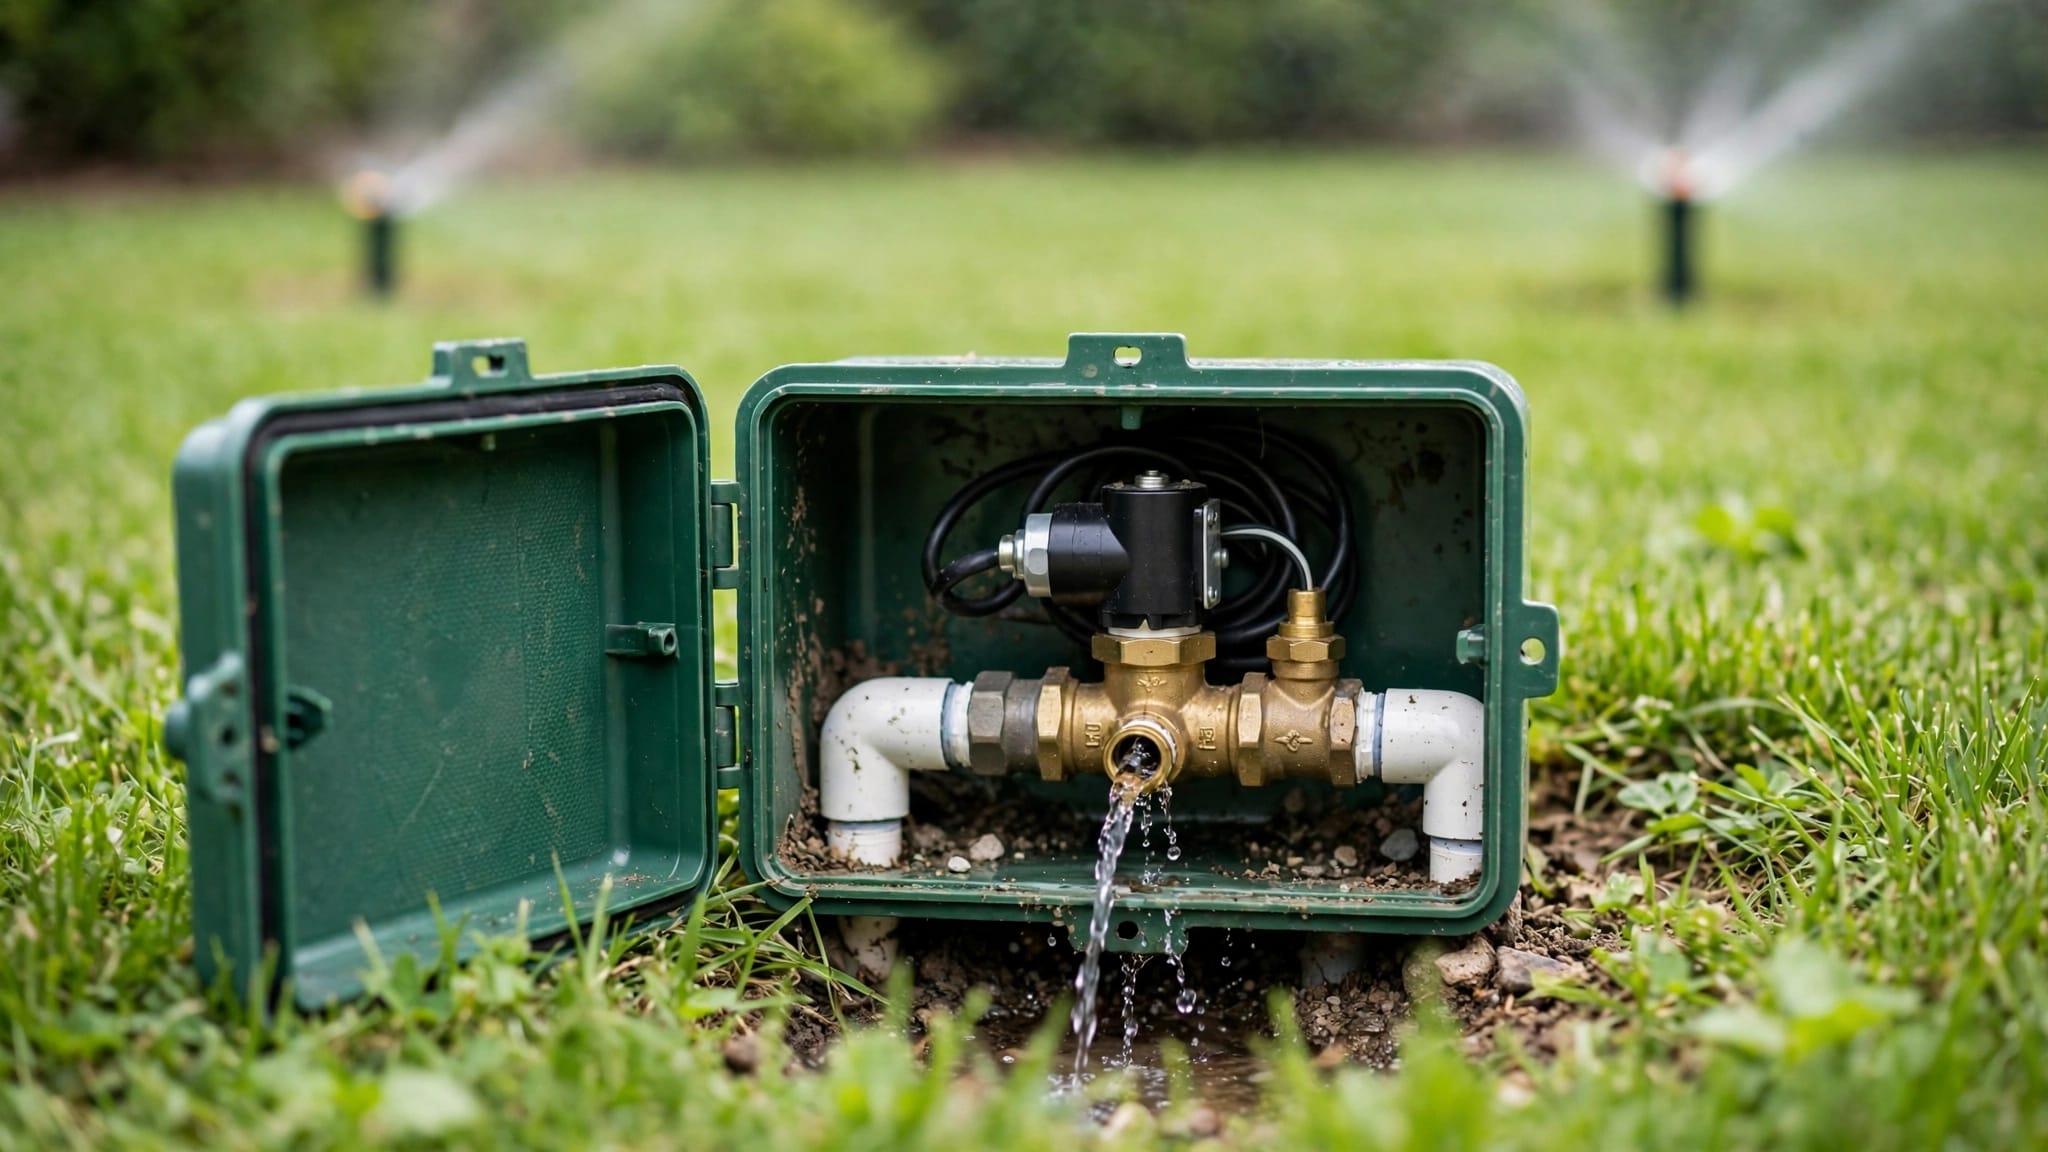
- Repair irrigation and drainage. Run each irrigation zone to identify dry strips, broken heads, and leaks. Correct persistent ponding and runoff before final grading, because new grass won't solve a water-management problem.
- Prepare a smooth, firm surface. Loosen compacted areas as needed, remove stones, and level depressions. Keep drainage directed away from buildings. Account for the sod's thickness so the finished lawn meets surrounding surfaces cleanly.
- Install fresh sod promptly. Lay pieces on lightly moist soil with staggered seams. Fit edges snugly without stretching or overlapping them. Press pieces into contact with the base, then water promptly.
Our landscape installation process coordinates site preparation with the rest of the yard work.
If settled concrete contributes to pooling, a concrete company should address that hardscape problem before nearby sod goes down. Schedule paver cleaning beforehand when possible, keeping cleaning runoff away from planting areas.
Help New Sod Root After Installation
Prepared soil gives sod a strong start, but careful watering and limited disturbance help roots attach.
Water according to soil moisture
Keep the sod and underlying soil consistently moist during early establishment. However, constant saturation limits oxygen around developing roots.
Gently lift a loose corner to assess moisture underneath. Southwest Florida rainfall can change watering needs quickly, so skip unnecessary irrigation after substantial rain. Sunny edges beside concrete may dry sooner than shaded sections.
As roots establish, gradually water less frequently and more deeply. Avoid immediately applying fertilizer or weed-control products to push growth.
Wait for attachment before mowing
Use a gentle tug at several locations to assess rooting. Sod that lifts or wrinkles easily needs more time, even when the surface looks green.
New St. Augustine sod often reaches its first mowing around 14 to 21 days , but attachment and firm ground matter more than the calendar. Use a sharp blade and take a light cut.
Also, keep pets and equipment off loose sections. After heavy rain, inspect seams for gaps, curling edges, or washed-out soil.
Frequently Asked Questions
Can you lay sod over dead grass?
Dead grass still creates a barrier, especially when a thick root mat or thatch remains. Remove that material and prepare the soil. Brown grass alone doesn't mean the surface is ready for sod.
Can topsoil cover the old lawn instead?
A thin covering doesn't reliably eliminate living grass or create a stable base. It also raises the finished grade. Remove the existing turf first, then use soil where needed to correct the prepared surface.
What if grass keeps failing in one location?
Address shade, traffic, irrigation, or drainage before replacing it again. Artificial turf may suit some heavily used strips or dog runs, but it needs its own prepared base and drainage. It shouldn't cover an unresolved water problem.
Give Your New Lawn a Prepared Foundation
New sod needs firm soil contact and a suitable growing environment. Covering an existing lawn leaves too much of that foundation to chance.
Removing old turf and correcting drainage gives replacement grass a better start. Careful watering then supports establishment without undoing the preparation.
Our sod and artificial grass installation services include grading and preparation for Southwest Florida yards.