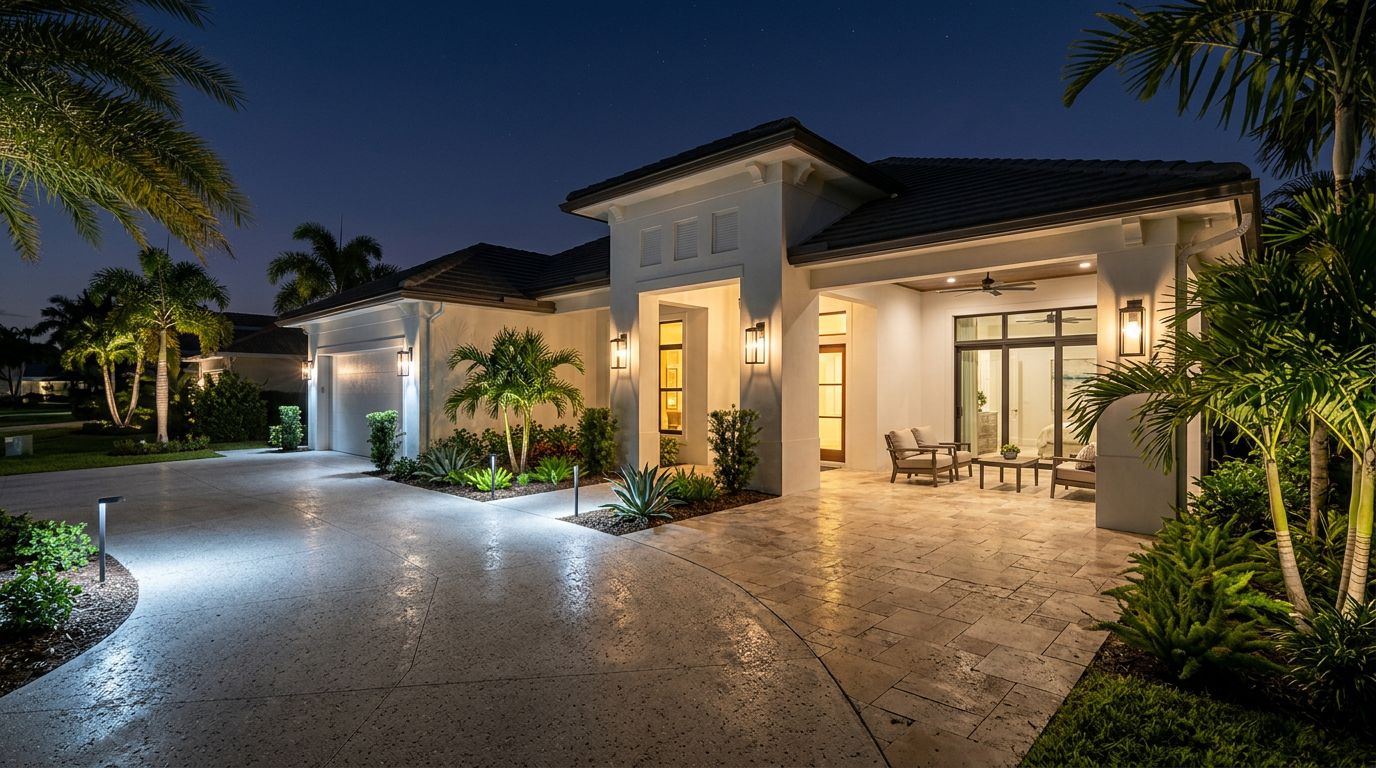


Outdoor Lighting Maintenance In Cape Coral Troubleshooting Dim Fixtures
Dim pathway lights can make a beautiful yard feel unfinished, and they can turn a safe walkway into a trip hazard. In Cape Coral, the cause is often simple: outdoor lighting maintenance gets harder when humidity, salt air, and summer storms all work against your fixtures.
The good news is that most dim-light problems show clear clues. Start with the easy checks, then work deeper only if you need to. The steps below are ordered from cheapest and fastest to more advanced, with extra coastal tips that matter in Southwest Florida.
First, identify 12V low-voltage vs 120V line-voltage (safety comes first)
Before you touch anything, figure out what you own. Dimming looks similar in both systems, but the risk level is very different.
Low-voltage (12V) landscape lighting basics
Most residential landscape systems are 12V low-voltage . You'll usually see a transformer mounted in a garage or on an exterior wall, then low-voltage cable running out into beds and along walks.
Low-voltage systems commonly dim because of:
- Voltage drop (long wire runs, too many fixtures on one run)
- Corroded connections (salt air sneaks into wire nuts and pierces insulation)
- Moisture intrusion inside a fixture or socket
- Transformer settings (timer/photocell issues, wrong tap used)
Low voltage is safer than 120V, but it can still spark and short. Turn the transformer off before opening fixtures or splices.
For a quick refresher on how these systems differ, see low-voltage vs line-voltage landscape lighting.
Line-voltage (120V) outdoor lighting basics
Line-voltage is typical for wall lanterns, soffit lights, some floods, and older yard lighting tied into the home's wiring. These can be on a switch, a photocell, a timer, and often a GFCI.
Safety rule: If it's 120V, shut power off at the breaker, confirm with a tester, and don't open junction boxes if you're unsure. If you see damaged conduit or repeated GFCI trips, stop and call a licensed electrician.
If you can't confidently say "this is 12V," treat it like 120V until proven otherwise.
Troubleshooting dim outdoor fixtures (start with the easy wins)
 Some dim-light fixes are quick, but always confirm power status with a tester first (image created with AI).
Step 1: Clean lenses and remove obstructions
This sounds too basic, but it's real. Cloudy lenses, mulch splash, and bug buildup can cut light output fast, especially near lush landscaping .
Wipe the lens, clear plants blocking the beam, and re-aim the fixture. Also check that the fixture isn't slowly sinking and getting buried.
Step 2: Swap a bulb with a known-good bulb (or module)
If one fixture is dim, move a working bulb from a bright fixture into the dim one. If the problem follows the bulb, you've found your issue.
If the dim fixture stays dim, the problem is usually the socket, wiring, or voltage.
Step 3: Check the transformer settings and load (12V systems)
On low-voltage systems, open the transformer door and look for:
- A tripped internal breaker (if present)
- Timer/photocell settings that got bumped
- Multiple output taps (commonly 12V, 13V, 14V, 15V)
If lights at the far end of the run are dim, moving that run to a slightly higher tap can help. Don't guess wildly though. Too much voltage shortens bulb life.
This is also a good time to think about surge protection. Cape Coral storms and nearby lightning can weaken transformers and LED drivers over time. After major storms, re-check brightness and reset timers.
For more low-voltage troubleshooting ideas, this DIY guide to low-voltage lighting issues lays out common failure points.
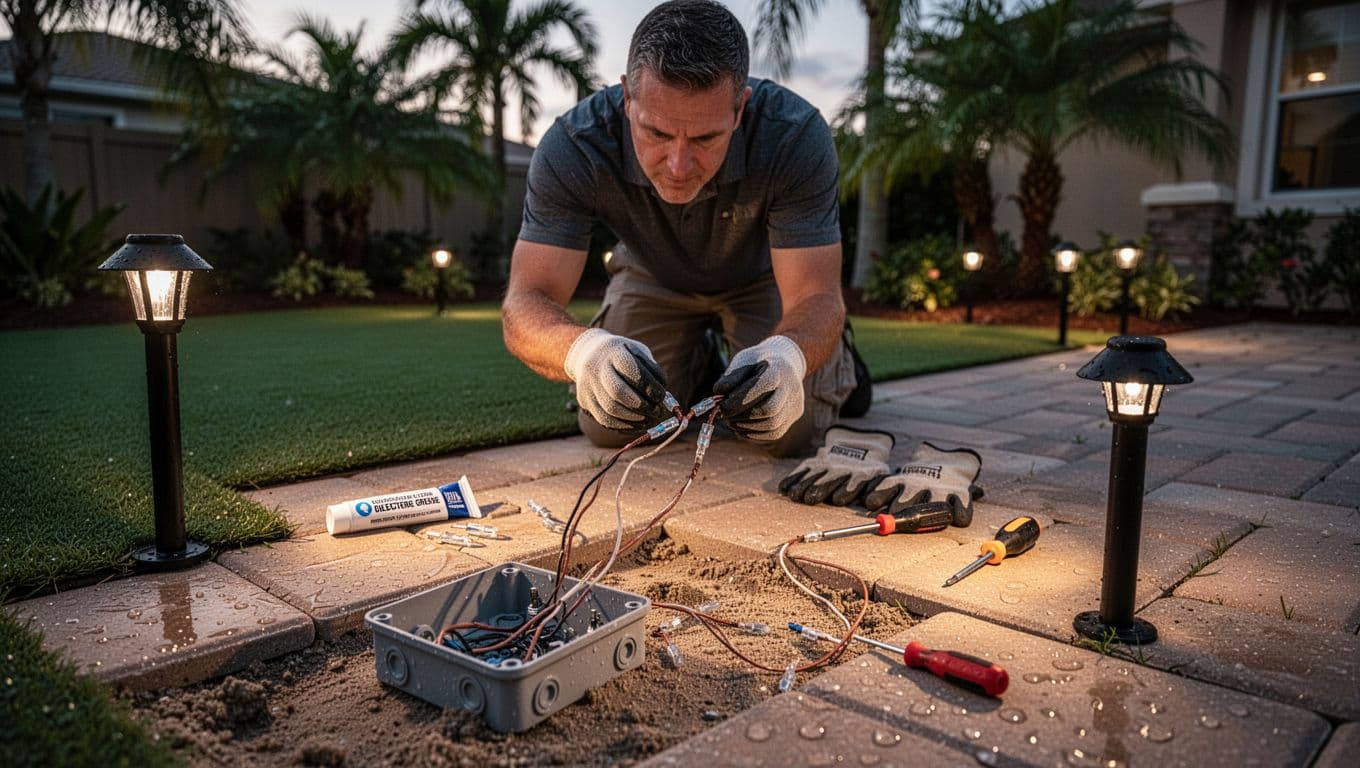
Step 4: Inspect and rebuild corroded connections (coastal favorite)
Salt air is like a slow leak in your system. It doesn't need a big opening, it just needs time.
Look for:
- Green or white crust on copper
- Brittle wire insulation
- Loose wire nuts or taped splices
- Water sitting in a junction point
Cut back to clean copper, re-strip, and reconnect using marine-grade connectors when possible. Add a small amount of dielectric grease (on seals and around connections, not smeared on bare copper as a "fix"). Then tuck splices into a proper waterproof connector or enclosure.
For practical corrosion prevention tips, this guide on protecting outdoor lights from salt air and humidity matches what Florida homeowners see in the field.
Step 5: Confirm voltage at the fixture (more advanced)
If you have a multimeter and you're working on 12V, measure voltage at:
- The transformer output
- A bright fixture
- A dim fixture at the end of the run
A noticeable drop at the far fixture points to undersized wire, a long daisy chain, or too many fixtures on one run. Fixes include shortening runs, splitting into multiple runs, or using heavier cable.
If your home uses line-voltage fixtures and you suspect low supply voltage, stop and call an electrician. Diagnosing 120V circuits safely takes training.
Tools and materials that make this easier
 Basic electrical tools help you diagnose dim fixtures instead of guessing (image created with AI).
You don't need a full shop, just the basics:
- Non-contact voltage tester (for safety checks)
- Multimeter (especially helpful for 12V voltage-drop checks)
- Screwdrivers, nut drivers, and wire strippers
- Replacement low-voltage bulbs or LED modules (matching type)
- Dielectric grease and waterproof connectors
- Gloves and a small brush for corrosion
Cape Coral outdoor lighting maintenance that prevents dimming long-term
 Coastal corrosion and moisture intrusion often start at splices and connectors (image created with AI).
If dim lights keep coming back, treat the cause, not the symptom. In Cape Coral, that usually means moisture control, better connections, and smarter layout.
Coastal-proofing moves that actually help
Use sealed fixtures and keep gaskets clean. A tiny crack can fog a lens and corrode a socket.
Also, plan your yard work around lighting. After paver cleaning , for example, check that spray did not blast grit into fixture joints or loosen stakes. If you're expanding a walkway or patio, coordinate wire paths with your installer. A concrete company can also accidentally nick low-voltage cable during edge prep, so mark wire routes before any digging.
If your yard includes artifical turf , be extra careful with wire splices near seams and edging. Those areas trap moisture, and repairs are harder later.
When you're ready for upgrades or a full refresh, reviewing landscape lighting services helps you see common layout options that reduce voltage drop and hide wiring cleanly. If lighting runs near hardscape, paver installation experts can help you think through edges, conduit sleeves, and long-term access. For yards mixing natural grass and synthetic, artificial grass installation Cape Coral is useful context for how installers handle borders and drainage.
Quick maintenance checklist (10 minutes, once a month in season)
- Walk the system at dusk and note any dim groups
- Wipe lenses and clear plants touching fixtures
- Tug lightly on stakes and tighten loose housings
- Look for water inside lenses after heavy rain
- Inspect a few splices for corrosion, re-seal if needed
"Call an electrician" red flags (don't push past these)
Stop troubleshooting and get professional help if you notice:
- Burnt smell near a fixture, box, or transformer
- Breakers that trip, or repeated GFCI trips
- Melted insulation, scorched sockets, or buzzing sounds
- Damaged conduit, exposed wire, or signs of arcing
- Dimming that happens with other home lights (possible supply issue)
Conclusion
Dim fixtures are usually your system asking for attention, not a full replacement. Start simple, then work toward voltage checks and connection rebuilds, especially in salty, humid Cape Coral air. With steady outdoor lighting maintenance , sealed connections, and storm-aware habits, your lights can stay bright and reliable year-round. If any 120V warning signs show up, choose safety and call an electrician.